How to Repair Your Camper Van or RV While Traveling

We saved around $4,000 by replacing the timing chain on our Sprinter Camper Van by ourselves.
How We Replaced our Timing Chain in Our 2008 DIY Sprinter Camper Van by Ourselves
Ian and I have been on the road for nearly a year now, and we have put over 30,000 miles on the van over the course of our time traveling. Our Sprinter van now has about 160,000 miles on it. Sprinters can commonly reach over 300,000 miles if well maintained, and our van has required a fair amount of repair and maintenance over the last year.
Only four days into our trip, we discovered an injector leak in our van—a problem so common to Sprinters that it has been termed “The Black Death.” (Read our blog post about that repair here.) We also had a rotor break while we were in Colorado, which resulted in us having to replace not only the rotors, but also the calipers as well. The van has also required regular maintenance like oil changes and fixing chips in our windshield.

The fuel injector leak, also infamously known among Sprinter owners as the “Black Death.”

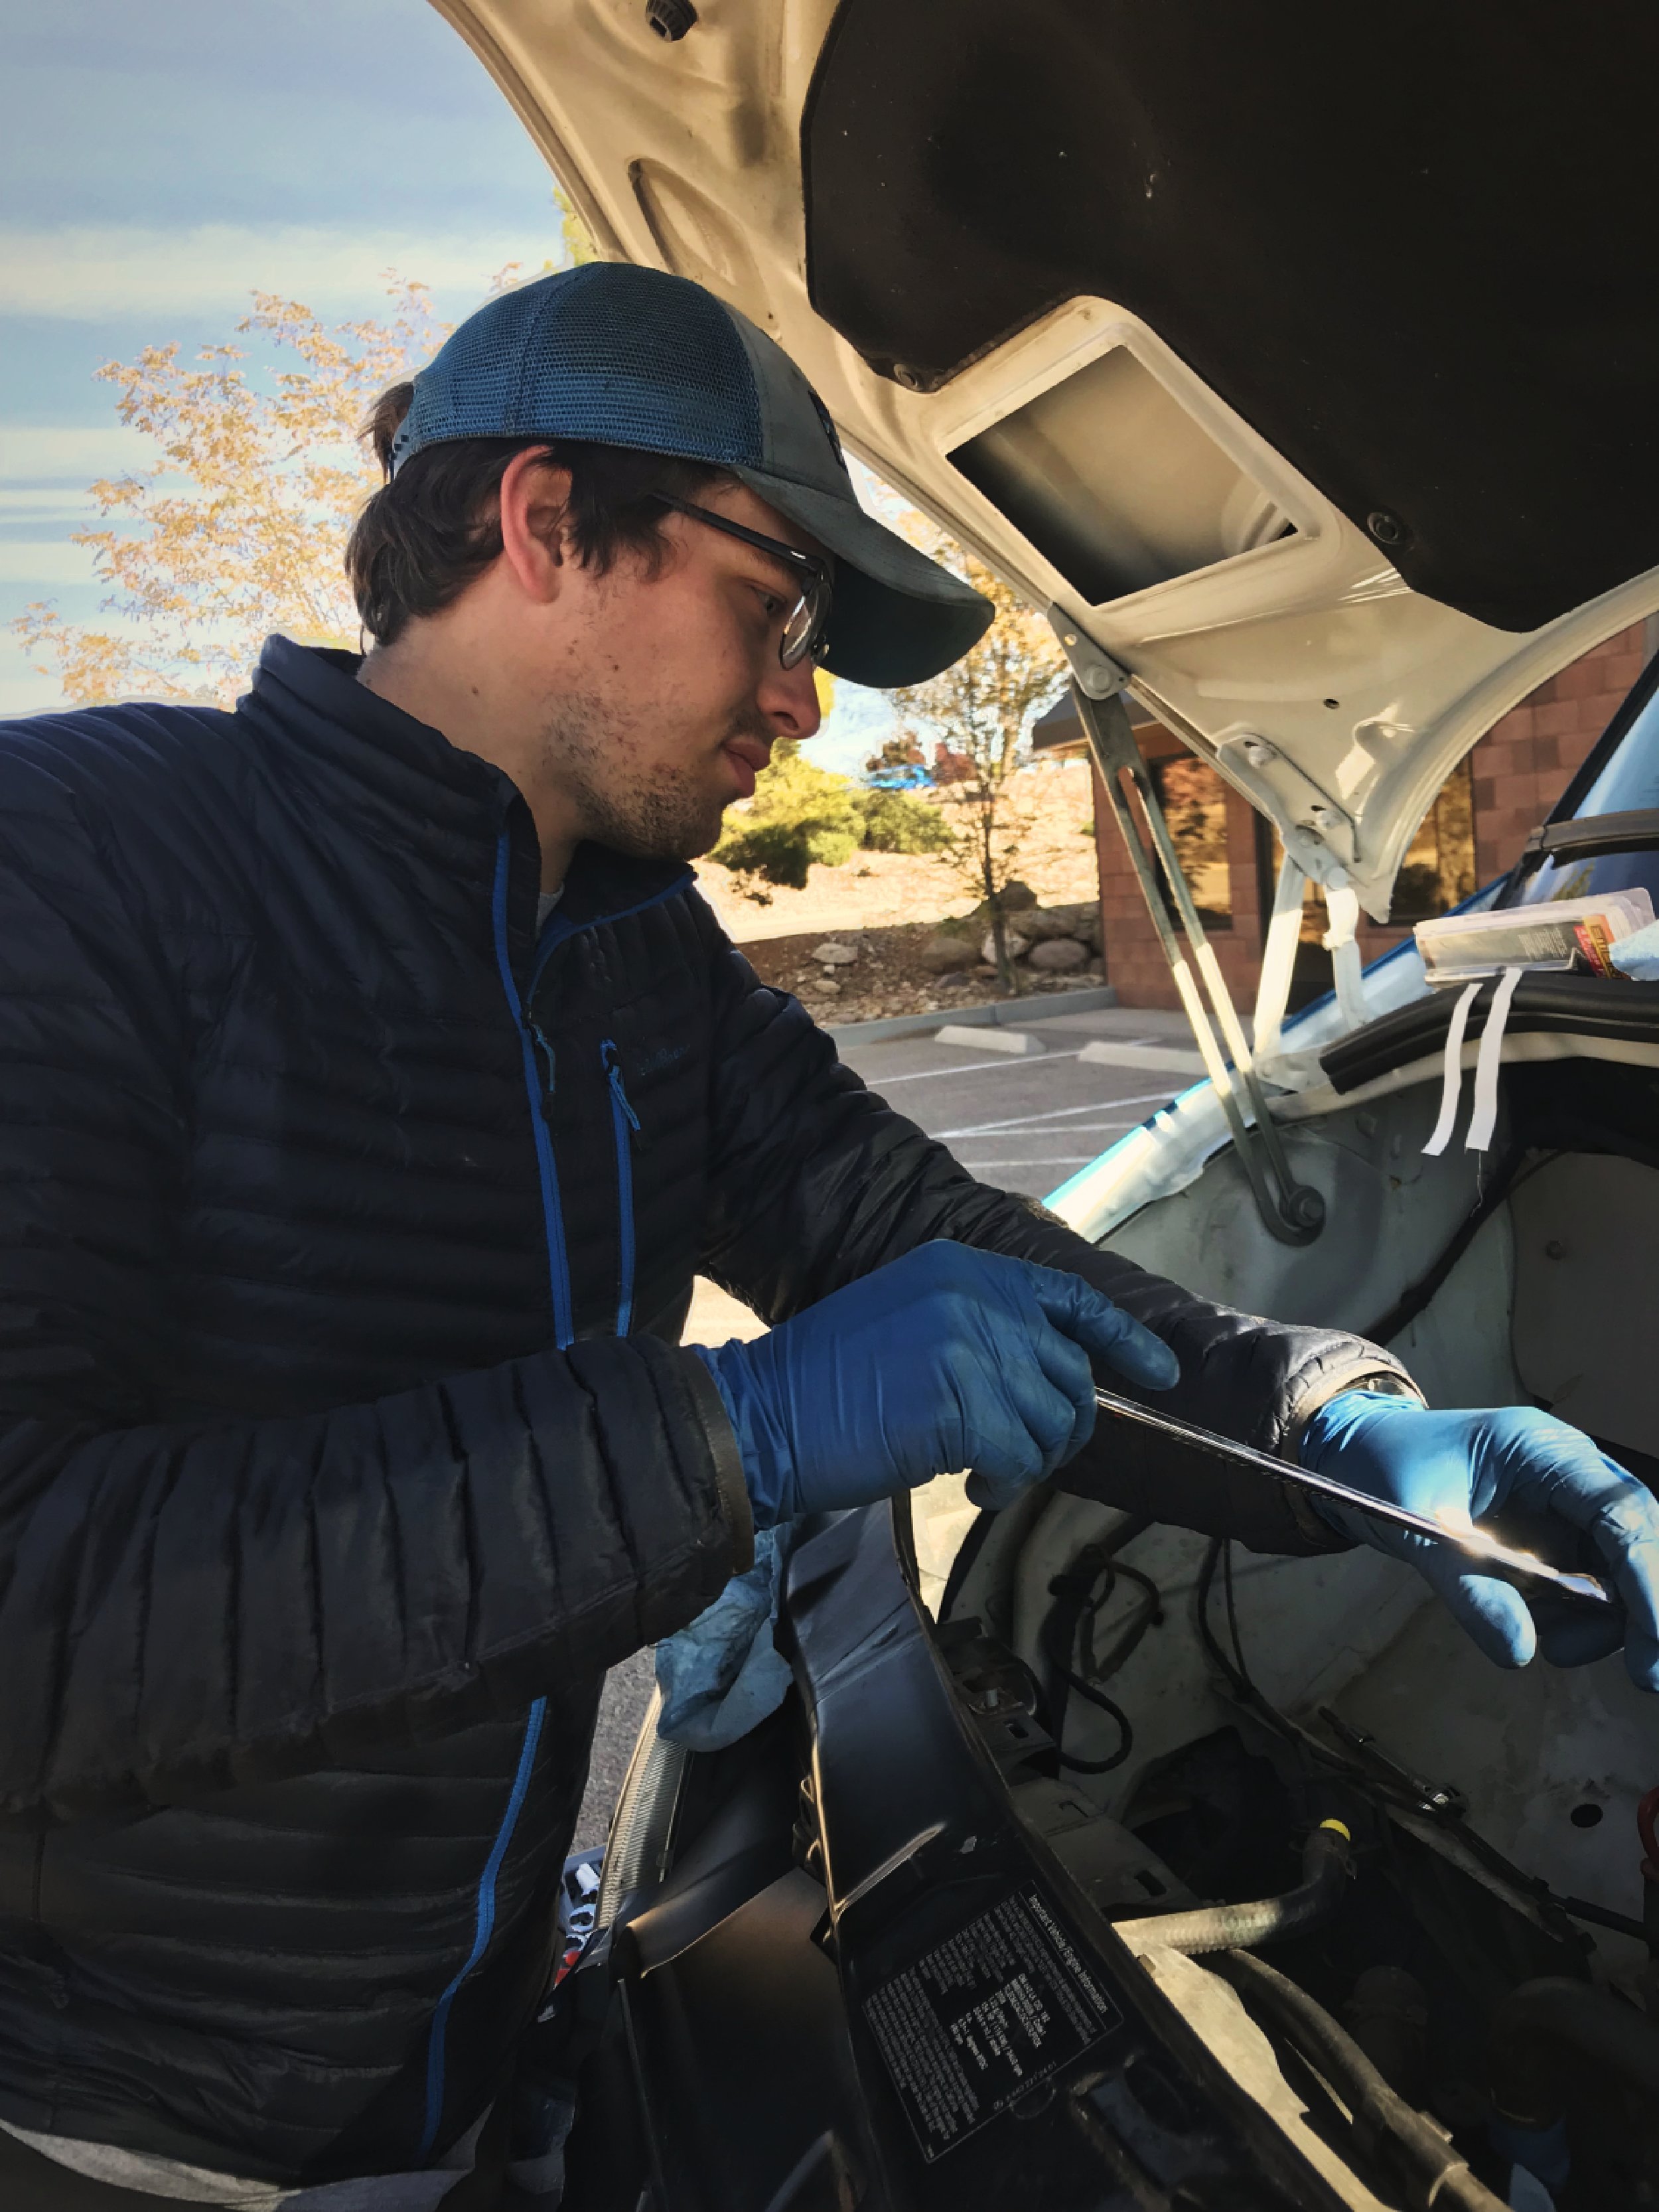
Ian looking like a coal miner after a day of working on the van.
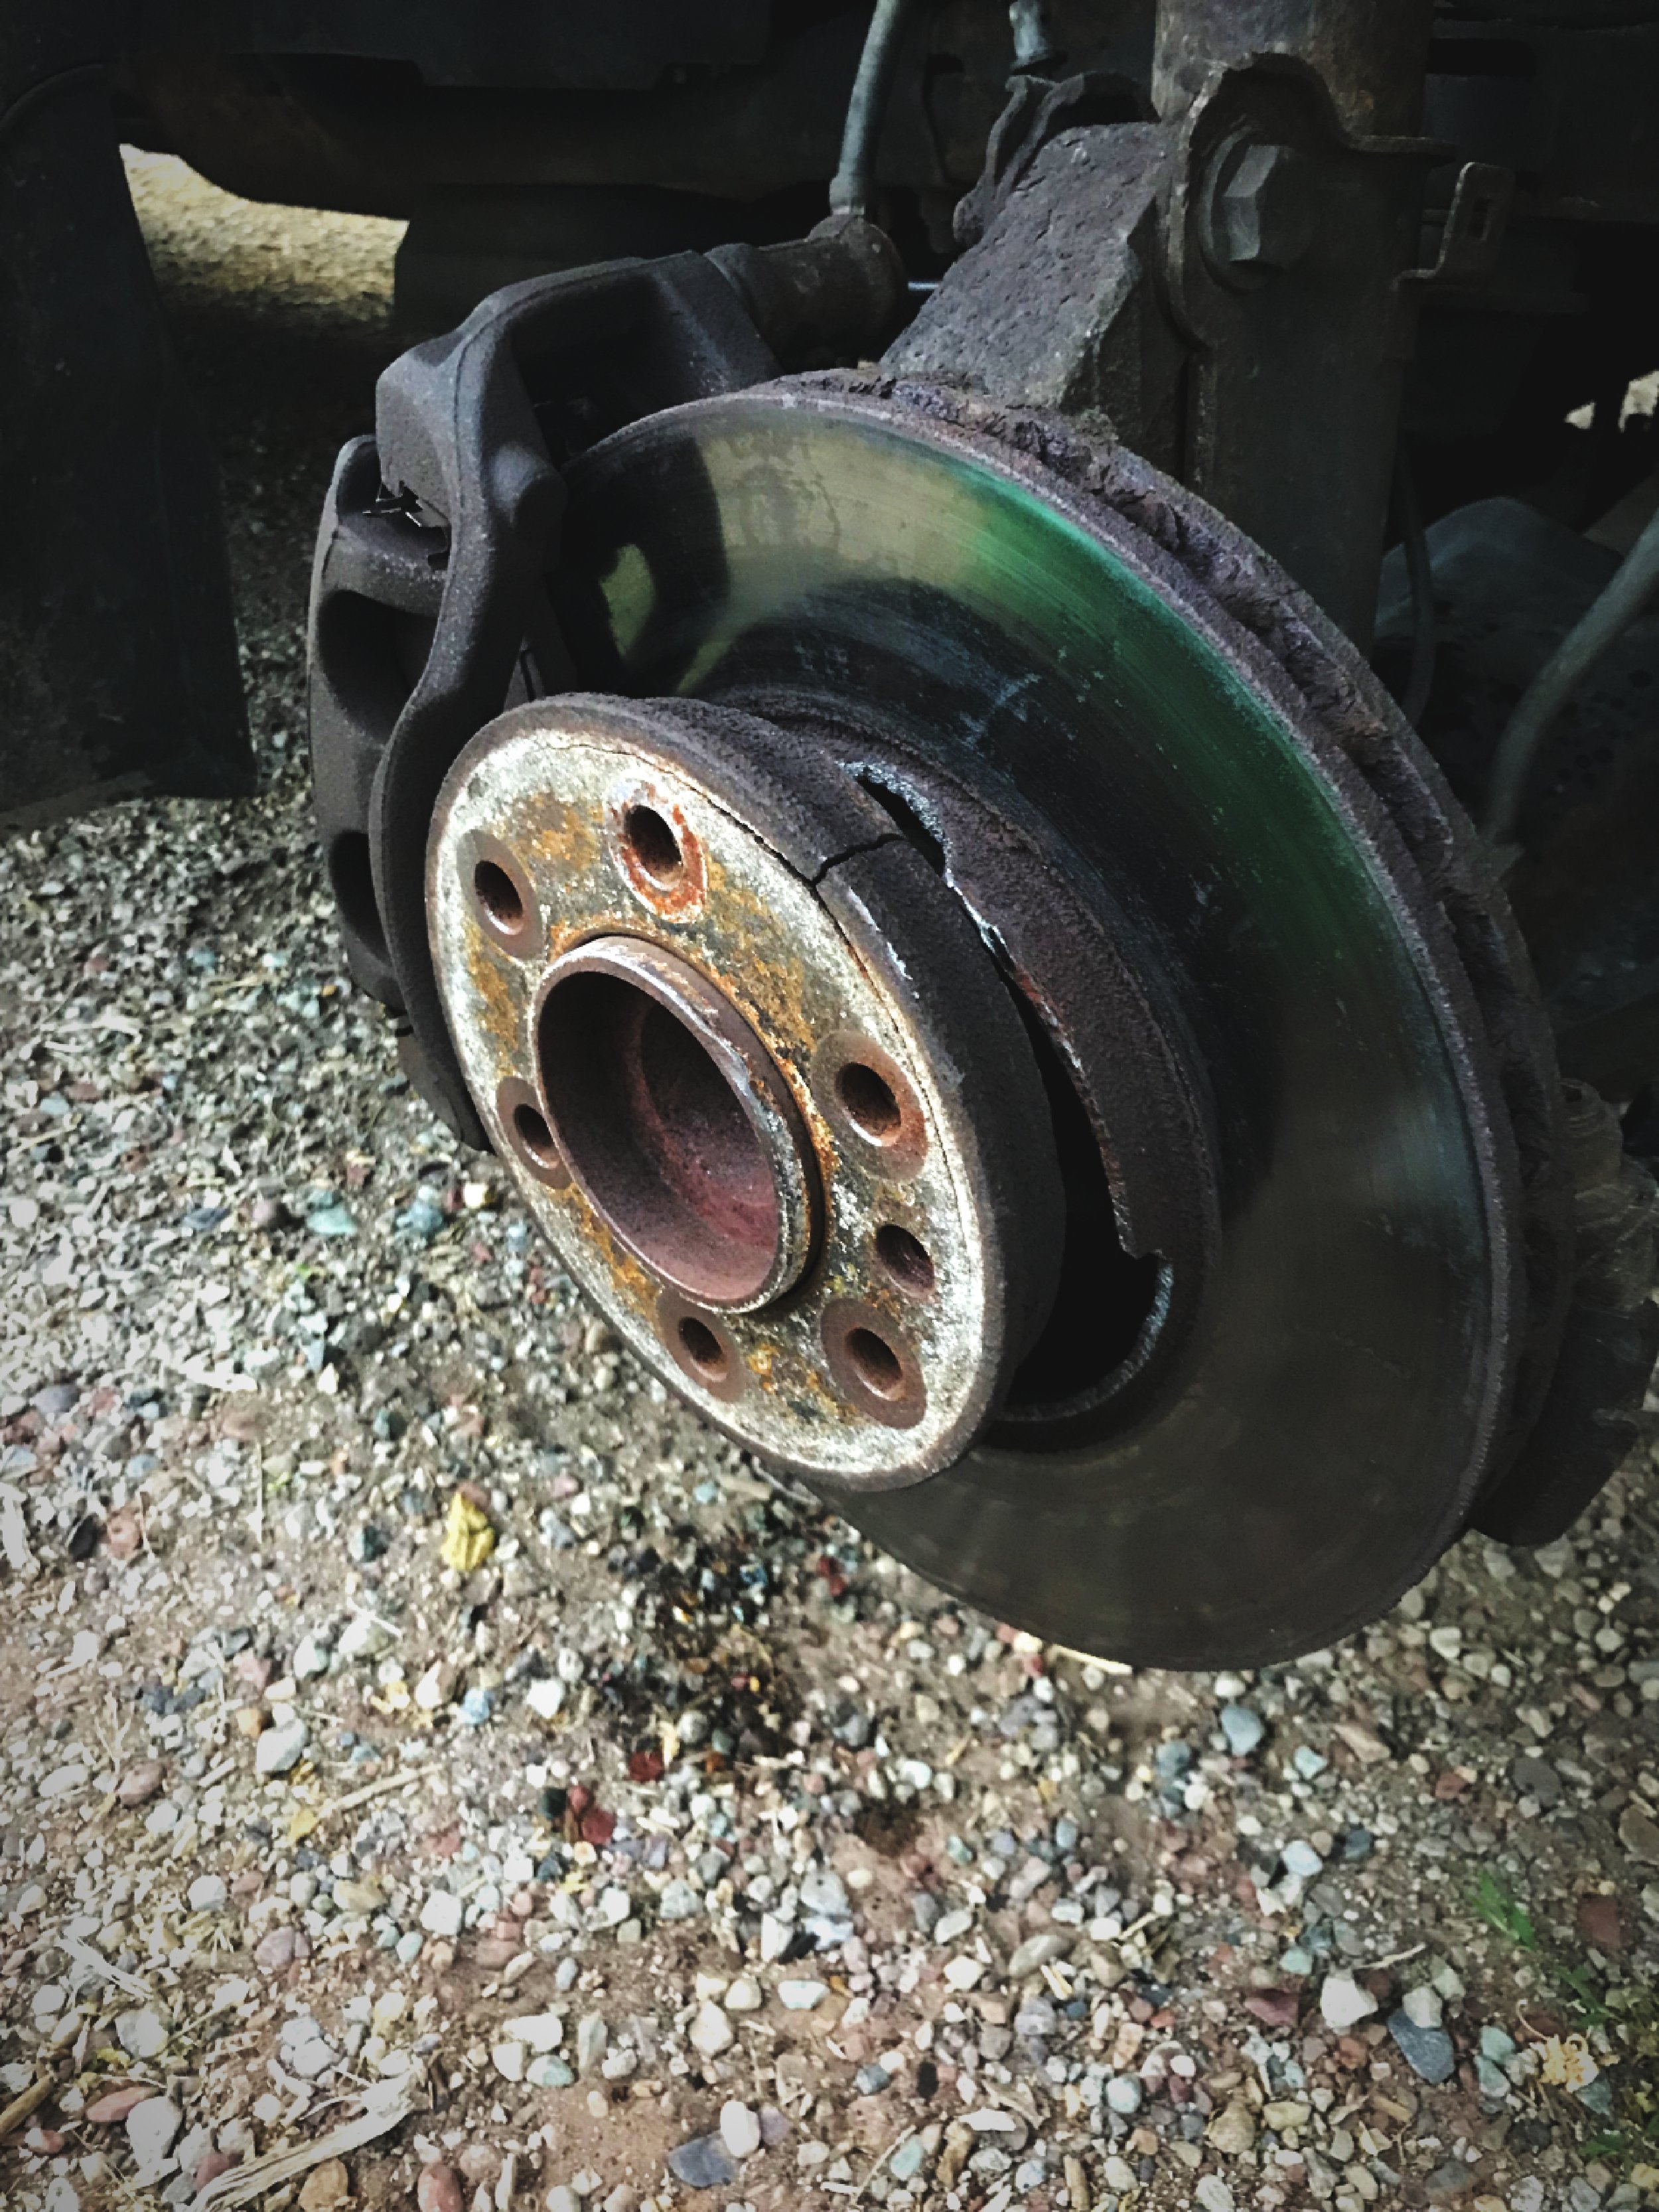
Our rotor literally sheared apart while braking hard in Colorado. Fortunately we were in a city and not on a steep mountain pass!
Most recently we replaced the timing chain, a huge repair that requires removing the valve cover and opening the top of the engine.
Repairing a vehicle while traveling is much more challenging than repairing a vehicle at home. If you’re not able to repair your vehicle on your own, you’ll need to find a skilled mechanic able to repair your vehicle in an area that you’re unfamiliar with. Since all Sprinters are produced by Mercedes, this greatly narrows the field of mechanics willing and able to work on the vehicle. Mercedes dealerships are usually only located in major cities, and the dealerships usually charge around $200 an hour for labor!
When you live in your vehicle, this also poses another challenge. Most mechanics aren’t going to let you live in your vehicle while it’s in their shop. On top of the expense of the repair, you’ll likely have to stay in hotel, unless you can find some other form of free lodging like couch surfing.
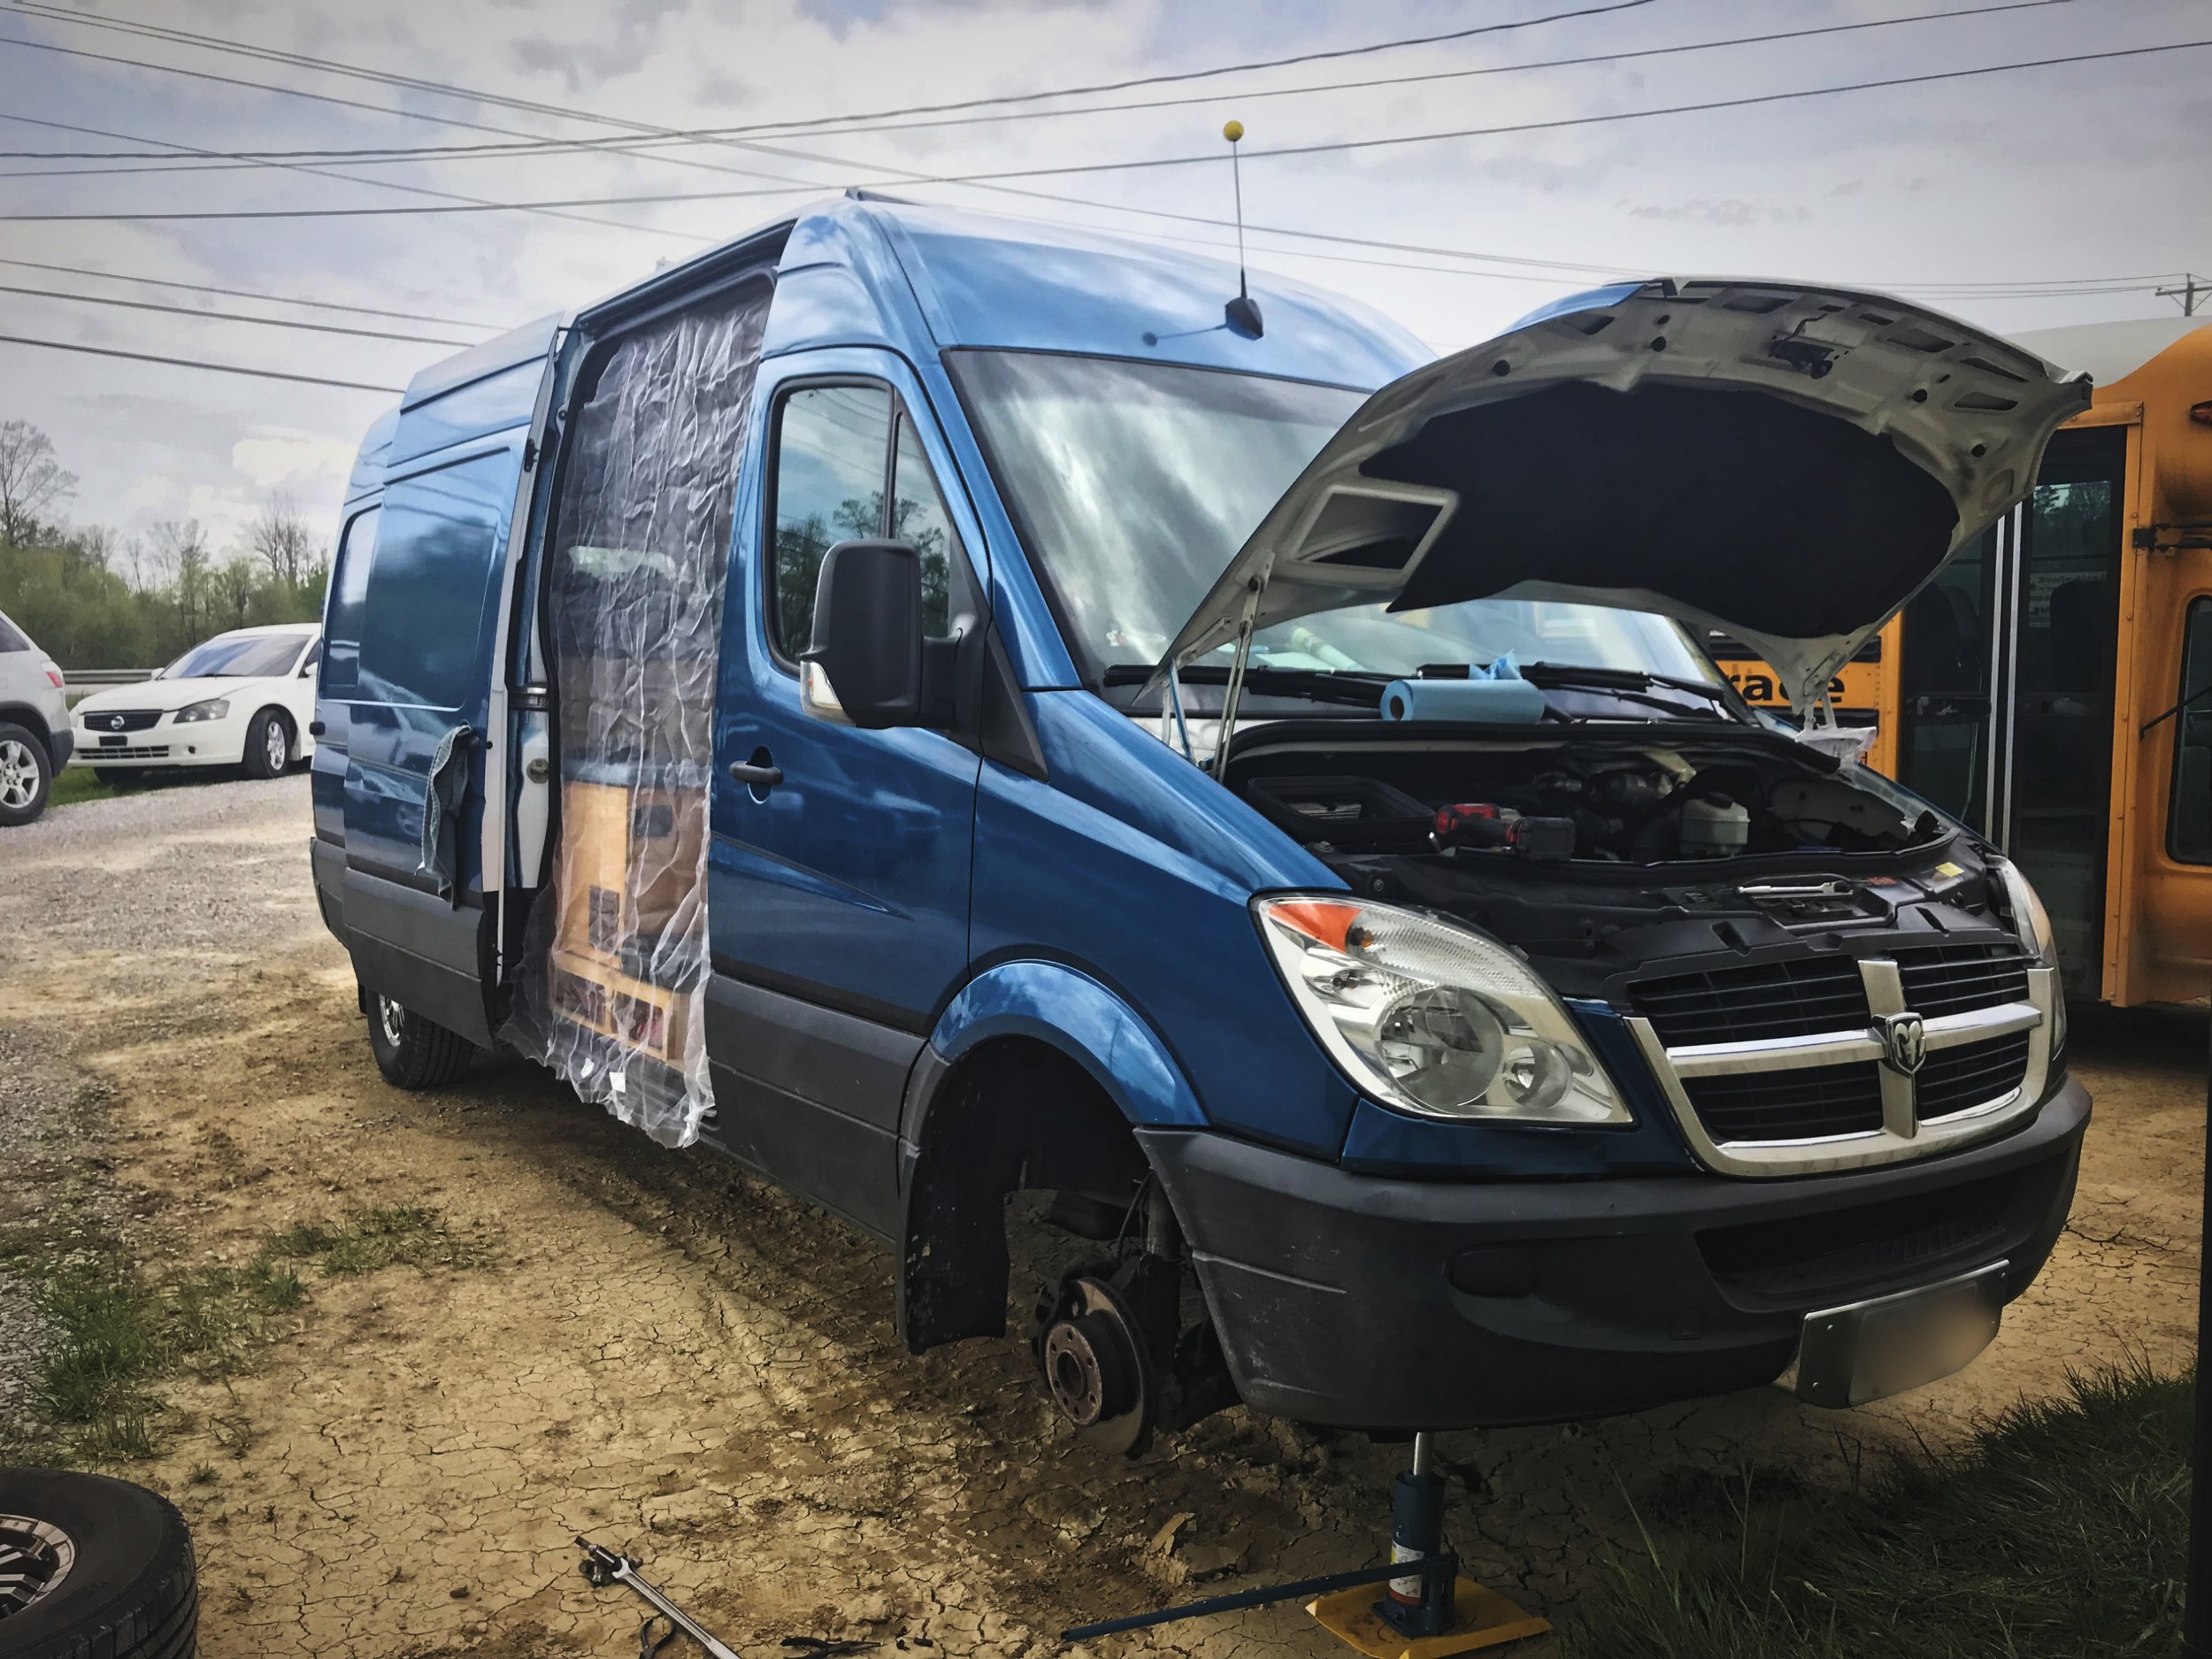
Ian repairing our van while we were in Kentucky.

Living in your vehicle can add an extra layer of complication if you need to repair it.
Doing repairs yourself on the road is difficult, but it saves a lot of money. That’s why we have done most of the repairs and maintenance on our van ourselves. Replacing the timing chain on a Sprinter is quoted at around $4,000-$5,000 by Mercedes dealerships. We replaced it ourselves for about $800.
Of course, this requires having some mechanical skill and experience. If it were just me on the road and Ian was not with me, I certainly would not have taken on anything more than an oil change, because I have way less mechanical ability or experience working on cars than Ian. That said, you don’t have to be an expert mechanic to fix your van. If you do have some mechanical ability, there are a wealth of online resources to help you figure out what’s wrong with your Sprinter and how to fix it.

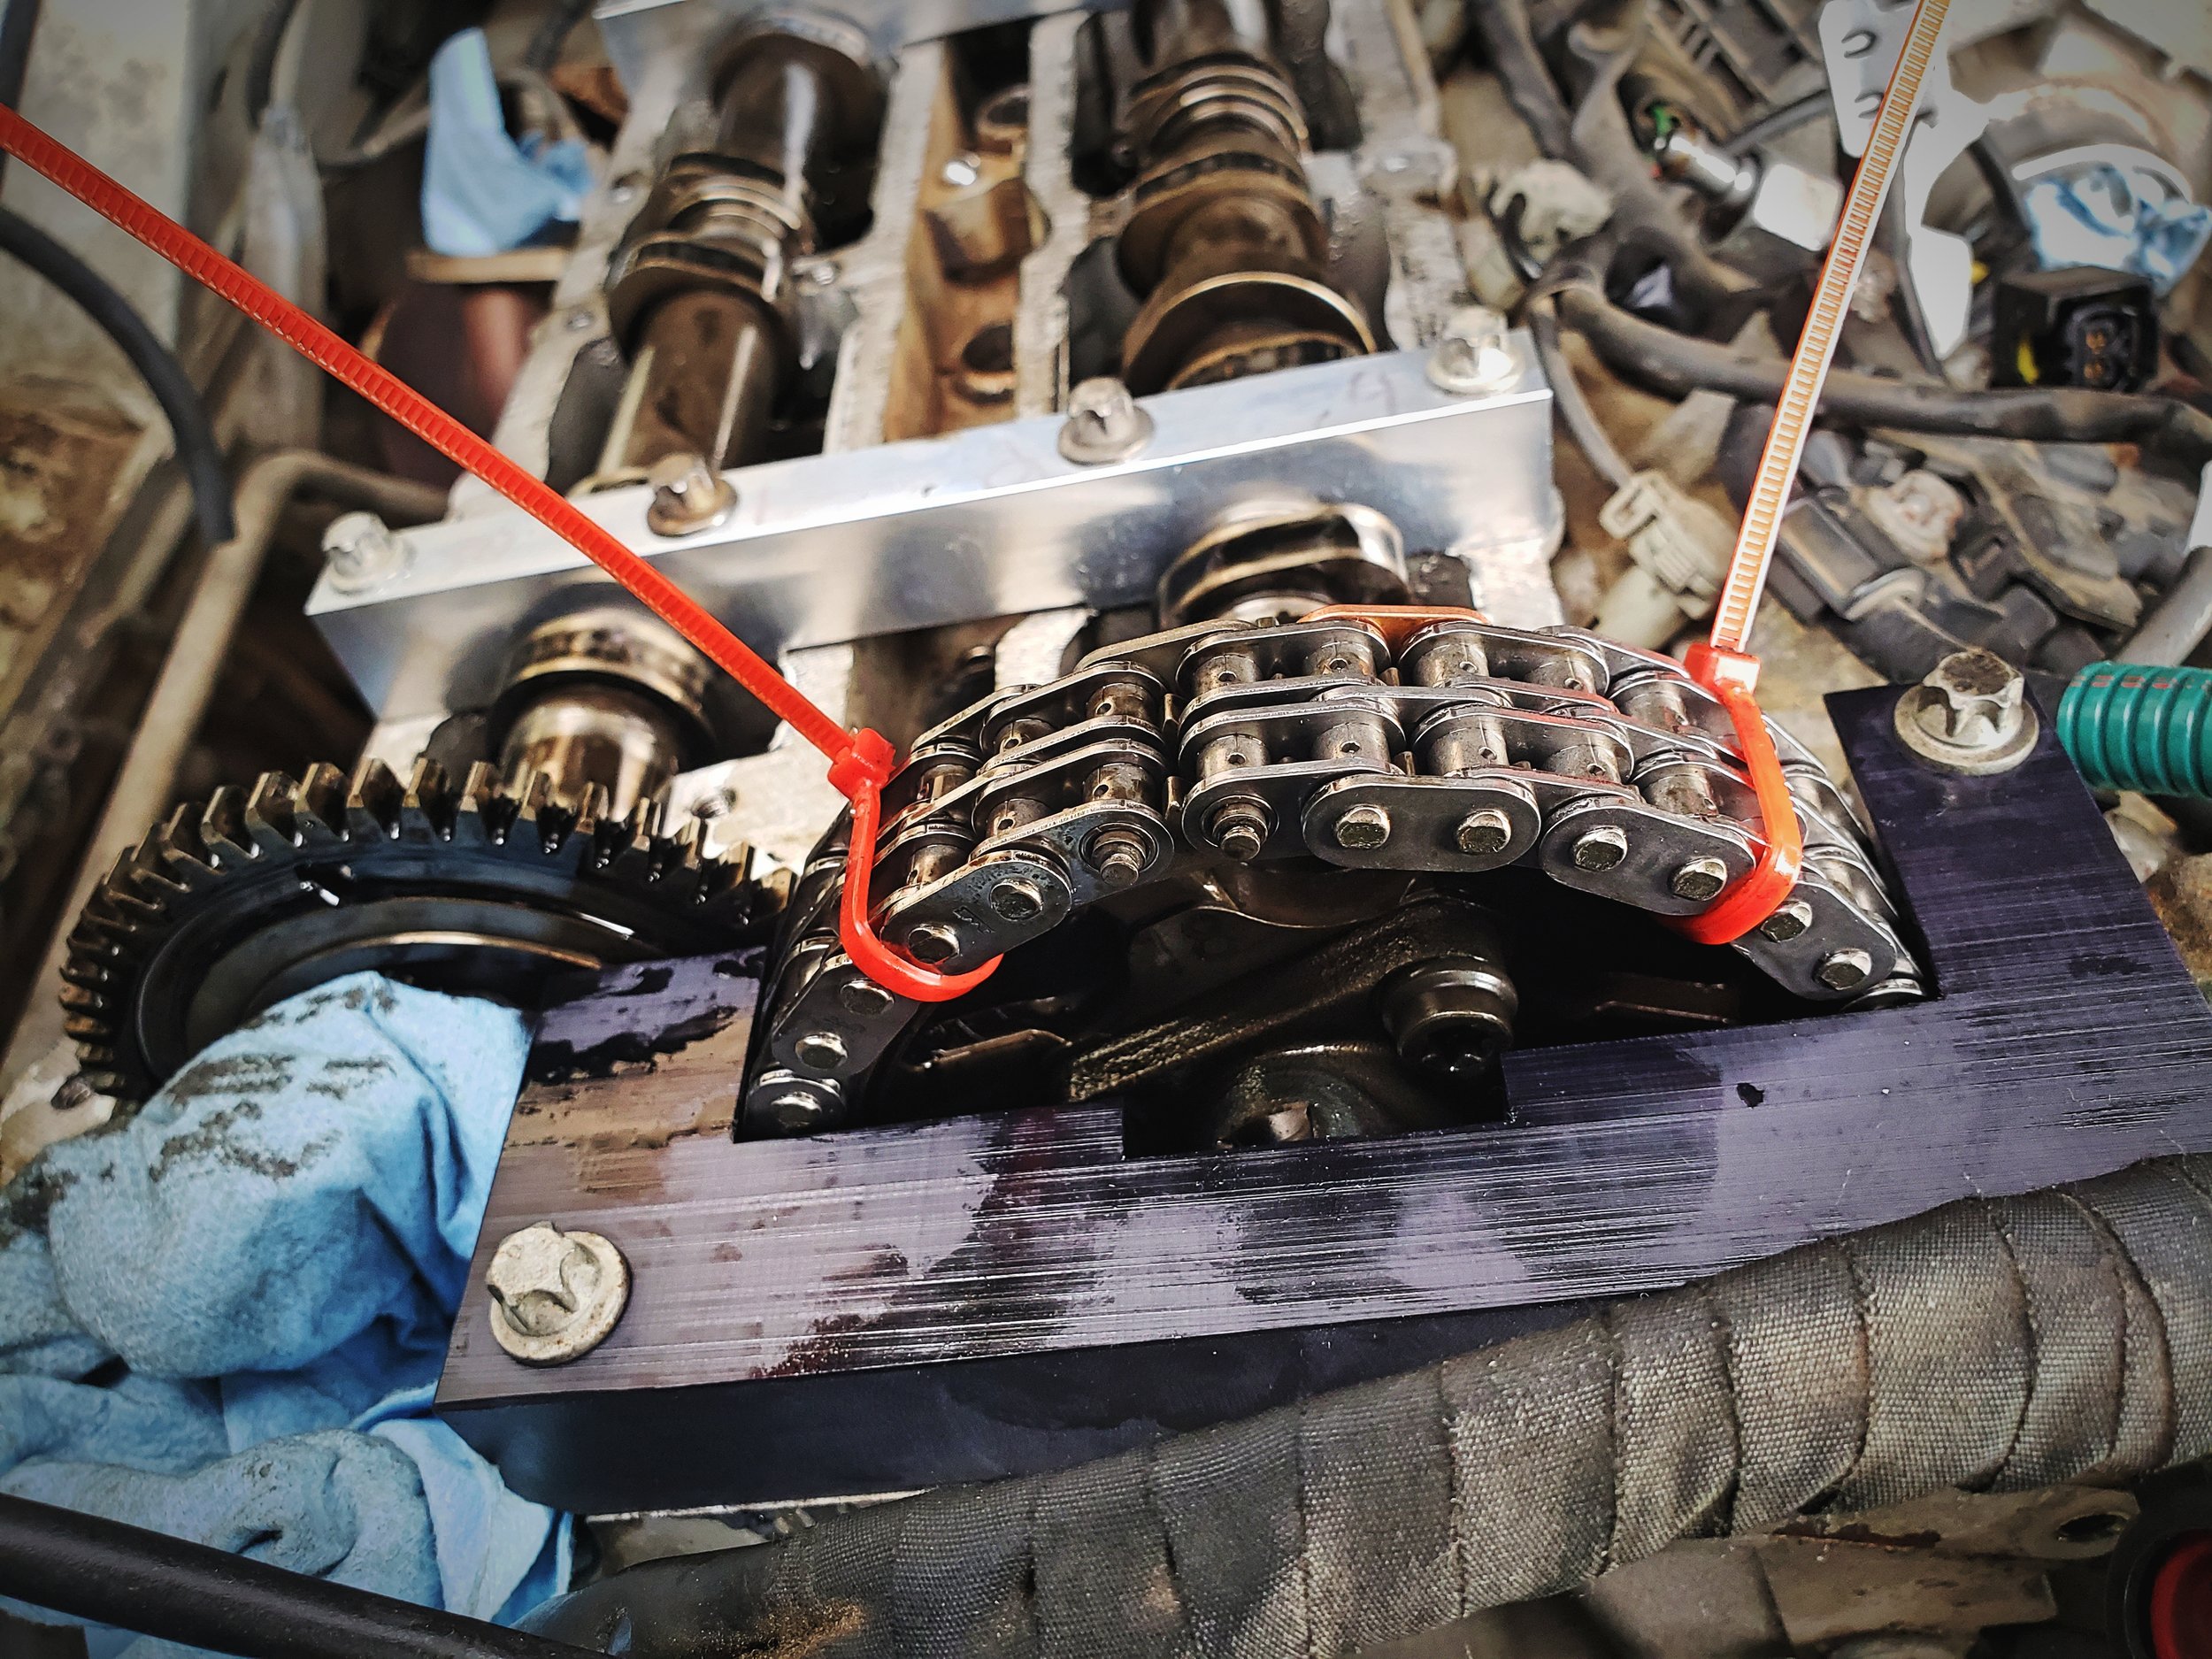
This was a scary moment—the engine open and our timing chain broken, ready for replacement.

Ian labels all the parts for complex repairs so he can remember where they go.

The valve cover from our engine after Ian gave it a thorough cleaning.
Besides needing to have a bit of a knack for auto repair, there are other challenges that are specific to fixing a vehicle on the road. You have to find a place to do the repairs, especially if your vehicle will be immobilized during the repair. You need to locate a dealership or a shop for getting the parts needed. If you are ordering parts or tools online, you’ll need to find an address to ship the parts to, since most retailers won’t send something general delivery.
Here is a list of the steps we took when we replaced our timing chain, but following these steps can make any on-the-road DIY camper van or RV maintenance a little easier and more comfortable. If you have specific questions about the timing chain replacement, get in touch with us through this form and Ian would be happy to share any advice he can. Or you can also read our fairly detailed forum thread from Sprinter-Source.com from our time replacing the timing chain.
Step 1: Find a comfortable place to camp out for a few days.
Once you have established that a repair needs to be done, find a place that you can stay a few days to research the problem. With our timing chain, we had been hearing a bit of a clatter on cold startups of the van for a couple months. When we were in Las Vegas, we noticed that the sound was getting louder and longer. It wasn’t until we were around the Cathedral Gorge of Nevada that we were able to identify that the problem was the timing chain. The area that we were in (Pioche and Panaca, Nevada) was very rural, so we decided to head to St. George, Utah, which is a medium-sized city. It also has a Mercedes-Benz Dealership with a parts department. While we could have headed back to Las Vegas, a city like Vegas does not make for easy van living, because there are very few places to park for free and the surrounding areas of public land that allow dispersed camping are kind of far from the city.

Our first free camping spot outside St. George, Utah on Dameron Valley Road.

It was a very pretty spot, but there were a ton of ATVs and hunters also camped there, so we decided to go to a more open desert campsite for a more private site.
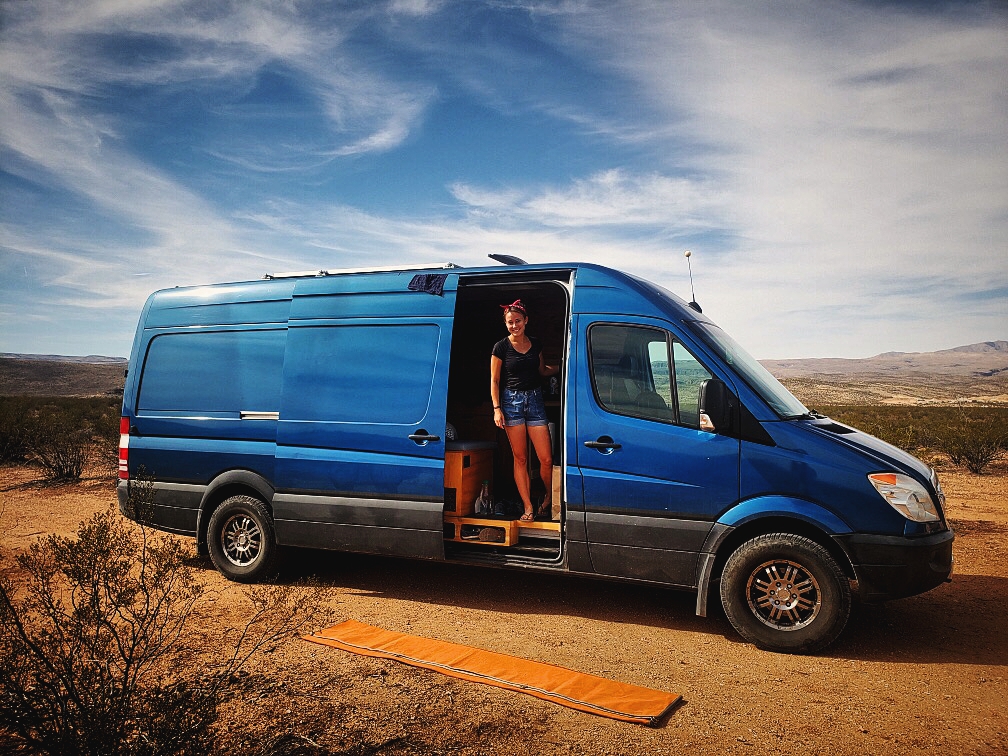
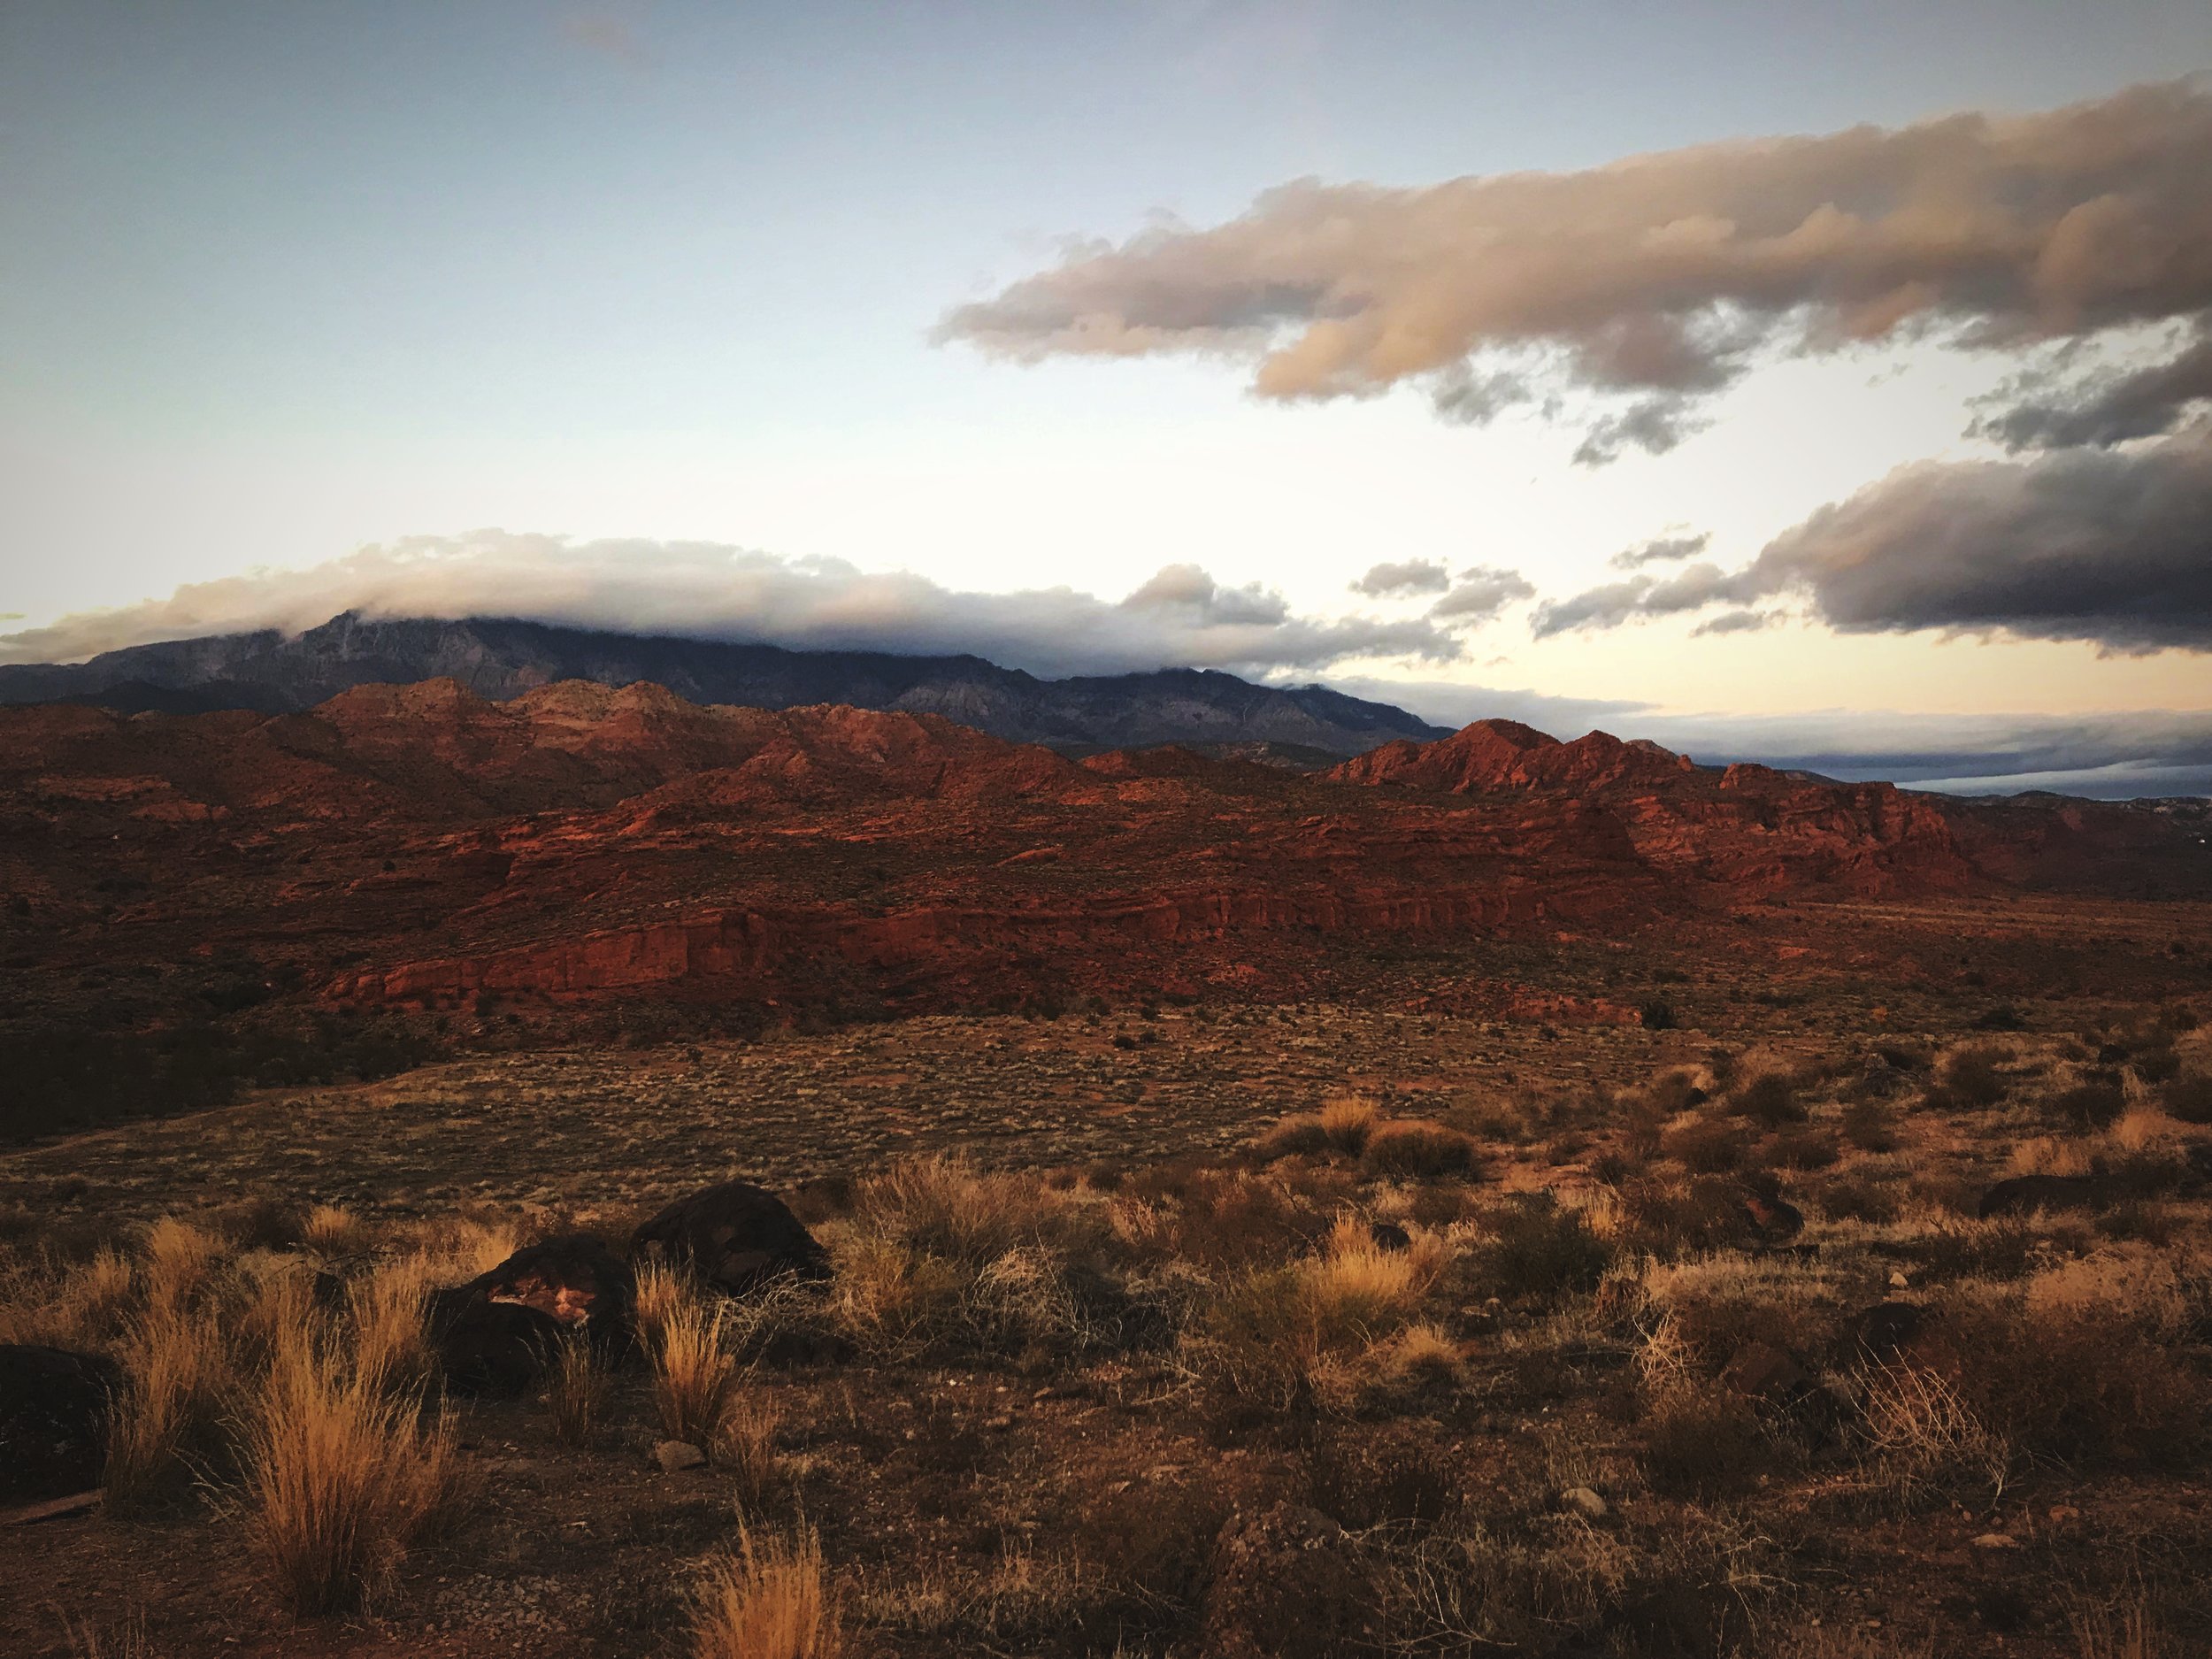
Just a few minutes outside St. George, we were able to research many spots on BLM where we could stay for an extended period (usually the limit is 14 days). We tried a spot north of the city in Dammeron Valley, but it was hunting season and we got woken up early in the morning by hunters on ATVs. We decided to head south of town to a spot just across the border in Arizona. What we discovered was an area of wide open desert with views of red cliffs and buttes in the distance. It wasn’t the prettiest area that we’ve ever camped, but it gave us easy access to St. George, because it was only a short distance of I-15. We stayed at that same campsite so many nights that we started to say to each other thing like, “I’m tired. Let’s go home, honey,” in reference to our campsite!

There was a huge network of dirt roads in this area that were perfect for cool evening runs.

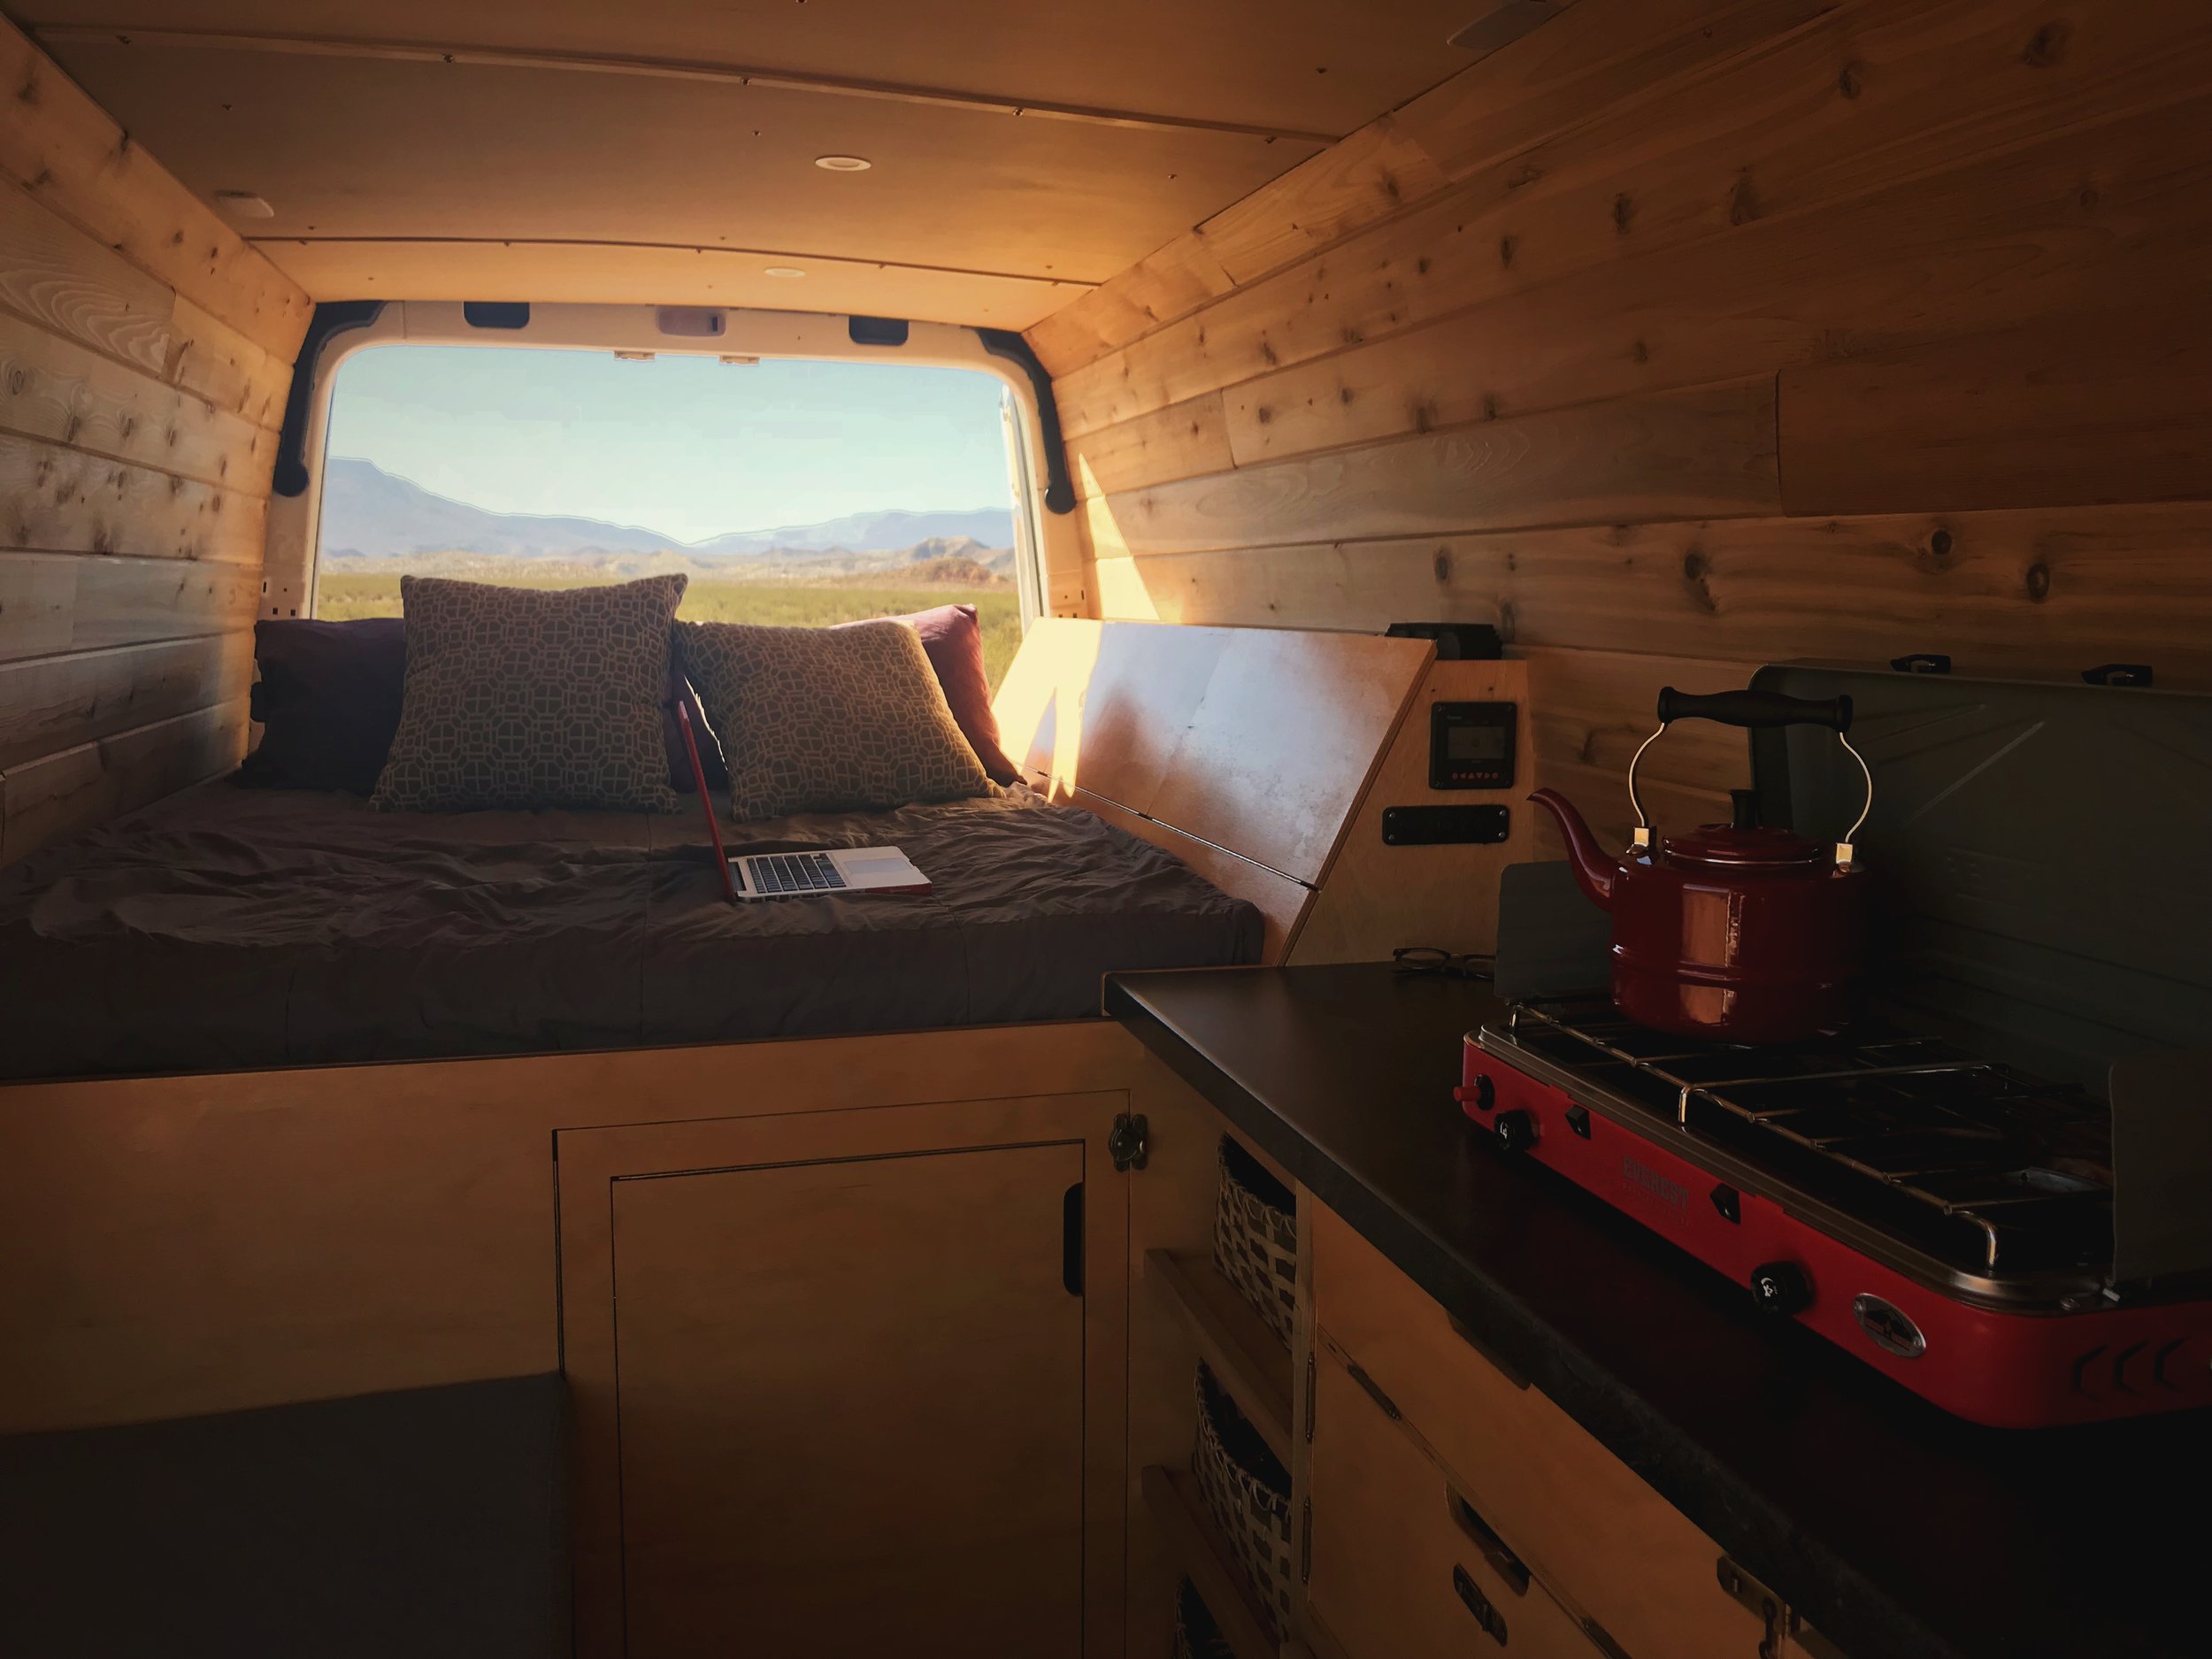
We were fortunate that the temperature was perfect for hanging out in the van when we were researching how to do the repair.
Having a campsite that you know works and that is comfortable will make figuring out all the your next steps as you prepare for the van’s repair so much easier. In regards to replacing our timing chain, Ian watched 100,000 YouTube videos and read the Sprinter-Source forum in its entirety. Having a good place to camp gave us the time figure out what we’d need to do for our timing chain repair.
This isn’t the prettiest campsite we’ve ever found, but we really started to become fond of it.
Having a reliable campsite while preparing for our repair, gave us the opportunity to be comfortable while facing a daunting task.
Of course this only works if your vehicle is mobile. If your van is literally broken down, that’s another story. When we were in Kentucky, we inadvertently broke a connection in our fuel return hose rendering the van undrivable. Fortunately we got lucky, because we were in the parking lot of an Advance Auto, which is a pretty convenient place to break down. We just asked the store manager if we stayed a few days while we waited for the parts to arrive, and they said it wasn’t a problem. It definitely wasn’t the most comfortable spot though, so we did the repair within hours of the part arriving.
Step 2: Order every part and tool you’ll need for the repair, along with a repair manual.
Once you have an agreeable campsite, the first thing you’ll need to find out what tools and parts you need for the repair. Getting a repair or service manual for your vehicle will help you learn what you need. Then you need to figure out how you are going to get them to your location.
Mercedes-Benz dealerships almost always will be able to get OEM Sprinter parts for you. Because some Sprinters were also rebadged by Dodge (like ours), we’ve also been able to order parts through Dodge Dealerships. (Dodge, Chrysler, Jeep are all one company, so often Jeep and Chrysler dealers can get Sprinter parts.) Freightliner also rebadged Sprinters for a while, but we haven’t really had any luck with getting parts from them since they are mostly in the tractor-trailer business.

Ian was able to get a copy of the Sprinter Service Manual for his laptop.

Figure out what parts you need before you start to tear your vehicle apart and can’t move.
It might be better to get some parts online from retailers like Amazon. Amazon now has a nice feature where you can check if a part or tool fits your vehicle. Sometimes tools, especially specialty tools like those we needed for replacing our timing chain, are best found online as well. When ordering from online retailers, you need to find an address to ship your items to. Most retailers will not ship items general delivery, but if time is not an issue or shipping costs are not an issue, you could ship parts to family or friends and then have them ship it to you general delivery. When in St. George, we looked into renting a PO Box for a month, but there are cheaper options, and some retailers will even refuse to ship to PO Box addresses.
We like to find someone who will receive our packages on Couchsurfing.com. In St. George we found a very welcoming couple who let us send our parts to their address, and later we stayed with them for a night. We had a fun time with them, they gave us some great St. George recommendations, such as a tasty spot to get frozen custard, and it was nice to have a decent shower too! Besides couch surfing, in a pinch, we’ve also stayed a night at a cheap hotel and shipped items there, and you could probably do the same with private RV campgrounds.

Ian hunted down this enormous wrench that he needed for the timing chain replacement by visiting a few different auto parts stores prior to the repair.

We really enjoyed the Frozen Custard at Nielsen’s in St. George, Utah, but we never would have gone there without a recommendation from a couple that we couch surfed with.
Step 3: Utilize libraries, coffee shops, and other public spaces.
As previously mentioned, preparing and researching as much as possible in advance is going to make the repair go much more smoothly. Most local libraries offer free WiFi. Unlike a coffee shop you don’t have to pay to be there, and it’s less weird to be there all day.
That said coffee shops are also good places to find free WiFi for research. When we were broken down in Corbin, Kentucky, we spent a ton of time in You and Me Coffee and Tea. Restaurants and bars work too for WiFi, but it’s not as easy to hang out there for long periods of time. Some towns are now offering public WiFi in parks or downtown areas. You can use an app like “WiFi Map” to find open WiFi networks in your area.

We liked St. George, Utah a lot, and we spent and afternoon exploring its downtown.

You can spot Ian doing some research in the town square in this picture.
Step 4: Find a location to do the repair.
Once you know what repairing your vehicle entails, it’s time to find a place to do the repair. Minor repairs and maintenance like oil changes can be done in the parking lot of a Walmart or auto parts store. For big repairs that will immobilize your vehicle and take several days, you’ll want to find a more secure place to the repair. The last thing you want to happen is to have someone ask you to leave when your van can’t be driven.
We like to find a place if possible where we have permission to do the repair or where we are certain that we are allowed to stay, such as a campsite on BLM land. Other considerations are access to bathrooms, auto parts stores, groceries, and other amenities. We’ve got our road bikes in our van, so we don’t have to be that close to those amenities, but we like to be within a reasonable biking distance if possible.
We found a place to do the repair by reaching out to Jeep groups in the St. George area.
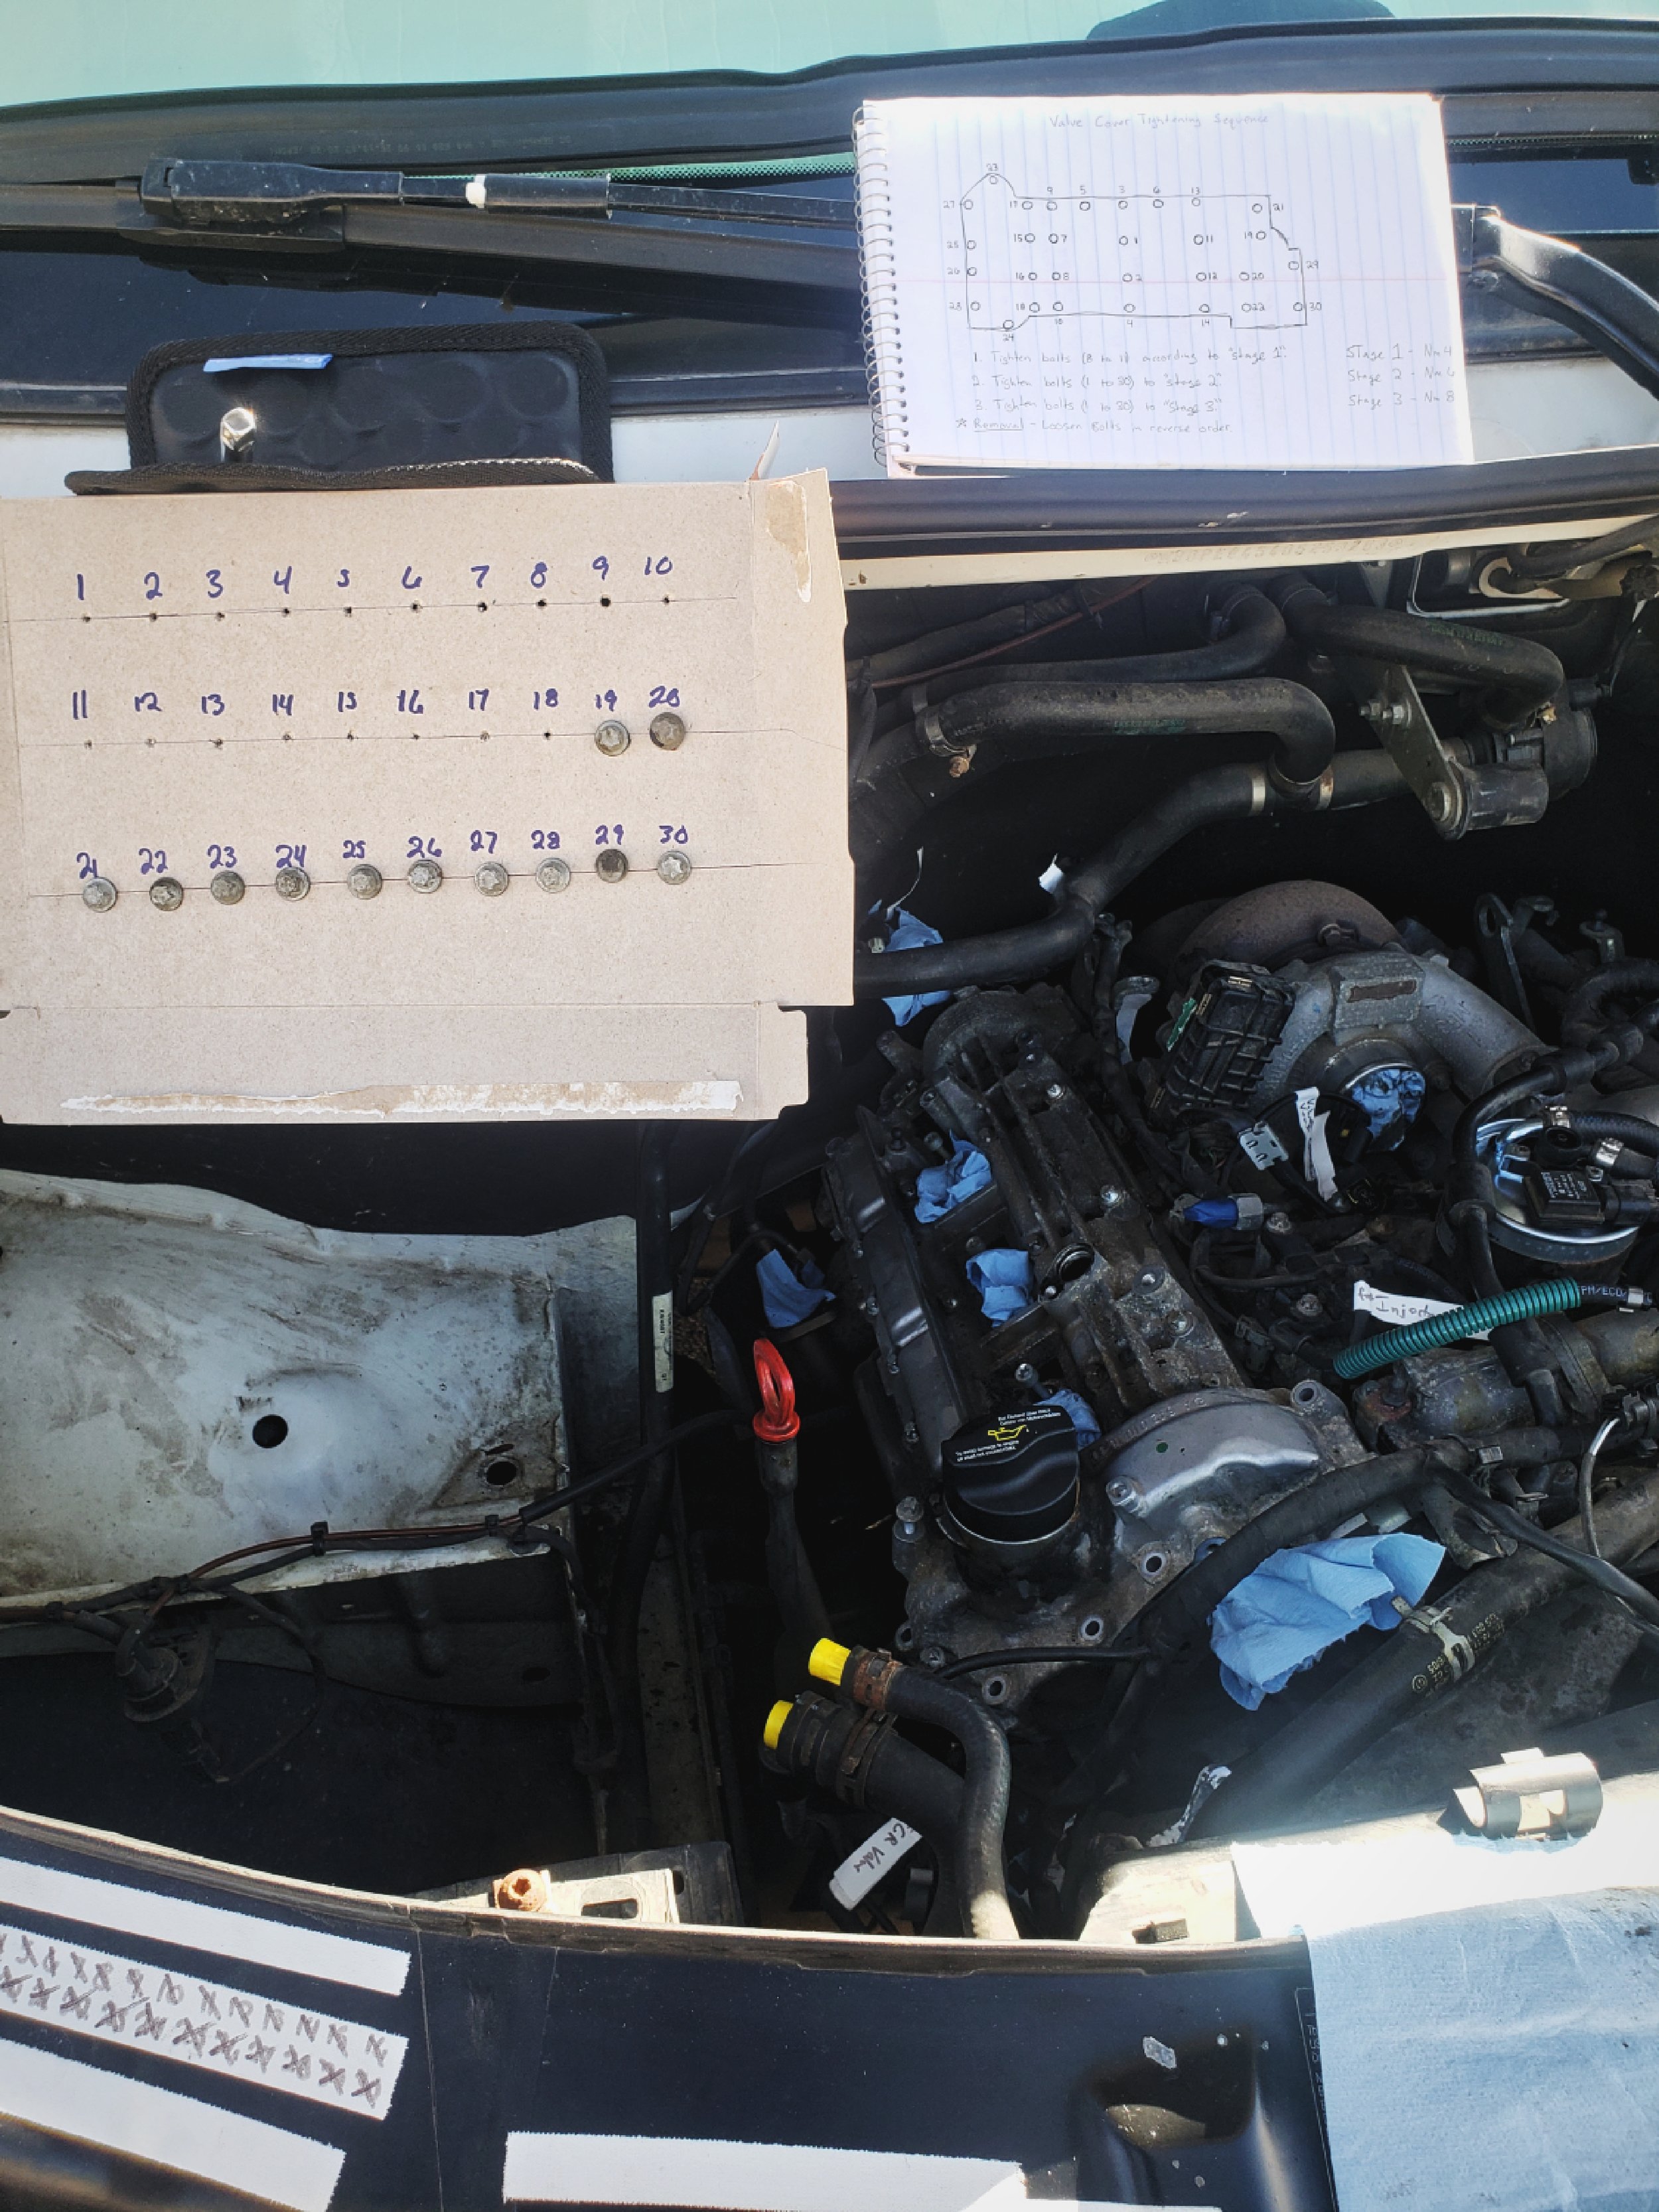
Ian had to develop this bolt guide, because there is a particular order for removing the valve cover’s bolts.
We were fairly comfortable through out the few weeks that it took to replace our timing chain.
When we replaced our timing chain in St. George, we didn’t want to do the repair at our desert campsite, because we had to open the valve cover so we couldn’t do the repair in wind and dust. We posted a request for a place to work and stay in our van on a couple of Sprinter forums and Facebook pages, and we also posted on a couple of Utah-based overlanding and Jeep Facebook groups. We got a few offers from people to let us do the work on their property in the St. George area. People are surprisingly willing to help strangers.
We ended up finding someone who allowed us to do the repair in the parking lot of their business. It was within walking distance of a gas station and within biking distance of auto parts stores and a commercial complex with a grocery store, coffee shop, and other shops. Most importantly, we were close to a trail system—with a bathroom at the trailhead.
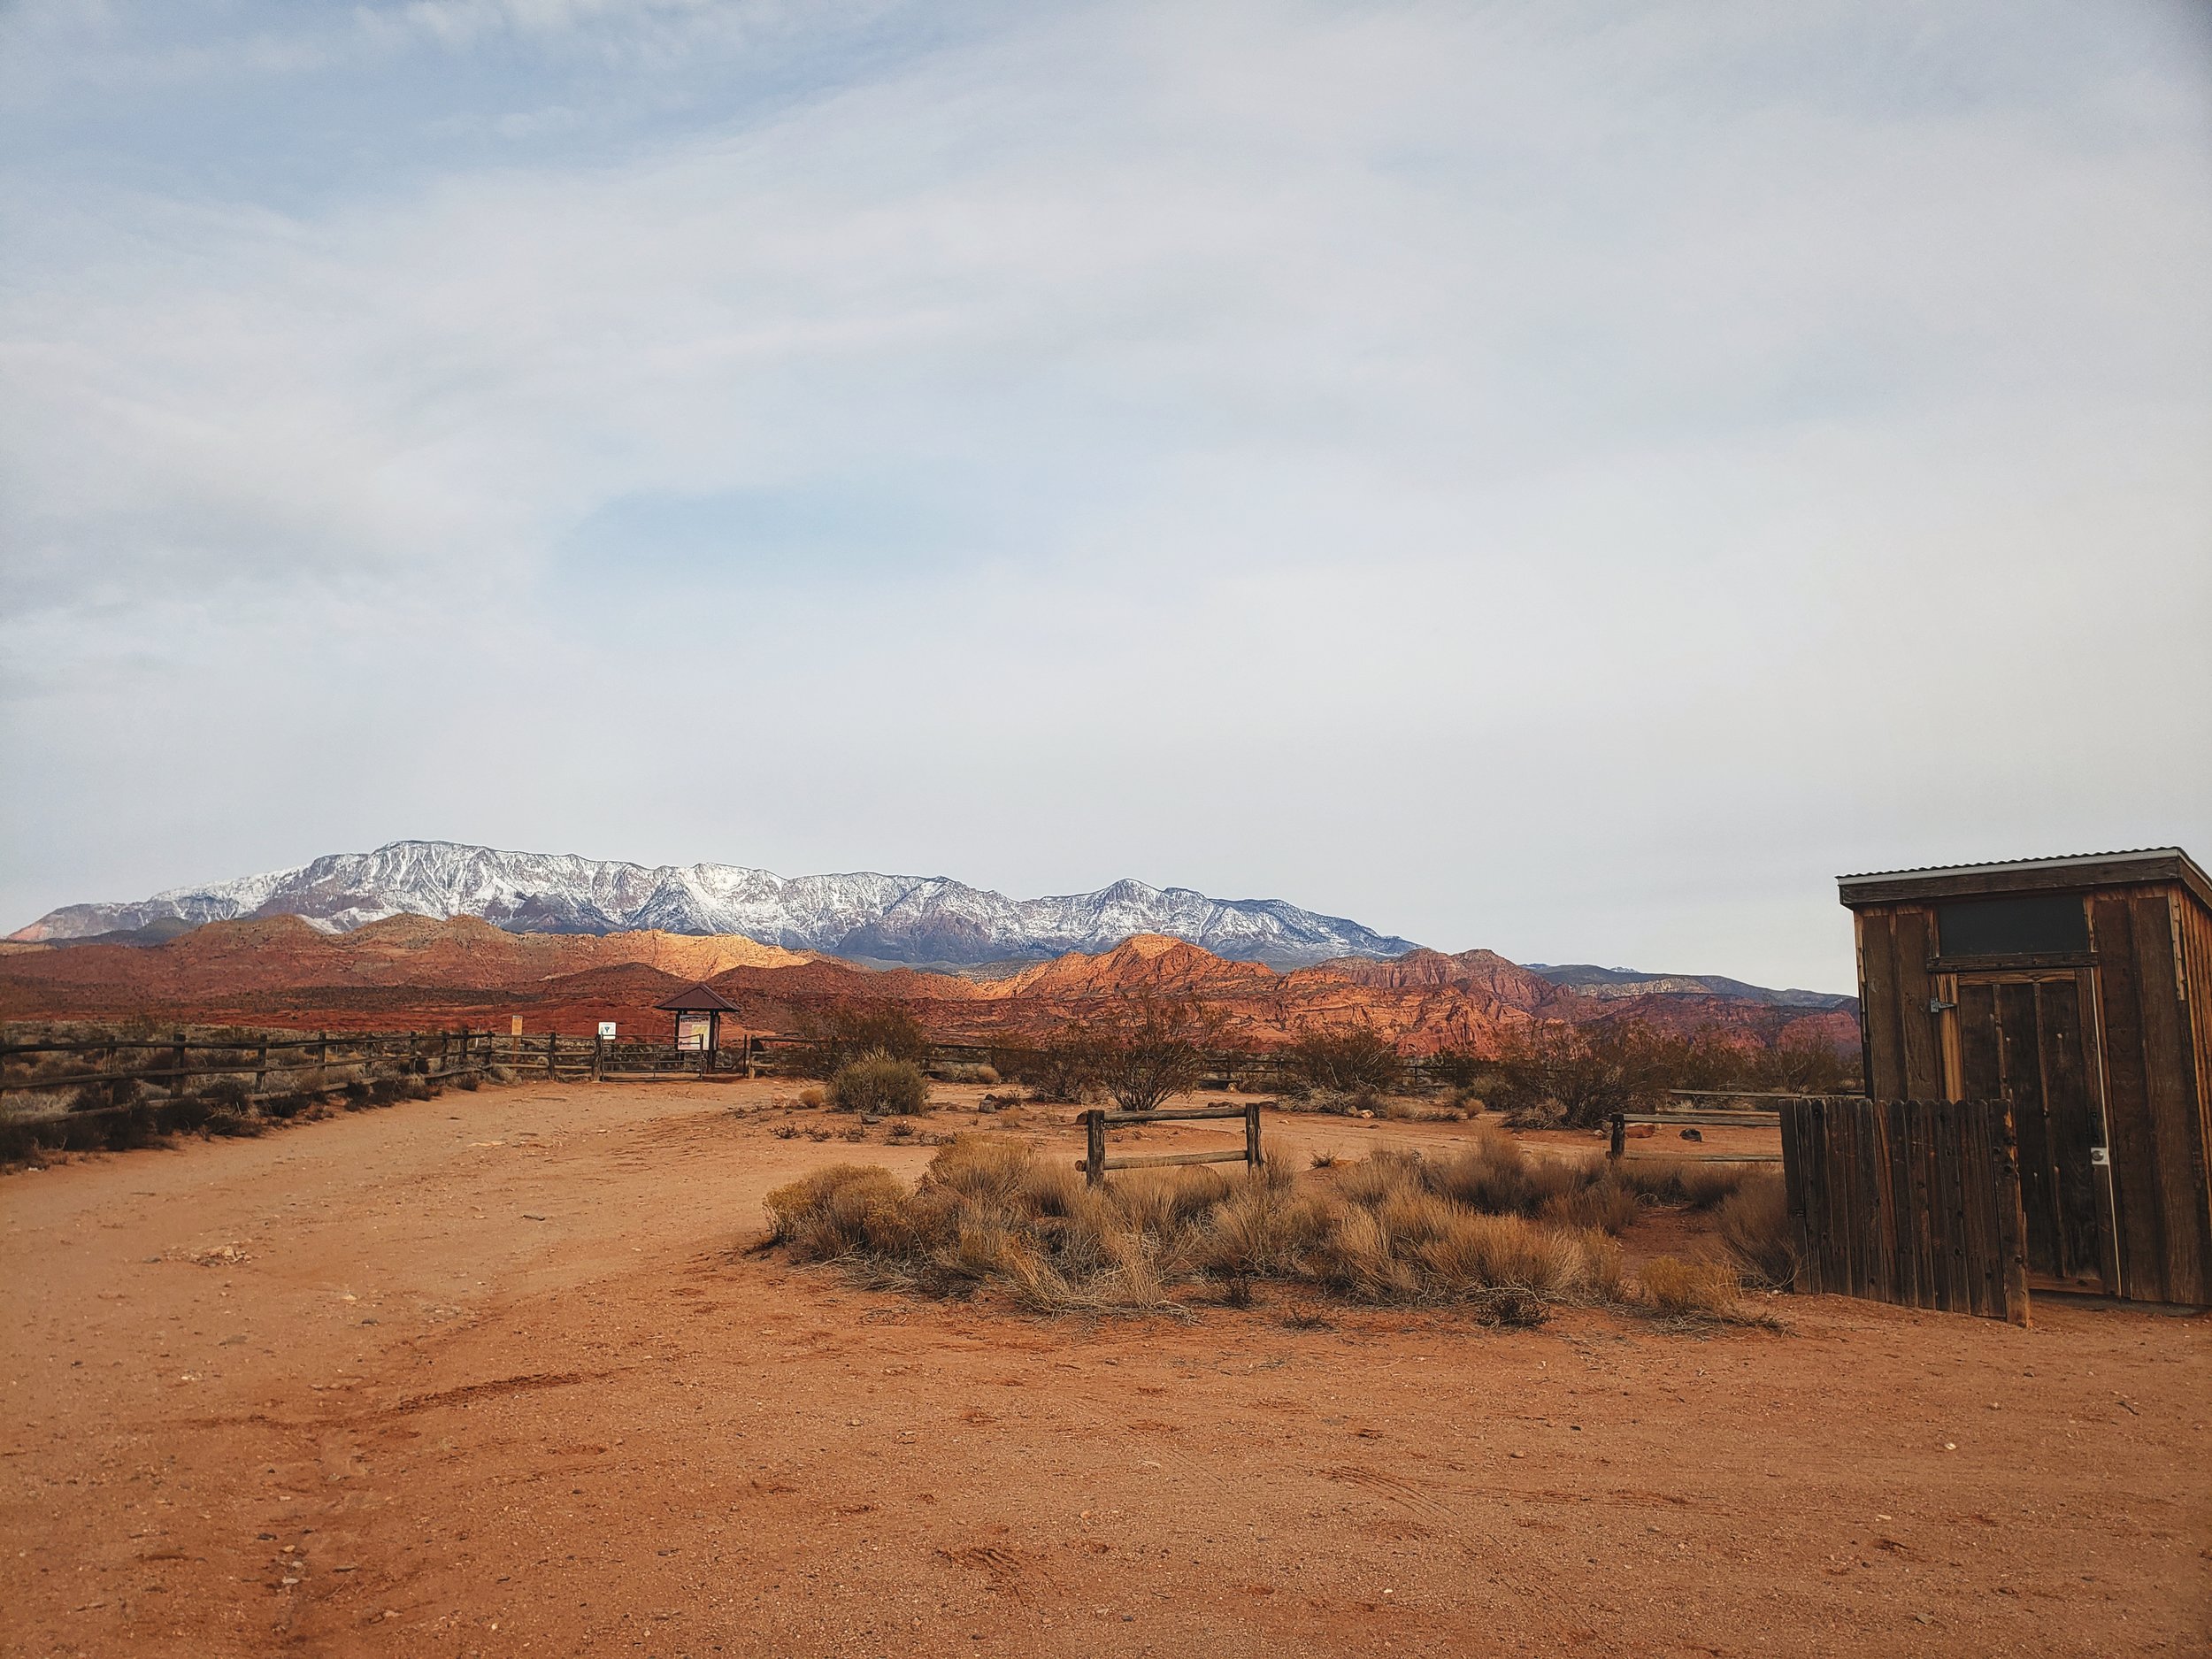
A loo with a view! Having a bathroom is a surprisingly important consideration for doing a repair when you don’t have a bathroom in your camper van.
Step 5: Do the repair.
Not much to be said here. Once you have a good spot to do the repair, make sure you have all the parts and tools you need and that you are prepared to do the repair. Don’t forget to stock up on things like groceries and water before getting started. Then get to work! (Or in my case, say, “Get to work, Ian!”) If you need info for a 2008 Sprinter timing chain replacement, check out our forum thread on Sprinter-Source.com from when we were doing the replacement.
We needed to order these specific guards for replacing our timing chain before doing the repair.

The goal when you’re done with the repair is not to have any extra parts left over at the end!
Step 6: Keep your morale high.
We had planned for replacing our timing chain to take about four or five days. After breaking our old timing chain, we realized that we had been sent the wrong new timing chain. We were doing the repair right before Thanksgiving, so we had to wait a week to get the other timing chain because the shipment couldn’t be processed until the Monday after the holiday. That meant there was a week where we basically weren’t doing anything in regards to the repair, but we also couldn’t move the van.

We ran out of propane for cooking during our time replacing the timing chain because it took so long. Here’s Ian carrying the replacement.
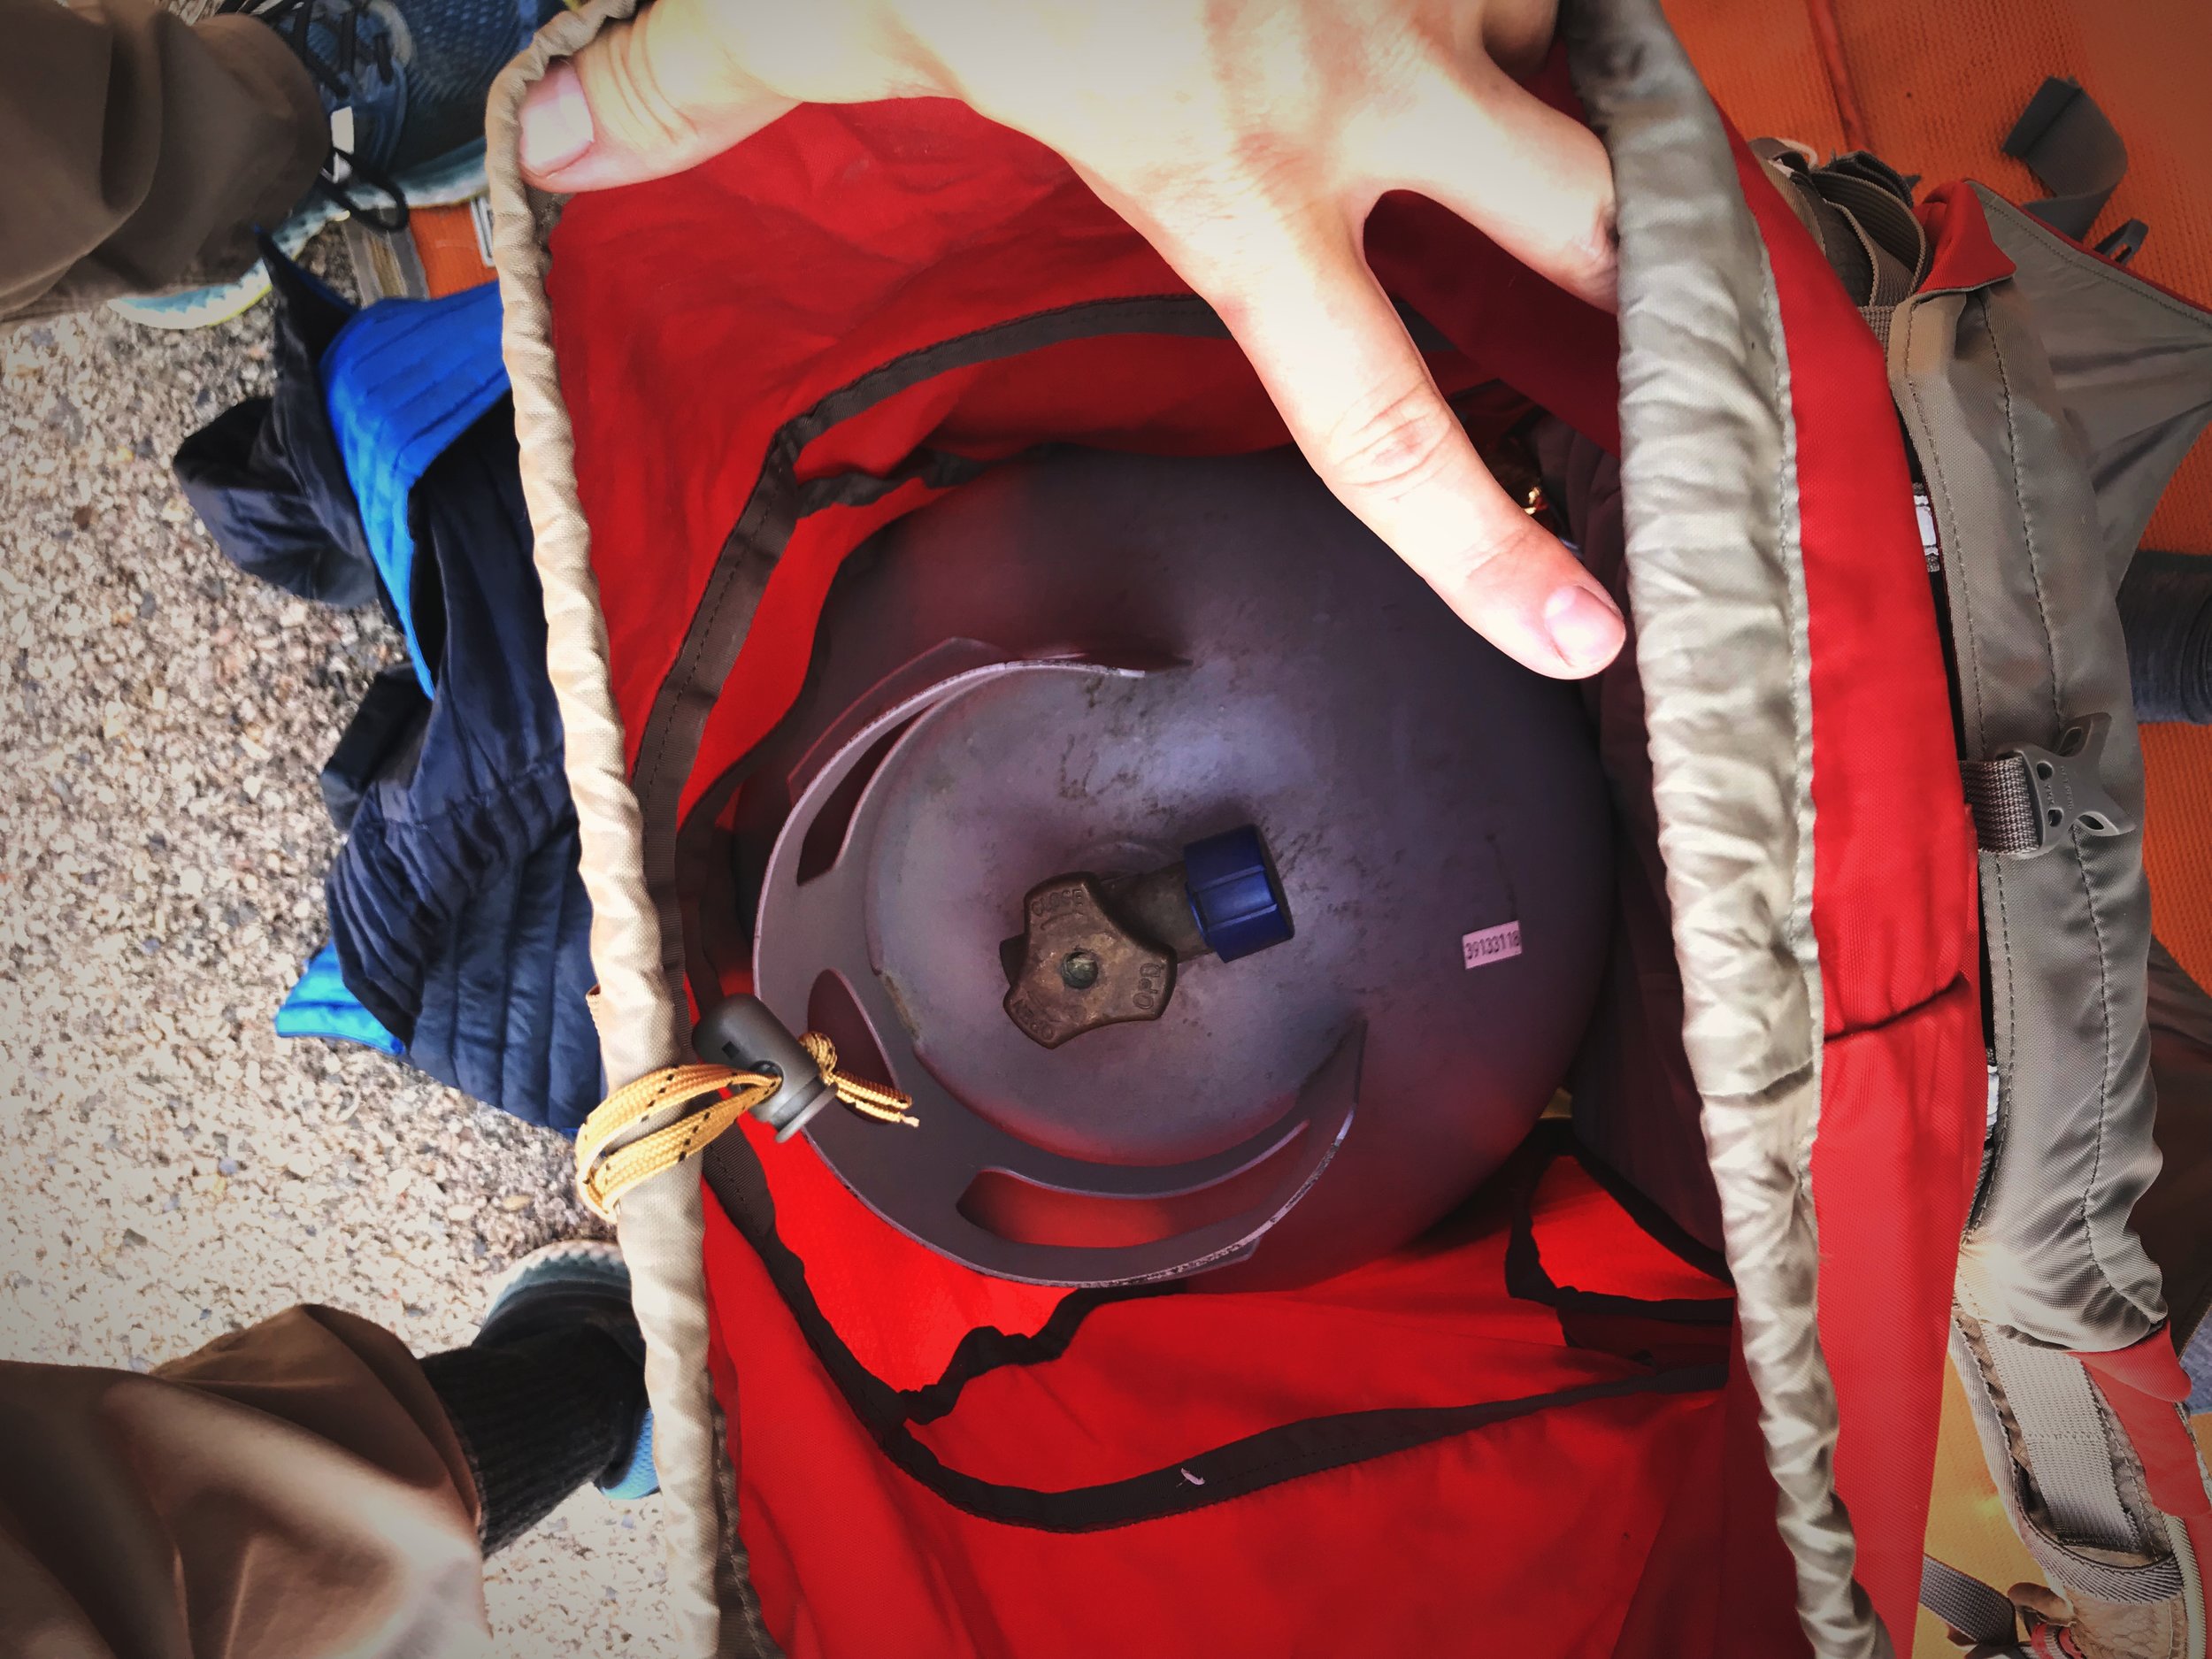
Ian had to bike to a gas station to exchange our propane tank. He put the tank in my backpacking backpack so he could carry it. The store clerk must have been so confused.
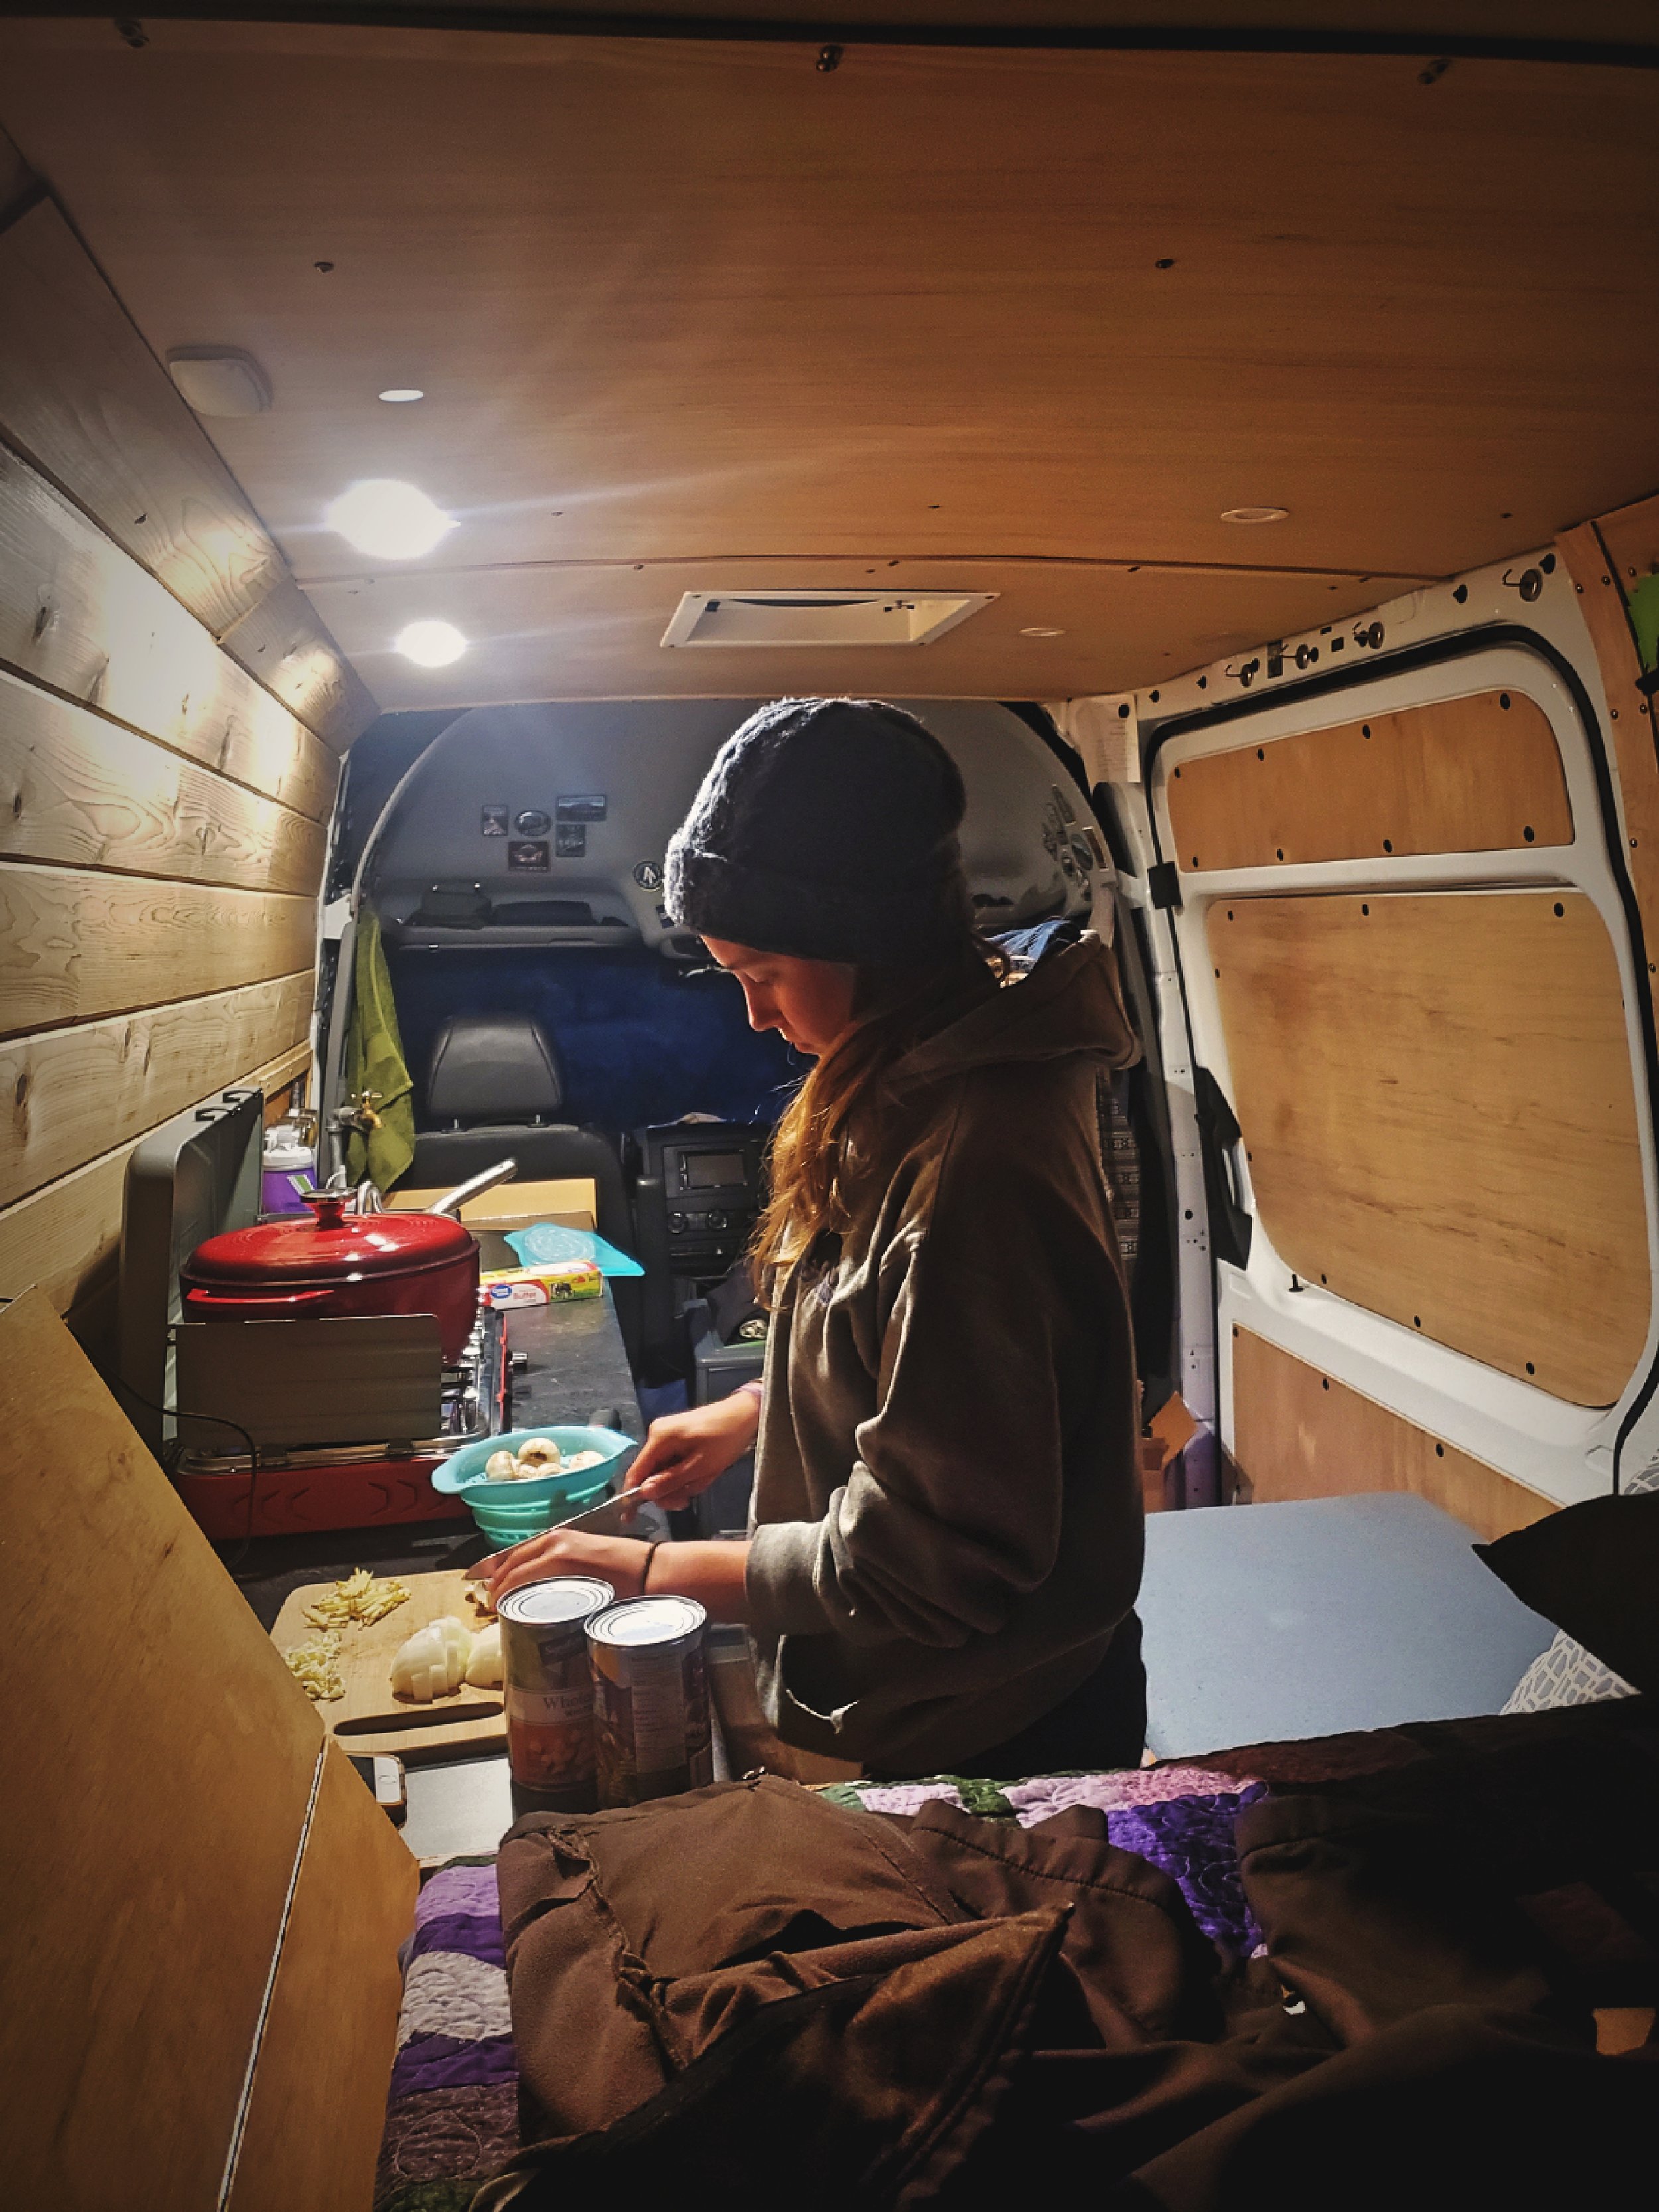
We did our best to keep ourselves busy and to keep our spirits up, but at a certain point walking a half mile to poop starts to seem less convenient. Ian replaced the rear struts on the van—something he’d been planning to do for a while. He cleaned the EGR valve and cooler. I put a lot of new content on our website. We cooked some really complicated meals, but then we started to run out of all our good ingredients and mostly just had canned beans left. I exercised a lot, and we went biking. We watched half of Netflix and I read all the books I had in the van. I took online surveys to earn extra money (for more on that, check out my blogpost about how I make money on the road.) Keeping busy and keeping your morale high when it seems like your van is never going to move again will make the repair go a lot more smoothly and quickly.

Besides having to haul a propane tank on his bike, Ian also did quite a bit of biking just to stay sane while we were waiting for parts to arrive.
I spent many afternoons running while we were stuck in one place. We were near running trails and bike trails!
We also had Thanksgiving dinner with a family who lives in a bus who we found out through social media were in the St. George area. We had a great time making some new friends, enjoying delicious food, learning about how they travel with kids, and checking out their build. (Follow them on Instagram @deliberatelifebus.) It was really nice to get away from the van for a night too while our work was on hold.

We spent a lovely Thanksgiving with a family who live in a bus.

Here we are enjoying Thanksgiving dinner in their cozy, wood-heated bus home.
Step 7: Making sure you did the repair right.
After we replaced the timing chain, put the valve cover back on, and tightened all the bolts down, it was time to start the van up again. That was one of the scariest moments we’ve had all year (second only to being shot at…read about that in our Vegas blogpost). Fortunately the van did start, it ran well, and the noisy clatter upon startup was gone! We stayed in the St. George area for a few days to make sure the van was running well before heading into rural Utah to visit all of it’s beautiful national parks. 4,000 miles later, the van is still running great.

The new timing chain was about 71.5” long.

Our old timing chain was over 5/16” longer that the new timing chain. That’s a decent amount of wear/stretch, so we are glad that we replaced the timing chain when we did.
Step 8: Celebrate a job well done.
Go to a beautiful place and pop a bottle of champagne!
Posts also tagged:
arCHES, aRCHES nATIONAL pARK, aRIZONA, bIKING, blm lAND, ciTIES, cOOKING, cOUCH sURFING, fOOD, fREE cAMPING, fRUGAL tRAVEL, lIBRARIES, mAIN STREETS, pUBLIC lAND, rUNNING, sPRINTER rEPAIR, sT. gEORGE, tRAIL rUNNING, tRAILS, tRAVEL, tRAVEL aPPS, uTAH, VAN CONVERSION, vANLIFE, vANLIFE bUDGET, vANLIFE hACKS, vANLIFE sHOWERS, vANLIFE tIPS
Have you done a major repair while traveling? Have questions about replacing a sprinter OM642s timing chain? Let us know below.