Framing the Van

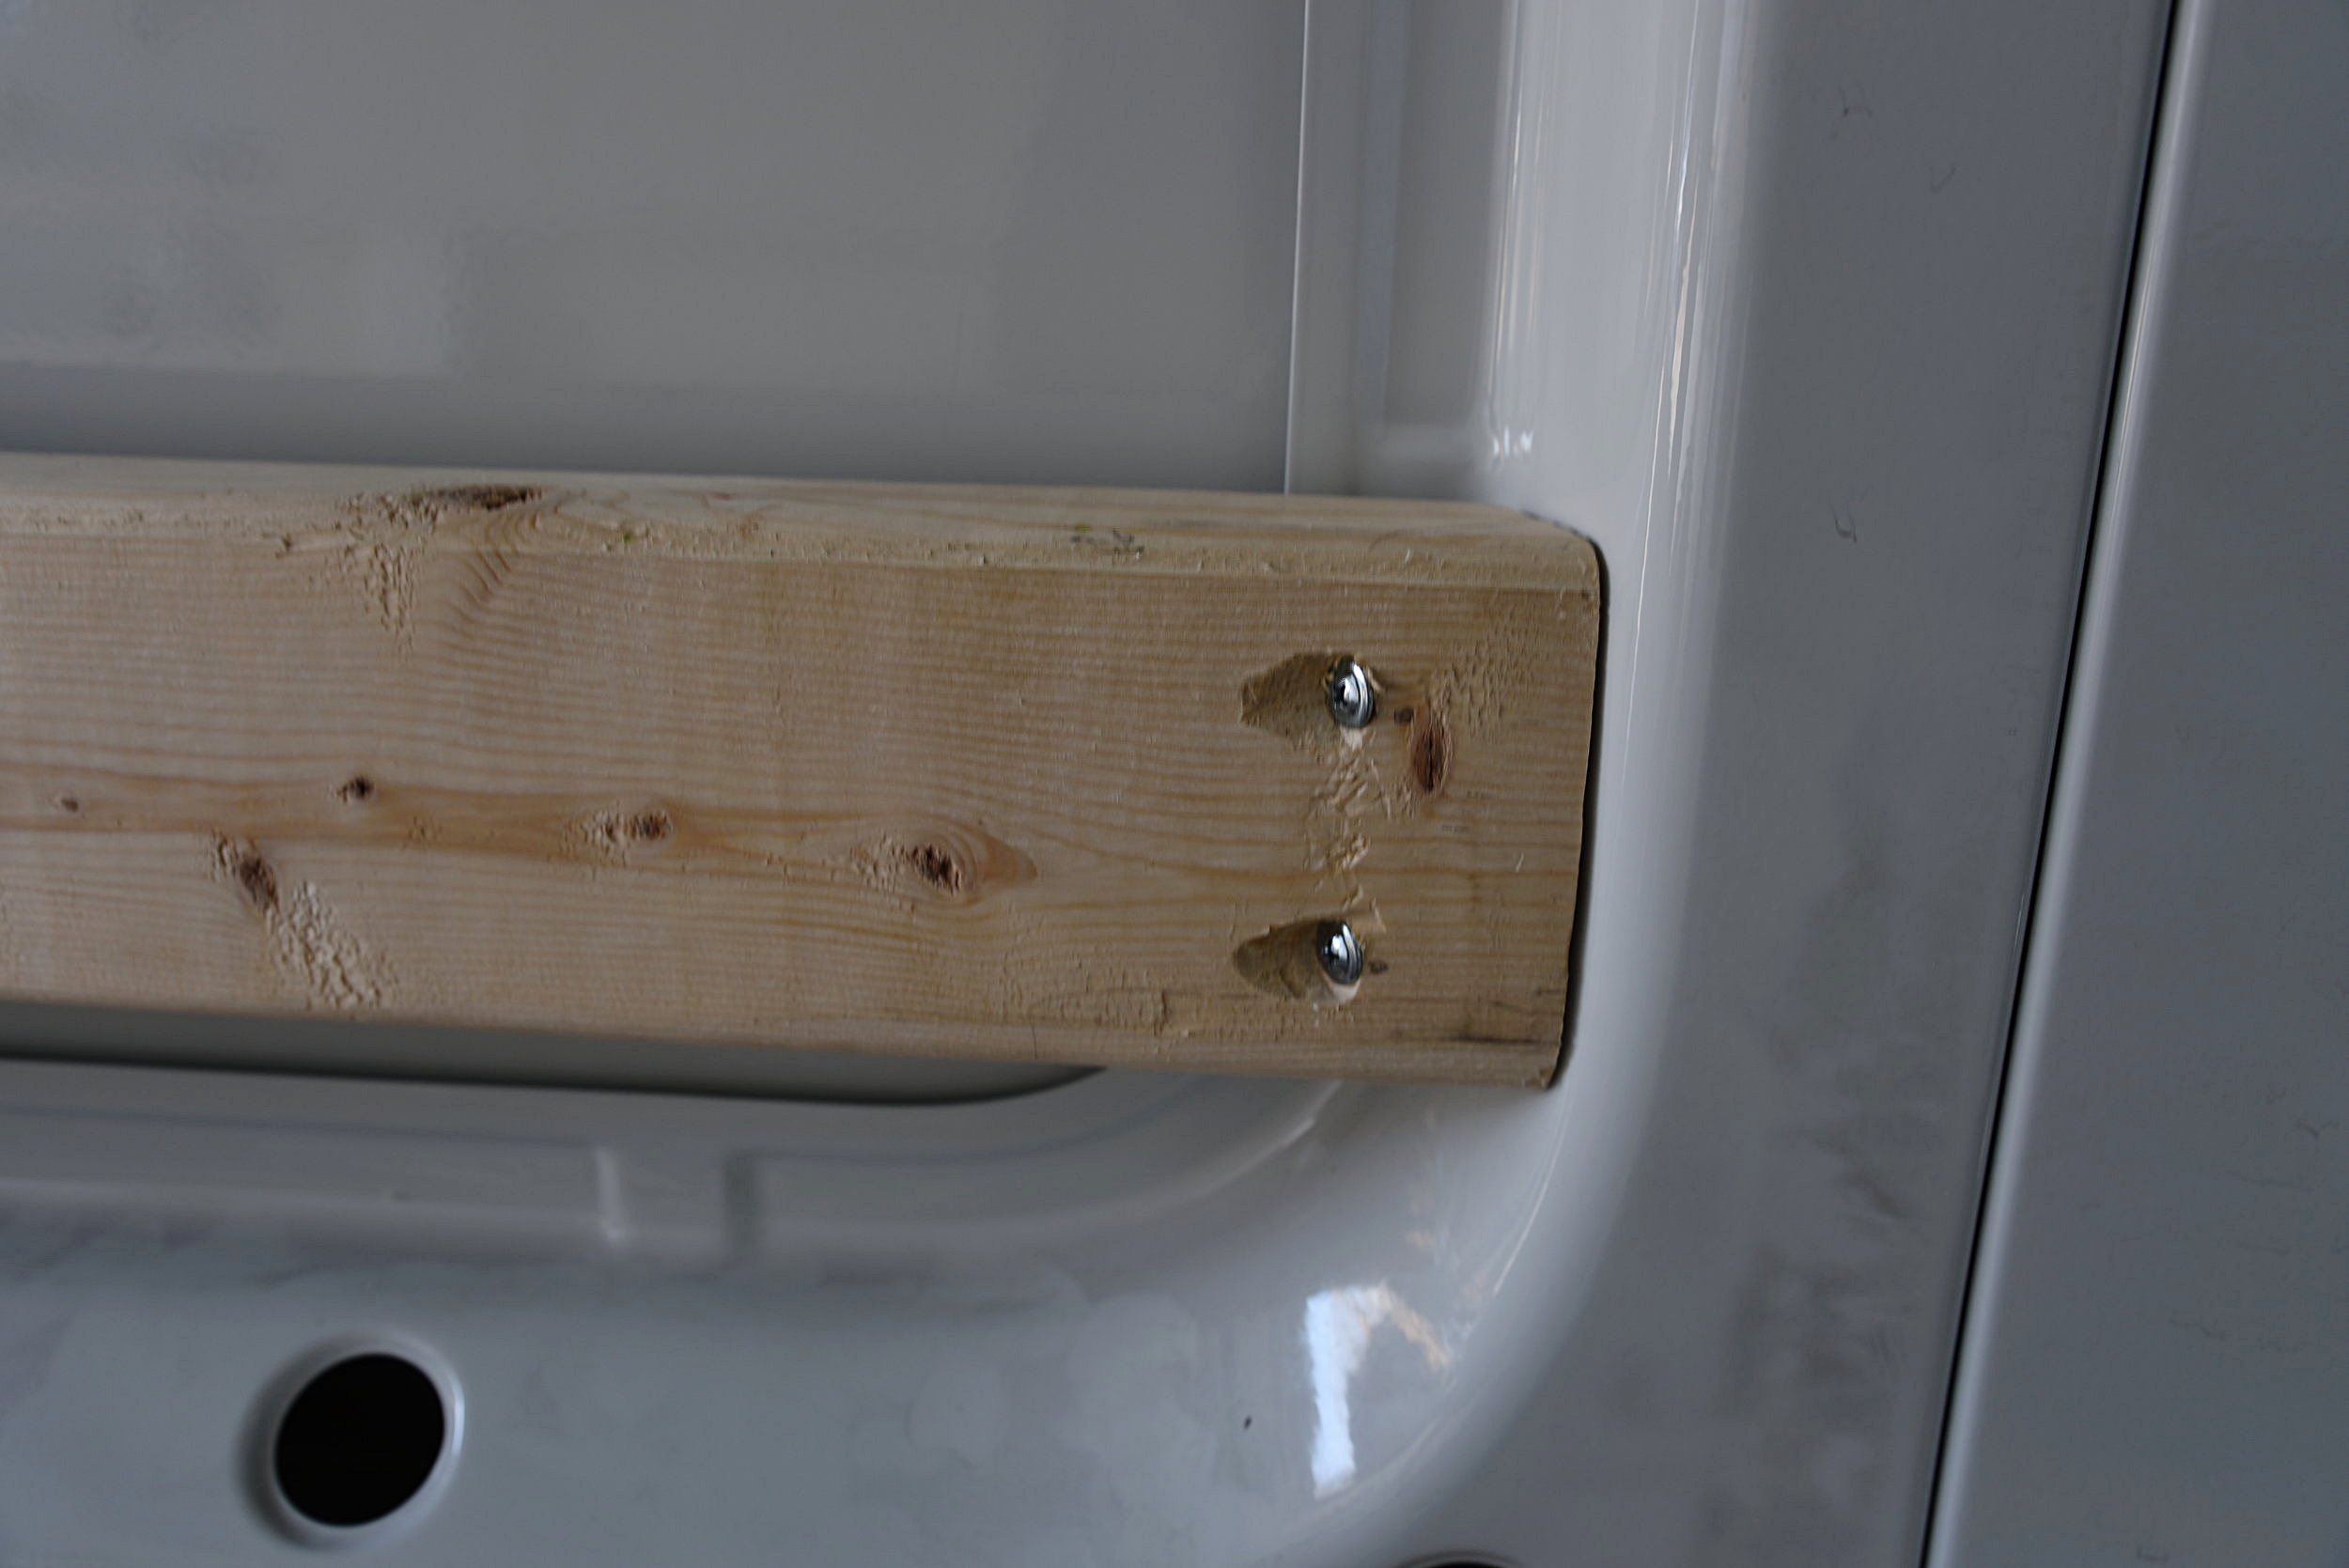
This 2x4 board installed in the wall of our van allowed us to mount our bed cabinetry to our van’s wall.
Installing Wooden studs in our Walls and Ceilings
Anywhere that we were going to install heavy cabinetry or paneling, we installed wooden "studs" in the van wall so that we could secure them into something other than just the metal ribs of the van. In order to pick the location of these studs, we had to be sure of where and how we were going to install the cabinets afterward.
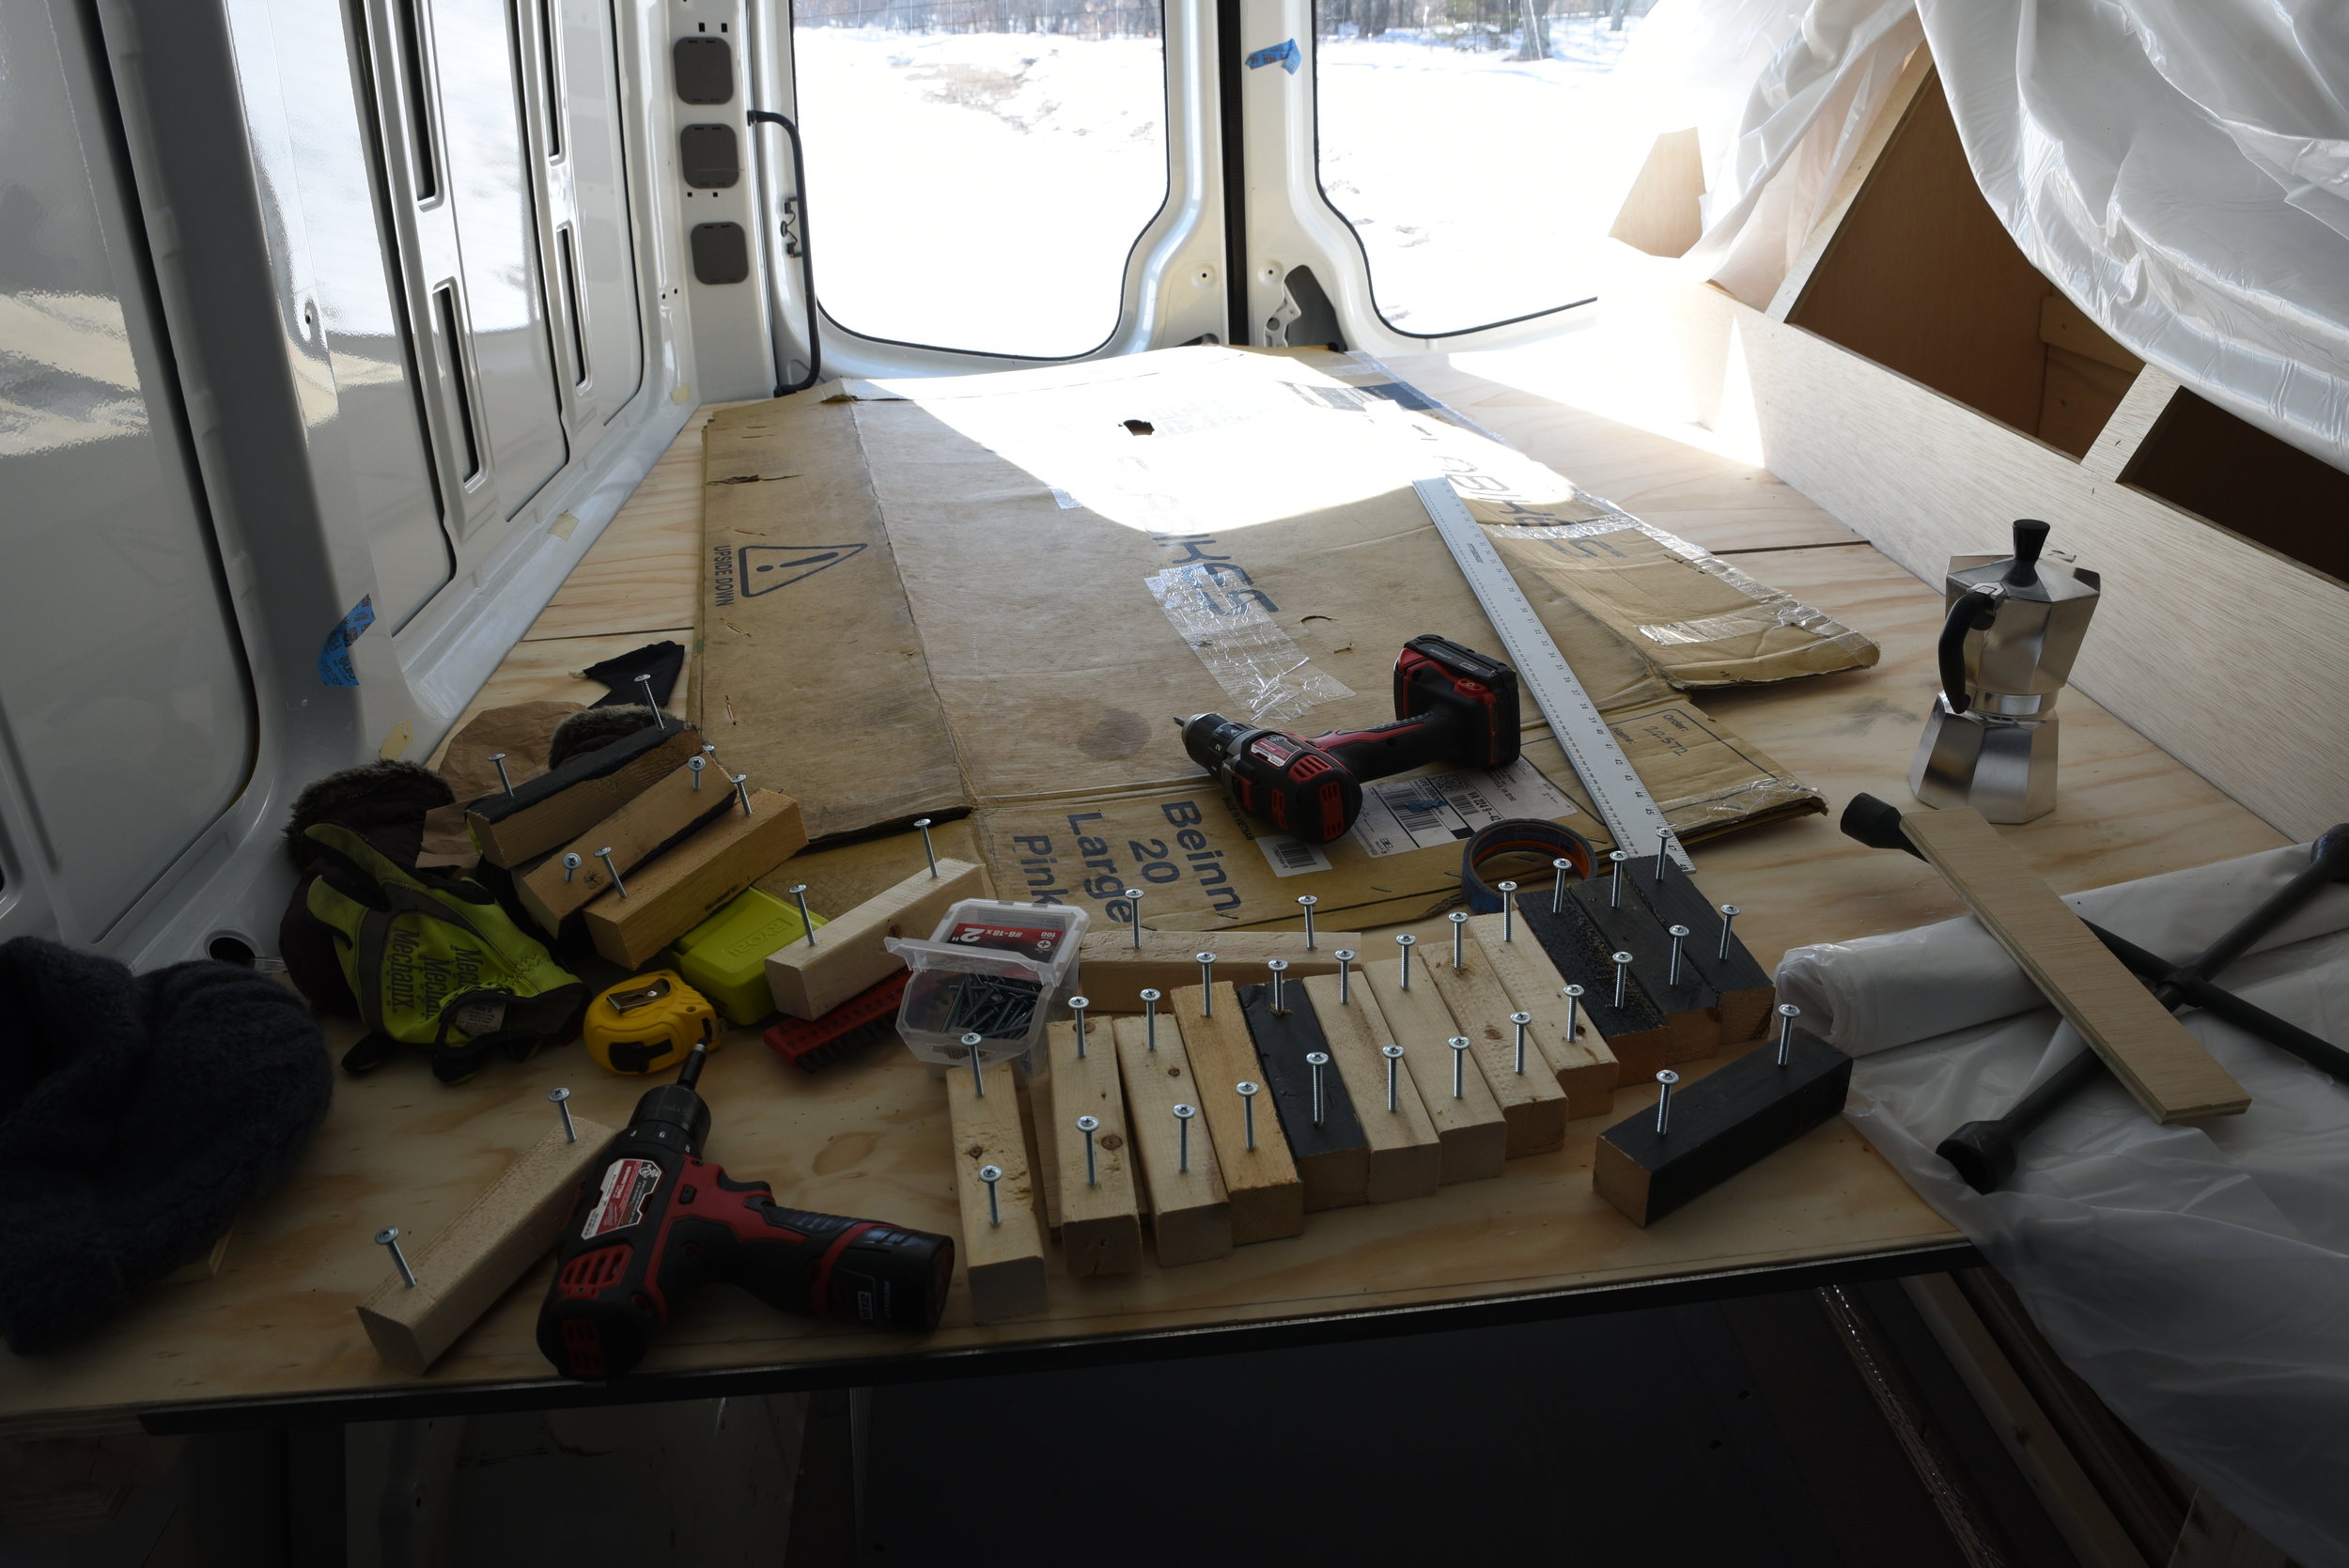
Tools
Materials
2x4” boards
2x2” boards
Scrap wood
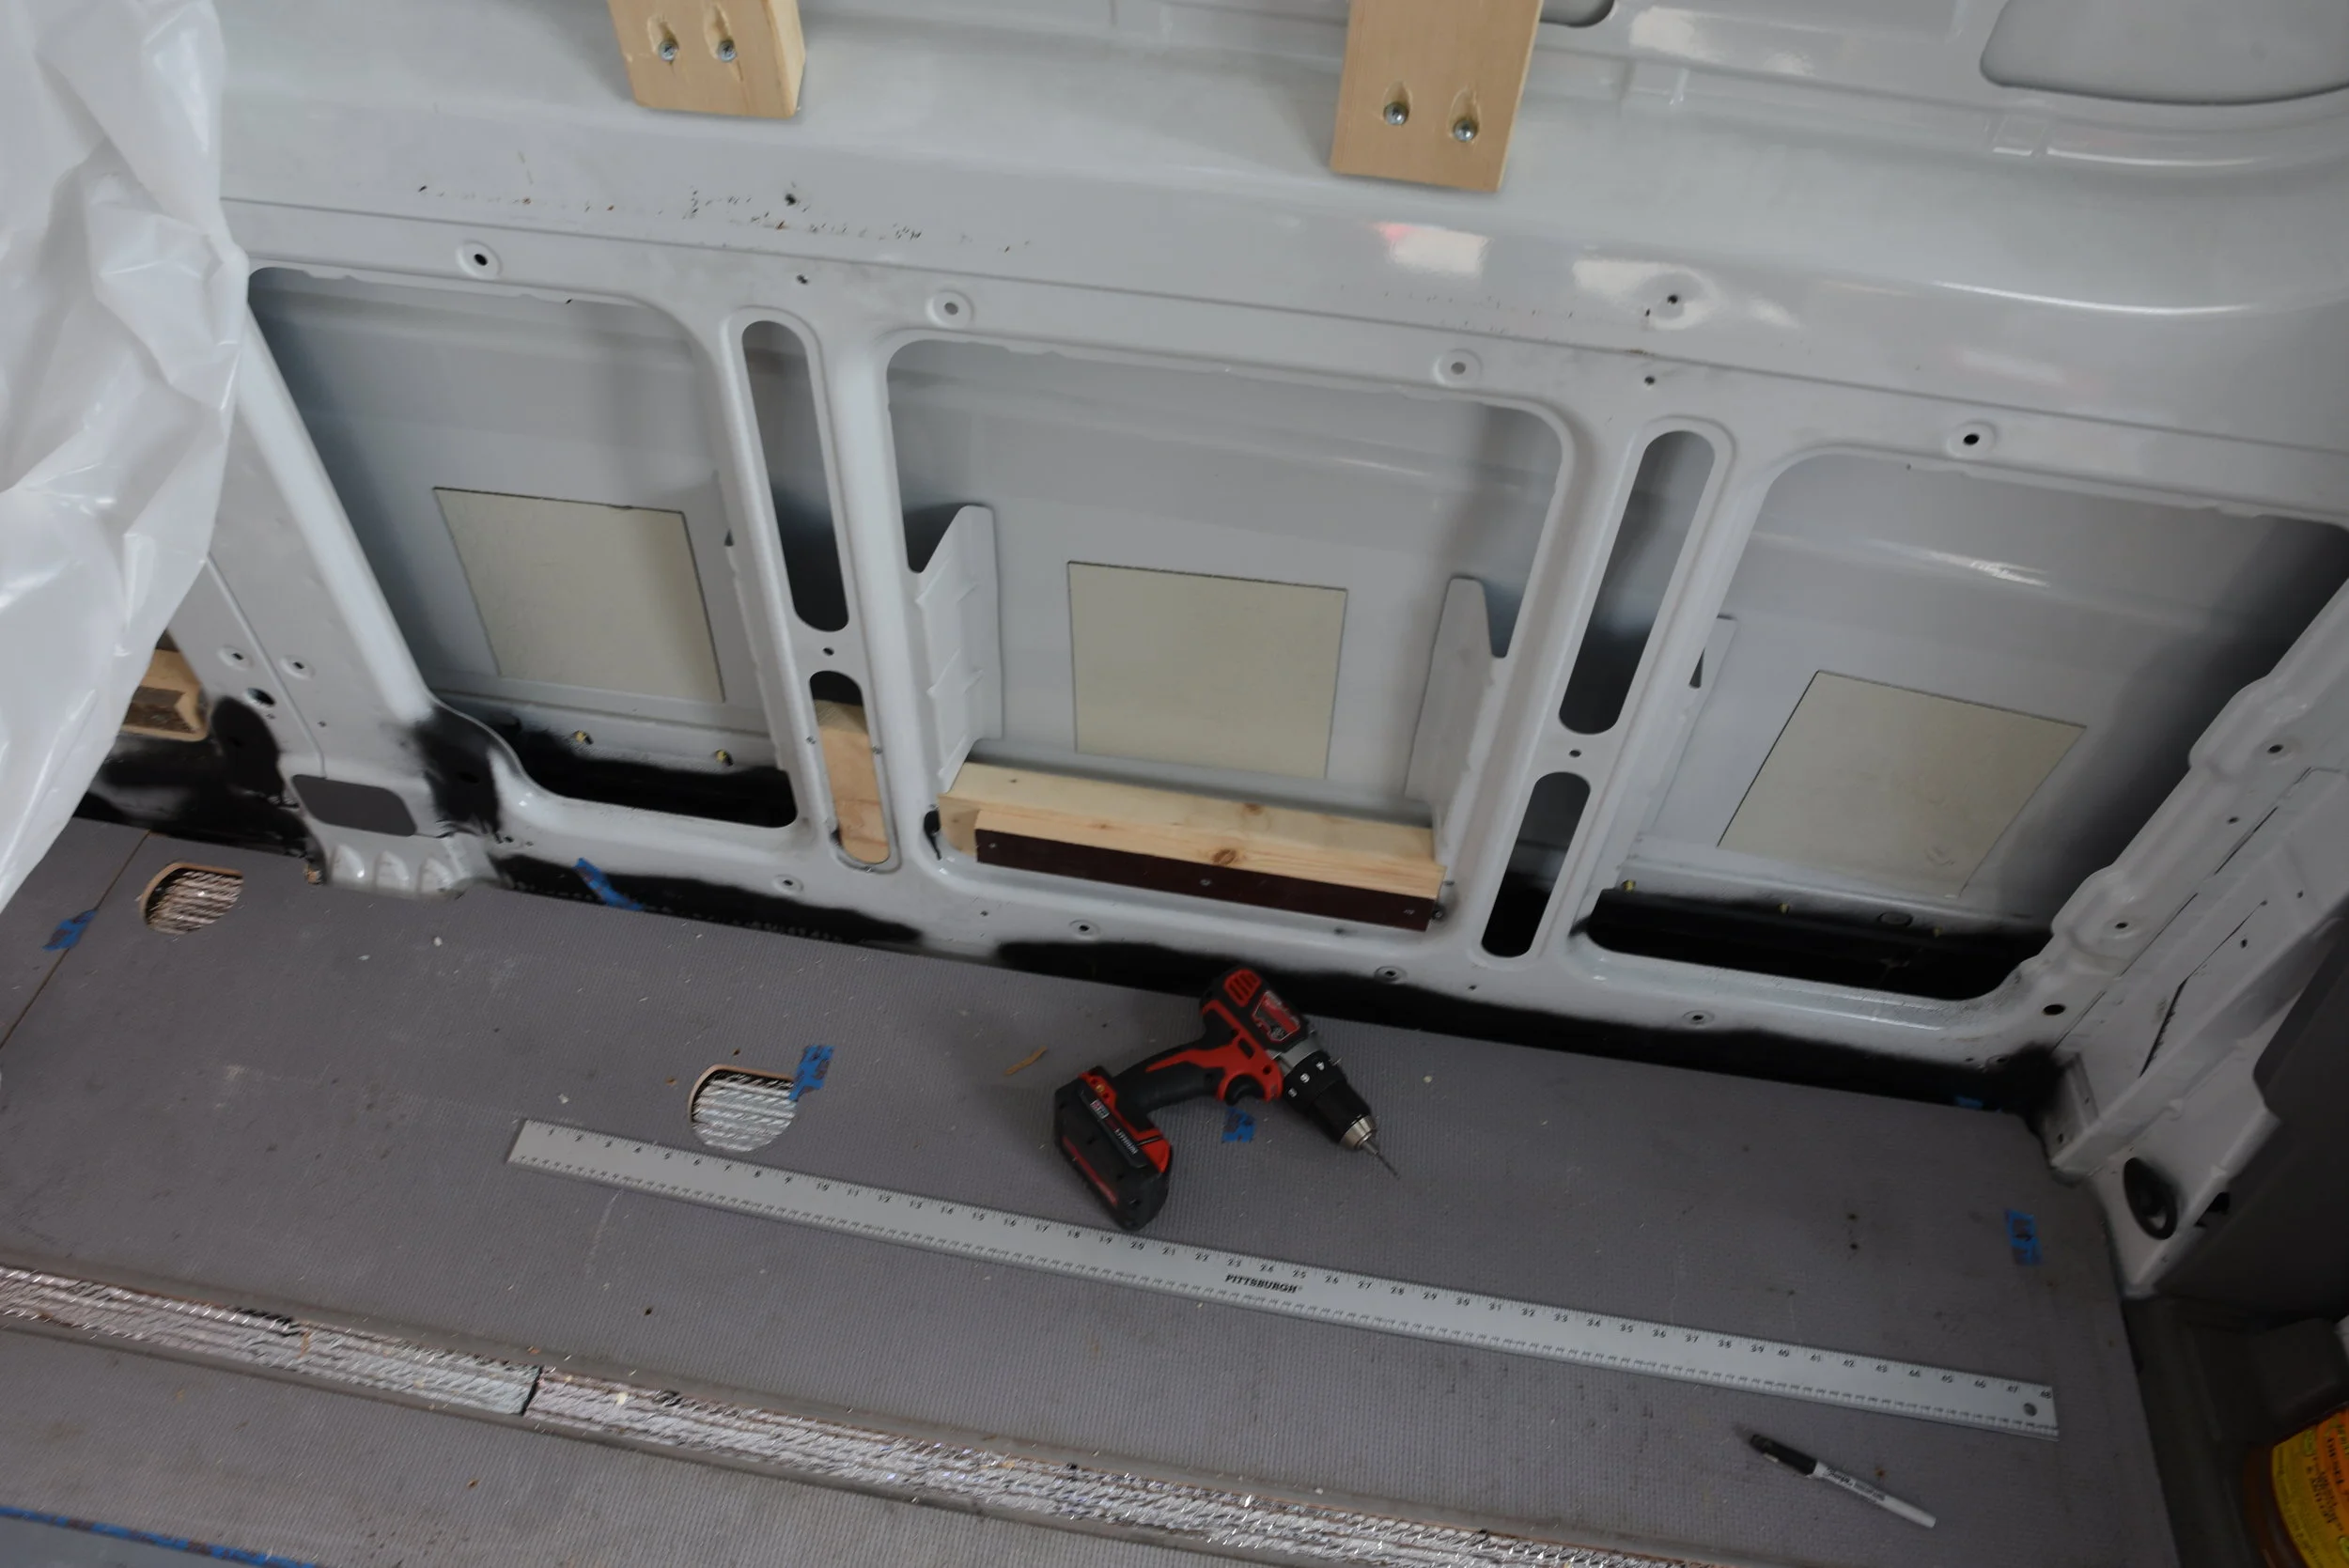
The first areas that we "framed" were the walls of the van. We began by figuring out anywhere that we would need to a little extra support to secure something to the walls of the van. We decided that the two areas needing wall "studs" were both on the drivers side of the van. These were behind our bed platform cabinetry and the area behind our kitchen cabinets and countertops.
Often in van conversions, people will run thin strips of lath across the surface of the ribs and then screw them on top. This method does have its merits--it rounds out the sides of the walls and makes screwing in the wood lath pretty easy. However, you lose quite a bit of space with this method by creating unnecessary gaps behind the wall. You also can only use very thin flexible strips, and we didn't think these would be quite so sturdy as the 2x4s we used.

Chiseling these notches in the boards by hand was quite time consuming.

In other panels we were able to attach the boards vertically so we could avoid any chiseling.
We didn't want to lose any space on our walls, so rather than run pieces of wood across the tops of the ribs of the van, we fit them within the ribs prior to insulating. (See “Insulating the Van” for more on our insulation.")
We used sturdy 2x4s for the framing in the large wall panels. To get the boards to fit flush into the wall cavity in a few places we had to hand chisel and file some notches out of the wood. We also cut the ends of the wood at the same angle as the angle on the ribs of the van using our circular saw.

Without recessing the holes, the wide pan head screws would have stuck up out of the wood too far for us to attach our cedar paneling.

We just used a very large drill bit to create the recessed holes for the screws.
The recessed screw holes also allow the screws to go further through the wood so that there is more screw sticking into the metal.
We used self-tapping sheet metal screws to attach the boards to the wall. We had to recess the holes so that the screw head wouldn't stick out of the wood. We didn't use our pocket hole jig for this since it will be covered by cabinetry later. We just used our largest drill bit to drill a rough angled hole for the screw head to lay in.
Even though the screws were self-tapping, we used a small drill bit to pre-drill a small pinhole in the metal first. This made it much easier to screw the wood into the right place without much trouble. You don’t need any special drill bits to drill into metal—the same ones you use for wood also work for metal. Go slow to reduce friction/heat and your bits will last longer.

We slid a larger piece of wood behind the metal ribs, and then laid a smaller piece on top of the larger piece to bring the stud flush to the surface of the wall.

In this picture, you can see where we slid some pieces of wood behind the ribs to serve as studs.
We also screwed some scrap wood inside the lower panels of the van as well. These boards will help keep the bottom of our heavy kitchen cabinetry from shifting or twisting at all when we drive.
The final step of the framing process was the ceiling. We attached six-inch-long scrap 2x2 pieces onto the ceiling ribs. The ceiling ribs on Sprinters are just under two inches deep, so the 2x2s sit perfectly within the ceiling without losing any headroom.
Setting the screws into the wood before attaching it to the ceiling will save you a lot of time with your hands above your head.

Ian pre-drills a hole in the metal of the ceiling rib before attaching a piece of 2x2.
One of the last things we did in our van build was install 1/8” plywood panels on the ceiling (read about paneling our ceilings.) These boards are very thin, flexible, and lightweight. Still to hold up to the twisting and movement of the van, they needed to be secured in multiple locations. The “studs” in our ceiling gave us places to mount the ceiling panels.
The trickiest part of this process was figuring out where we would need these pieces of stud wood in order to attach the ceiling paneling later. We knew how wide the panels would be so we made sure that there were stud pieces near where the seams between the panels would be, so that the paneling won't droop in these areas.
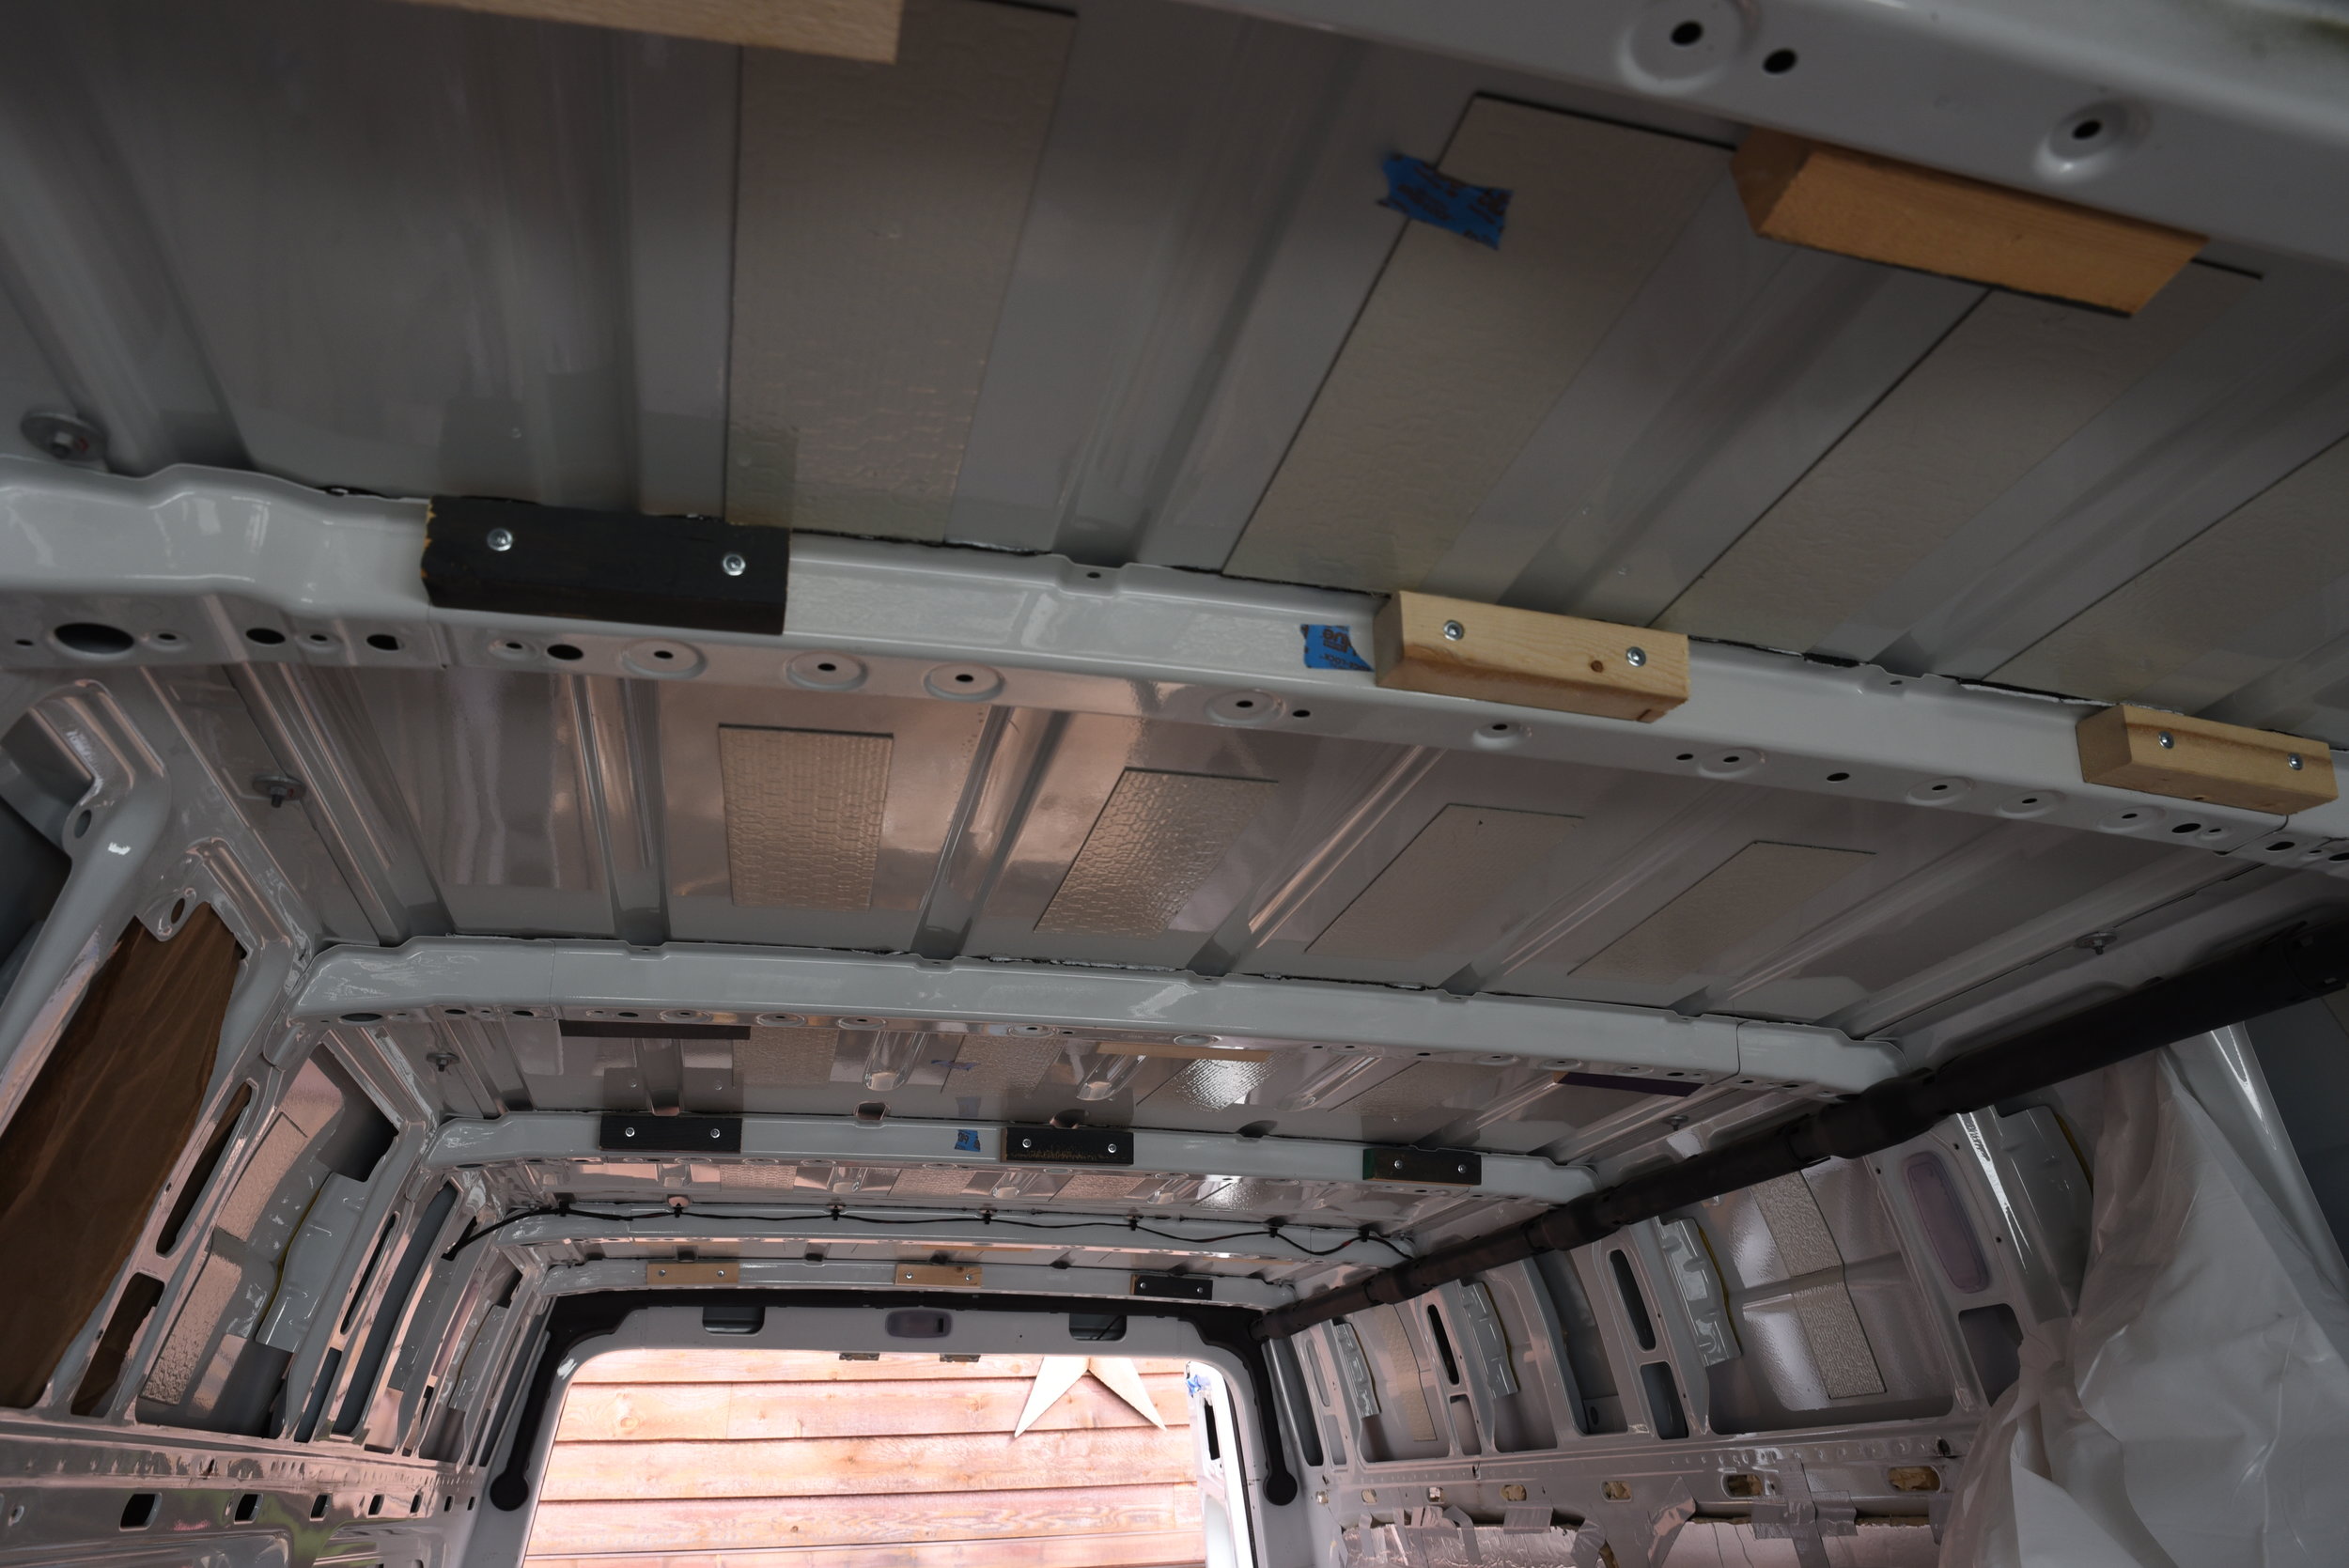
This picture shows the spacing of the studs in the ceiling.

We used the self-tapping sheet metal screws to attach the studs into the ceiling as well.
We attached three studs on each rib using the same self tapping sheet metal screws. We predrilled the holes into the metal again, and drove the screws into the wood pieces as far as we could before attaching it to the ceiling. It's pretty tiring driving in screws above your head repeatedly, so we tried to reduce the amount of work we had to do above our heads as much as possible by driving the screws into the wood pieces ahead of time.
Finally we put a frame around our Fantastic Fan. We needed this frame so that we could finish around the ceiling vent with the plastic trim for the fan. With our vent frame finished, all of our framing was complete.

Ian screws the vent frame into place.

We made sure to run the wires underneath the frame, so that they wouldn't get pinched by the trim later on.