How to Stay Safe While Bike Touring
A few safety items can a go a long way toward keeping you safe while on your bike tour.
Disclosure: Aero Tech Designs, CycleAware, and Outdoor Tech sent us some products to try out on our bike tour.
Bike touring is one the most exciting ways to travel. Propelling yourself with your own muscles is extremely liberating. You can travel farther than you can backpacking, but you also get a more intimate, slower experience than on a road trip in a car. Unfortunately, bike touring comes with it’s own unique problems and dangers.
The most dangerous part of any bike tour (road tours in particular) is the traffic that you will ride with along the way.

Bike travelers have come up with many creative ways to stay safe on the road.

This is the reason why we bike tour. Here are our tips for staying safe on your way there.
We recently took on a 1,200-mile bike tour circumnavigating Lake Superior. Traveling on our bikes gave us a chance to travel slower and camp much more than we would if we had done the circle tour in our camper van conversion.
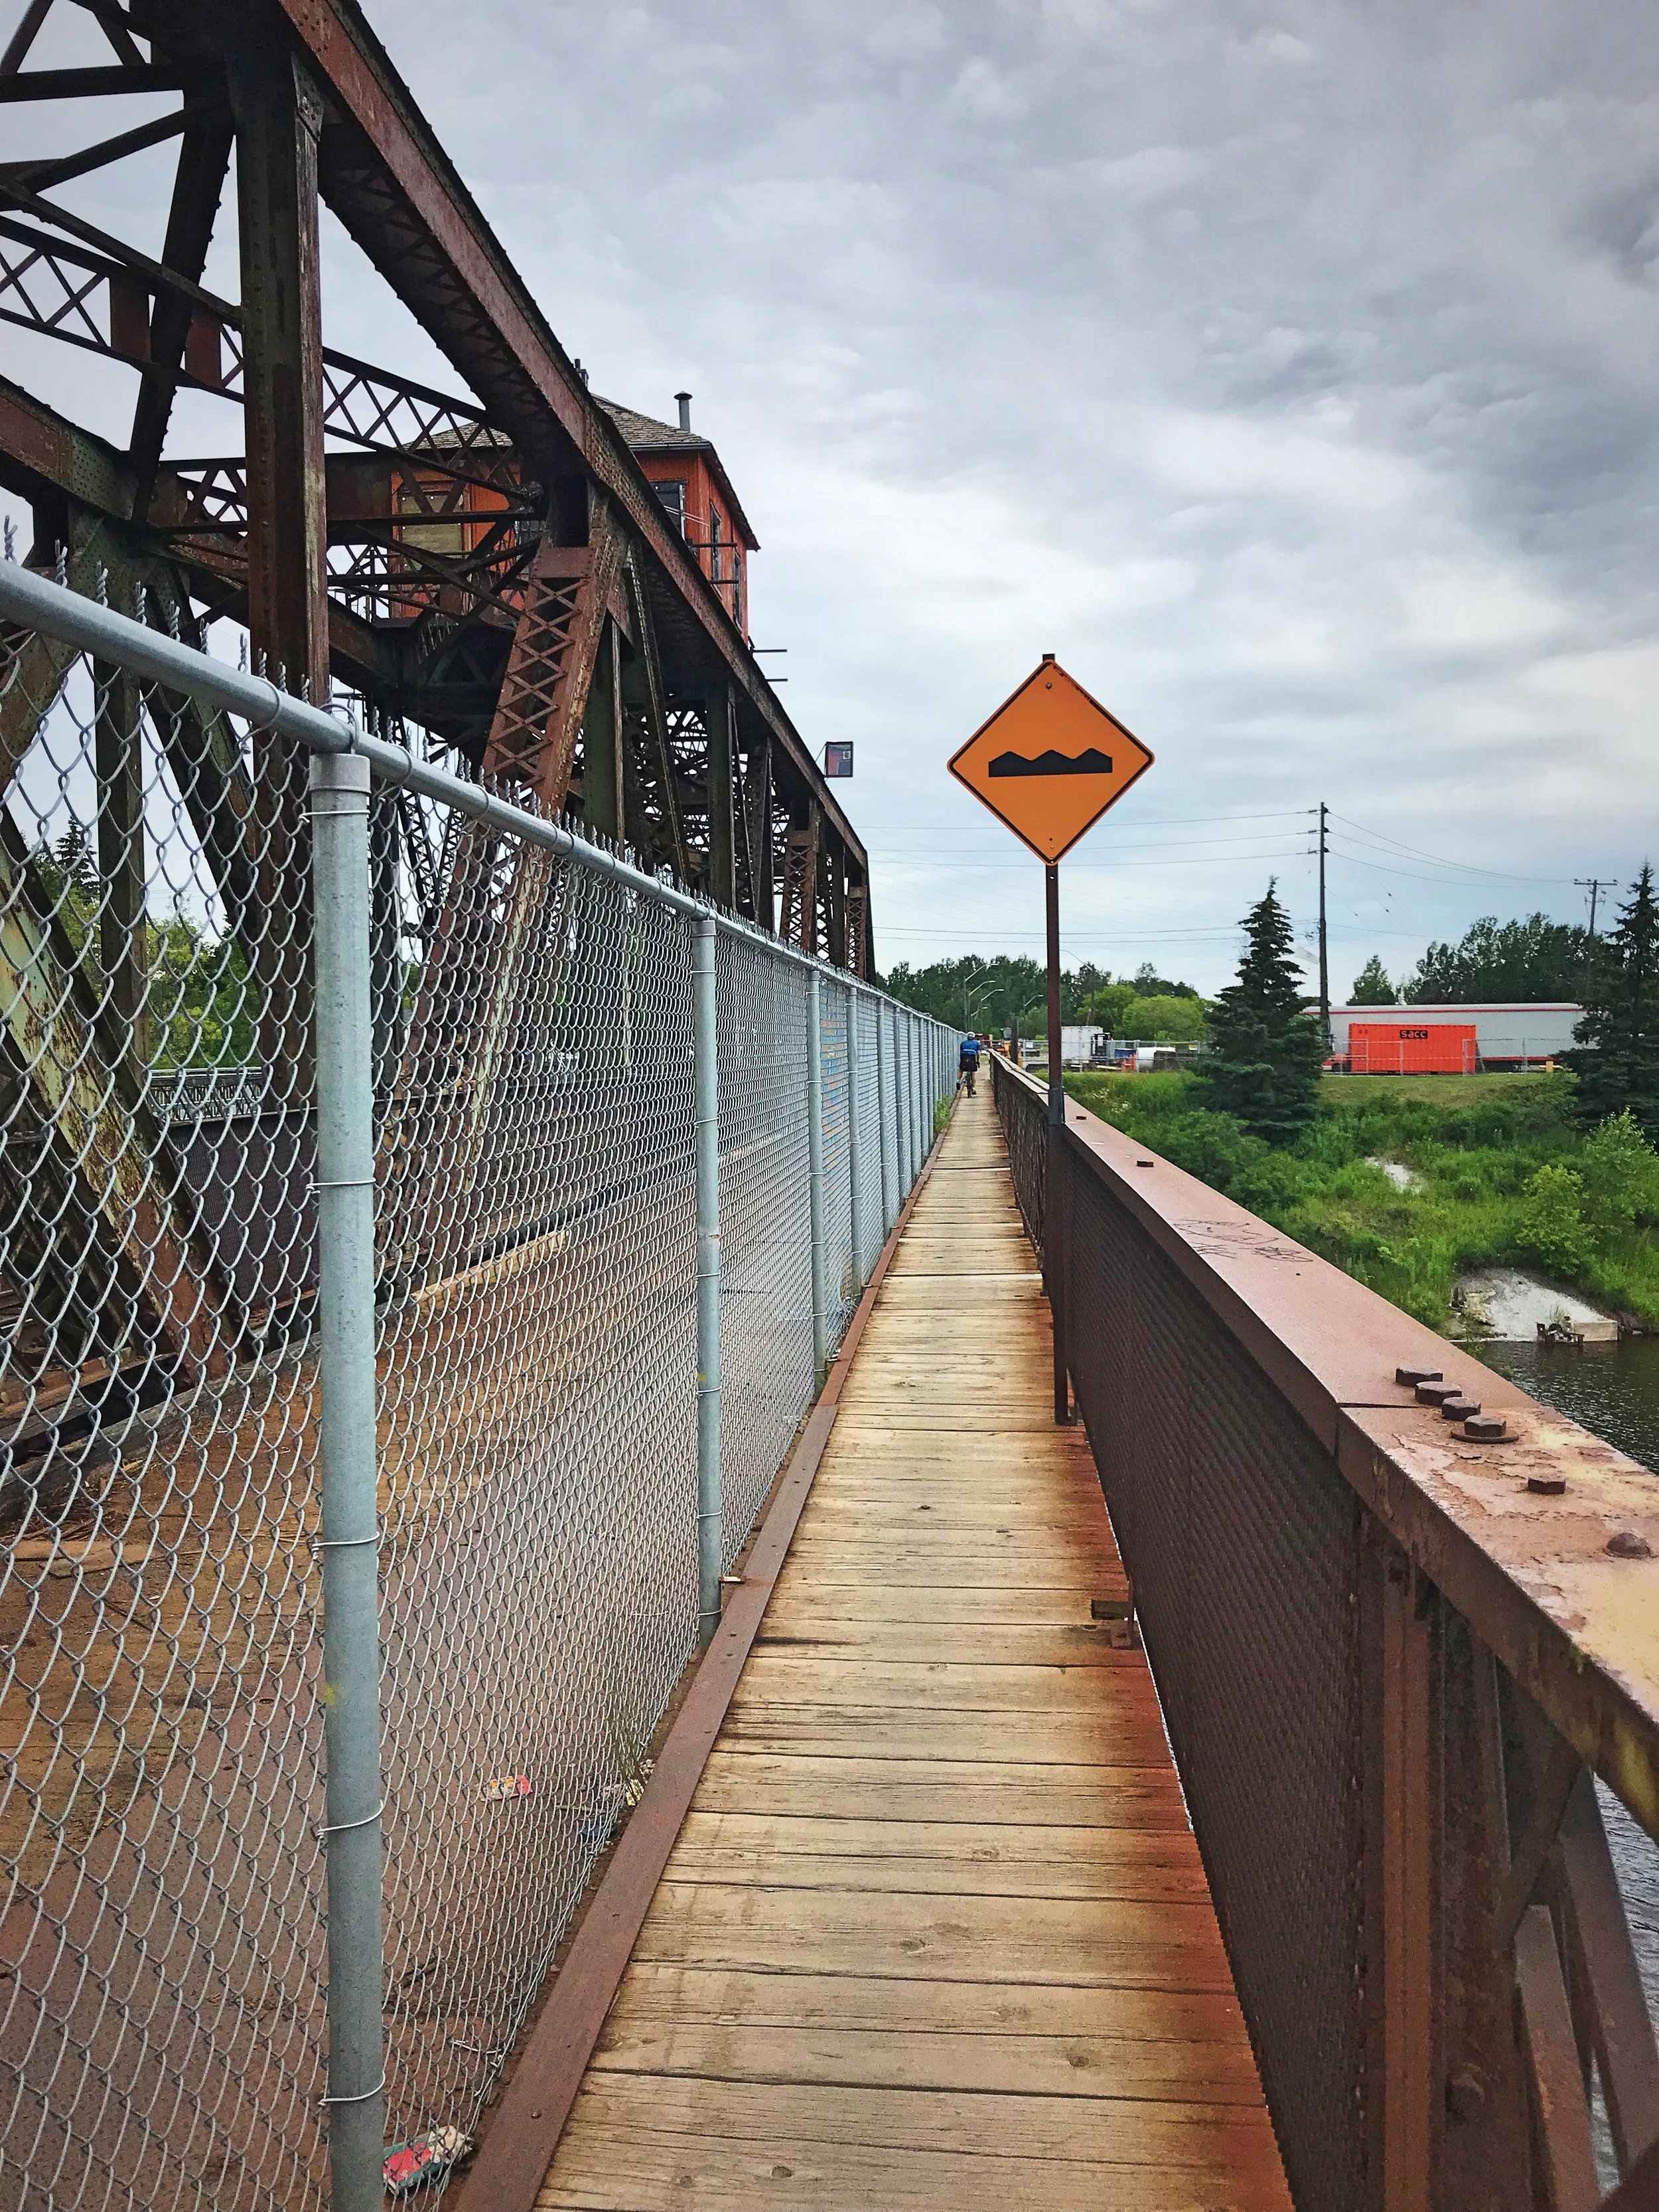
Of course, doing the circle tour by bike came with other problems. The entire northern half of our tour around Lake Superior was on the Trans-Canada Highway. There is a lot of truck traffic and RV traffic on this highway during the summer, and in many places the shoulder is narrow. While most drivers are courteous, every cyclist has had a few scary encounters with cars.
So how do you stay safe when you are bike touring? There are a number of safety essentials you can bring and steps you can take to be safer while cycle touring.
Begin with Good Maps and Planning
One of the most important steps to stay safe on your bike tour happens before it even starts. Detailed planning of your daily route can help you stay off roads that are dangerous in the first place. Before our Lake Superior Circle Tour, I went through on Google maps and planned out our routes, checking to see if there were any alternate paved roads that would keep us off highways. I also looked at the shoulder using satellite view. We printed out step-by-step directions to bring with us that we could use to navigate with in case our phones were dead. We also brought a map of the Lake Superior Circle Tour and downloaded the offline Google maps around the lake to use when we didn’t have cell phone service.
Plan your route so that you stay off busy, multi-lane roads when entering cities.

Border crossings can put you in a middle of a traffic jam, but a little bit of planning can help you avoid this scene.
Avoid Peak Traffic Times
Besides planning your route to avoid large, high speed roads. You can also avoid peak traffic times by resting or eating during rush hours. For example there were some days where we started early or waited a bit so that we wouldn’t hit rush hour while going through larger cities like Duluth or Thunder Bay. This was also important at the border crossings as well. On the Trans-Canada Highway we checked a lot We checked online to see what the traffic was like at customs before heading across the border.

If you’re traveling by bike on the Trans-Canada Highway chances are you will feel like this at some point.

We found that by starting our rides very early in the morning when bike touring on the Trans-Canada Highway, we were able to get a few hours of riding in without encountering much traffic.
Add a Mirror
Prior to moving into our van, I commuted everyday by bike in Washington, DC. The best thing I did while bike commuting was adding a small mirror to my helmet. You can’t always count on drivers to see you, but with a mirror you can at least see them and ride defensively. By using a mirror you don’t have to turn your head to look behind you and you can avoid that slight swerve out into the road that happens when you turn around. You can look behind you more quickly with a mirror and then return your eyes to the road in front of you.
There are many different designs for rearview mirrors. Some mirrors attach to the end of your handlebars, but these don’t tend to work as well on drop handlebars unless you buy the a mirror specifically designed to fit the end of the bar.
Since Ian almost always wears either glasses or sunglasses, he wears a glasses-mounted Heads Up Mirror from CycleAware. It has three tiny arms with rubber grippers that hold it onto the arm of his glasses. This mirror is super lightweight as well (it’s literally 0.1oz)—so if he’s not wearing it, it’s easily stowed in his frame pack. Then he lost this mirror so he taped an extendable mirror tool that you would use for looking into a car engine. It worked remarkably well, but he looked so dumb.

Ian had to tape this dumb mirror from a hardware to his helmet after he lost his glasses mirror. It worked though!
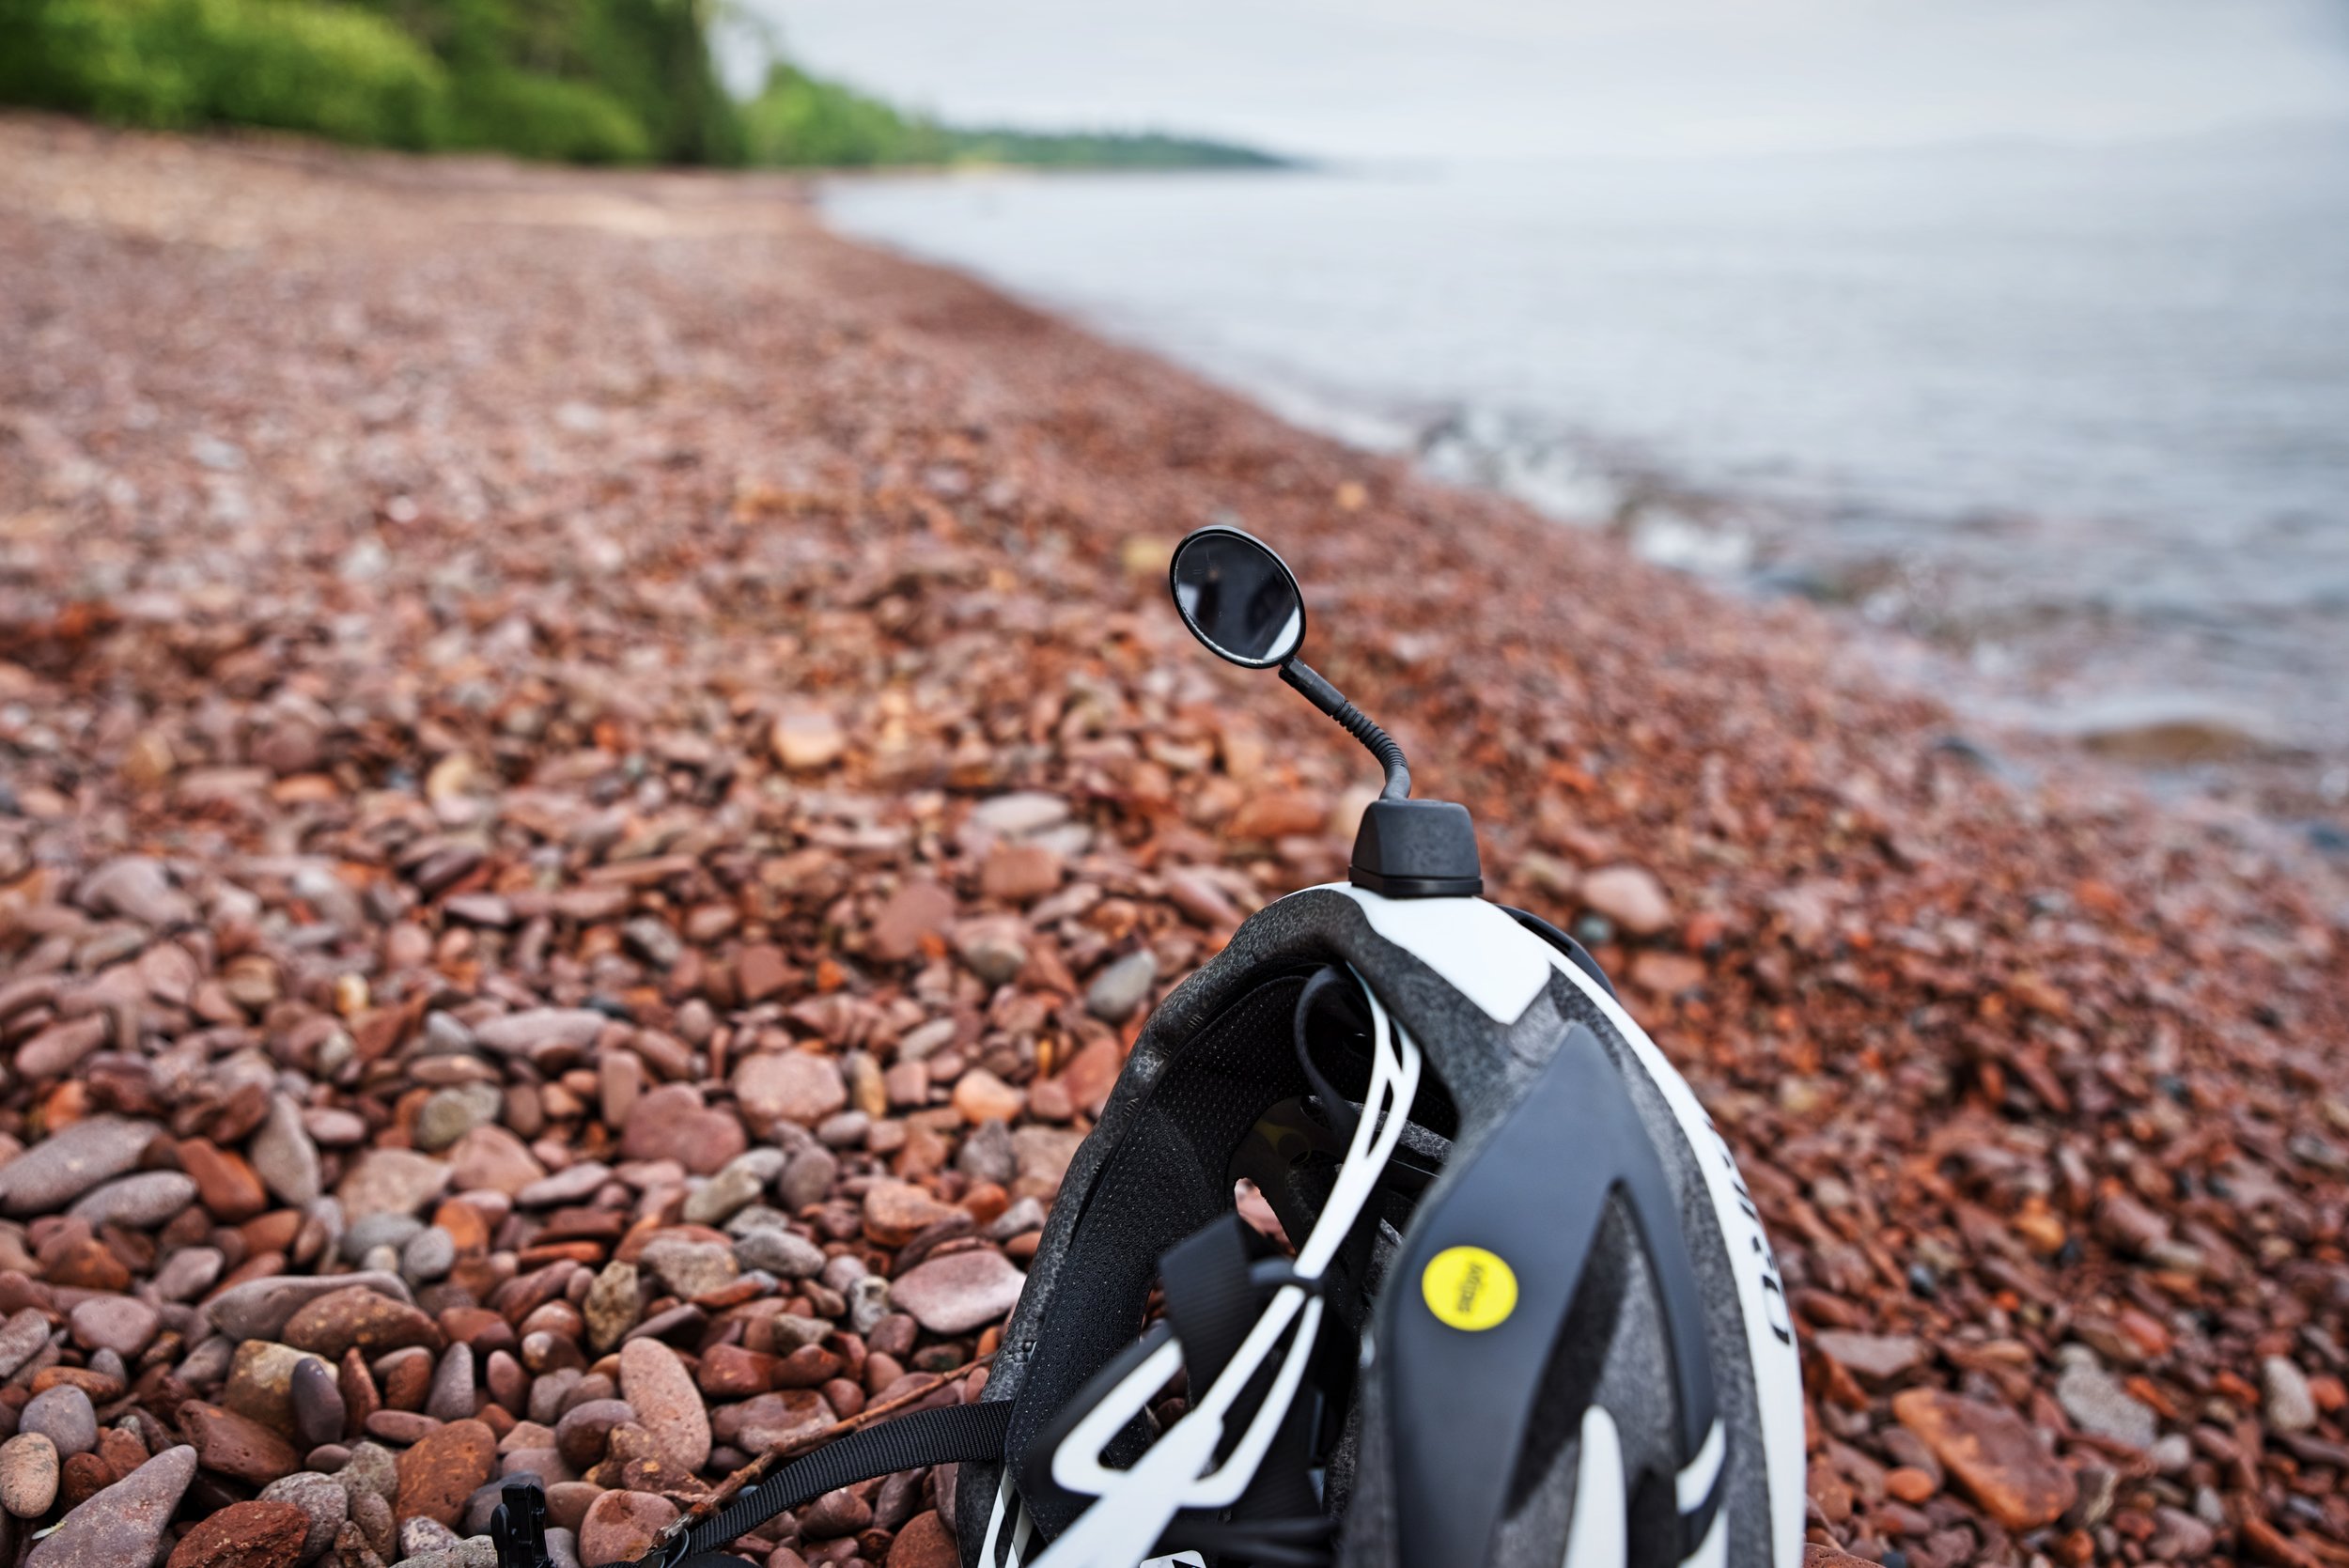
I like to have a helmet mirror, because then I never have to worry about making sure that I have it on while biking, because I’m always wearing my helmet. I really like the new Reflex Helmet Mirror I got from CycleAware. It has a flexible gumby arm that allows you to bend it into the right position. The previous helmet mirror I had, only had a brittle plastic arm that broke instantly when I crashed my bike in June. CycleAware’s version is way more robust, plus it’s easier to readjust it if you knock it out of place.
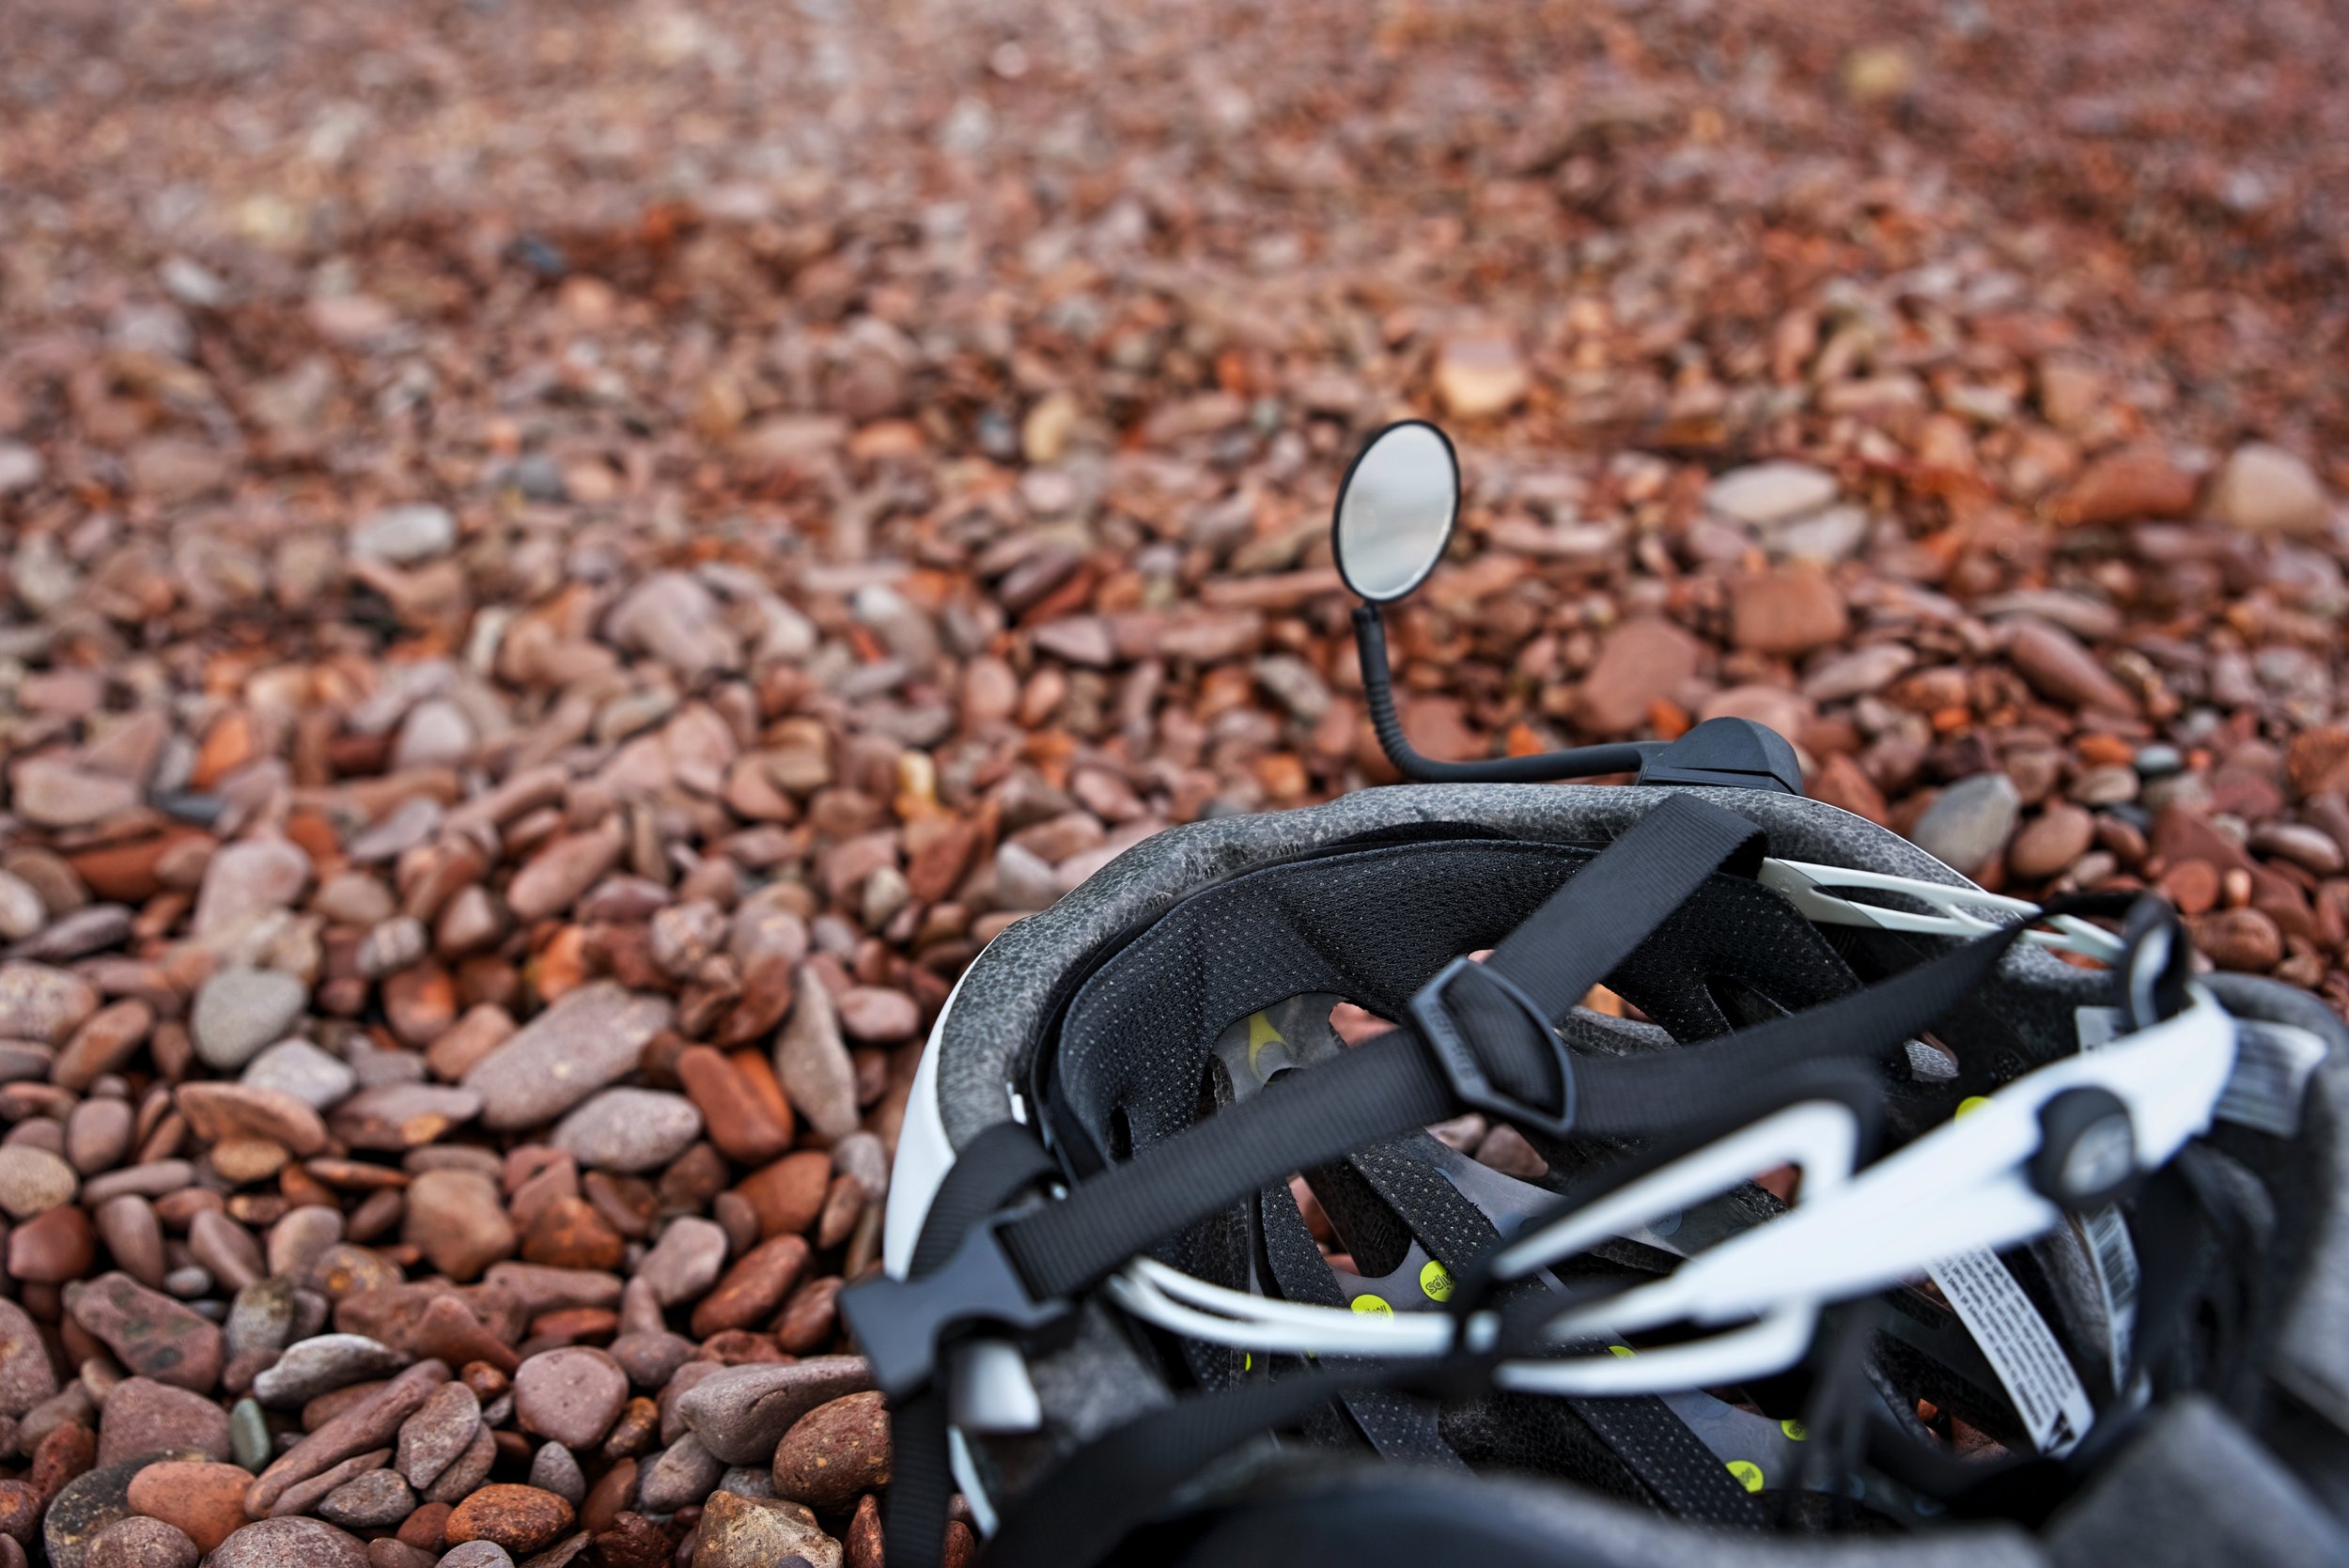
I really like this particular helmet mirror from CycleAware, because of it’s flexibility.

It takes two or three rides to get used to looking into a helmet mirror, so make sure to practice a bit.
Don High-Visibility Gear
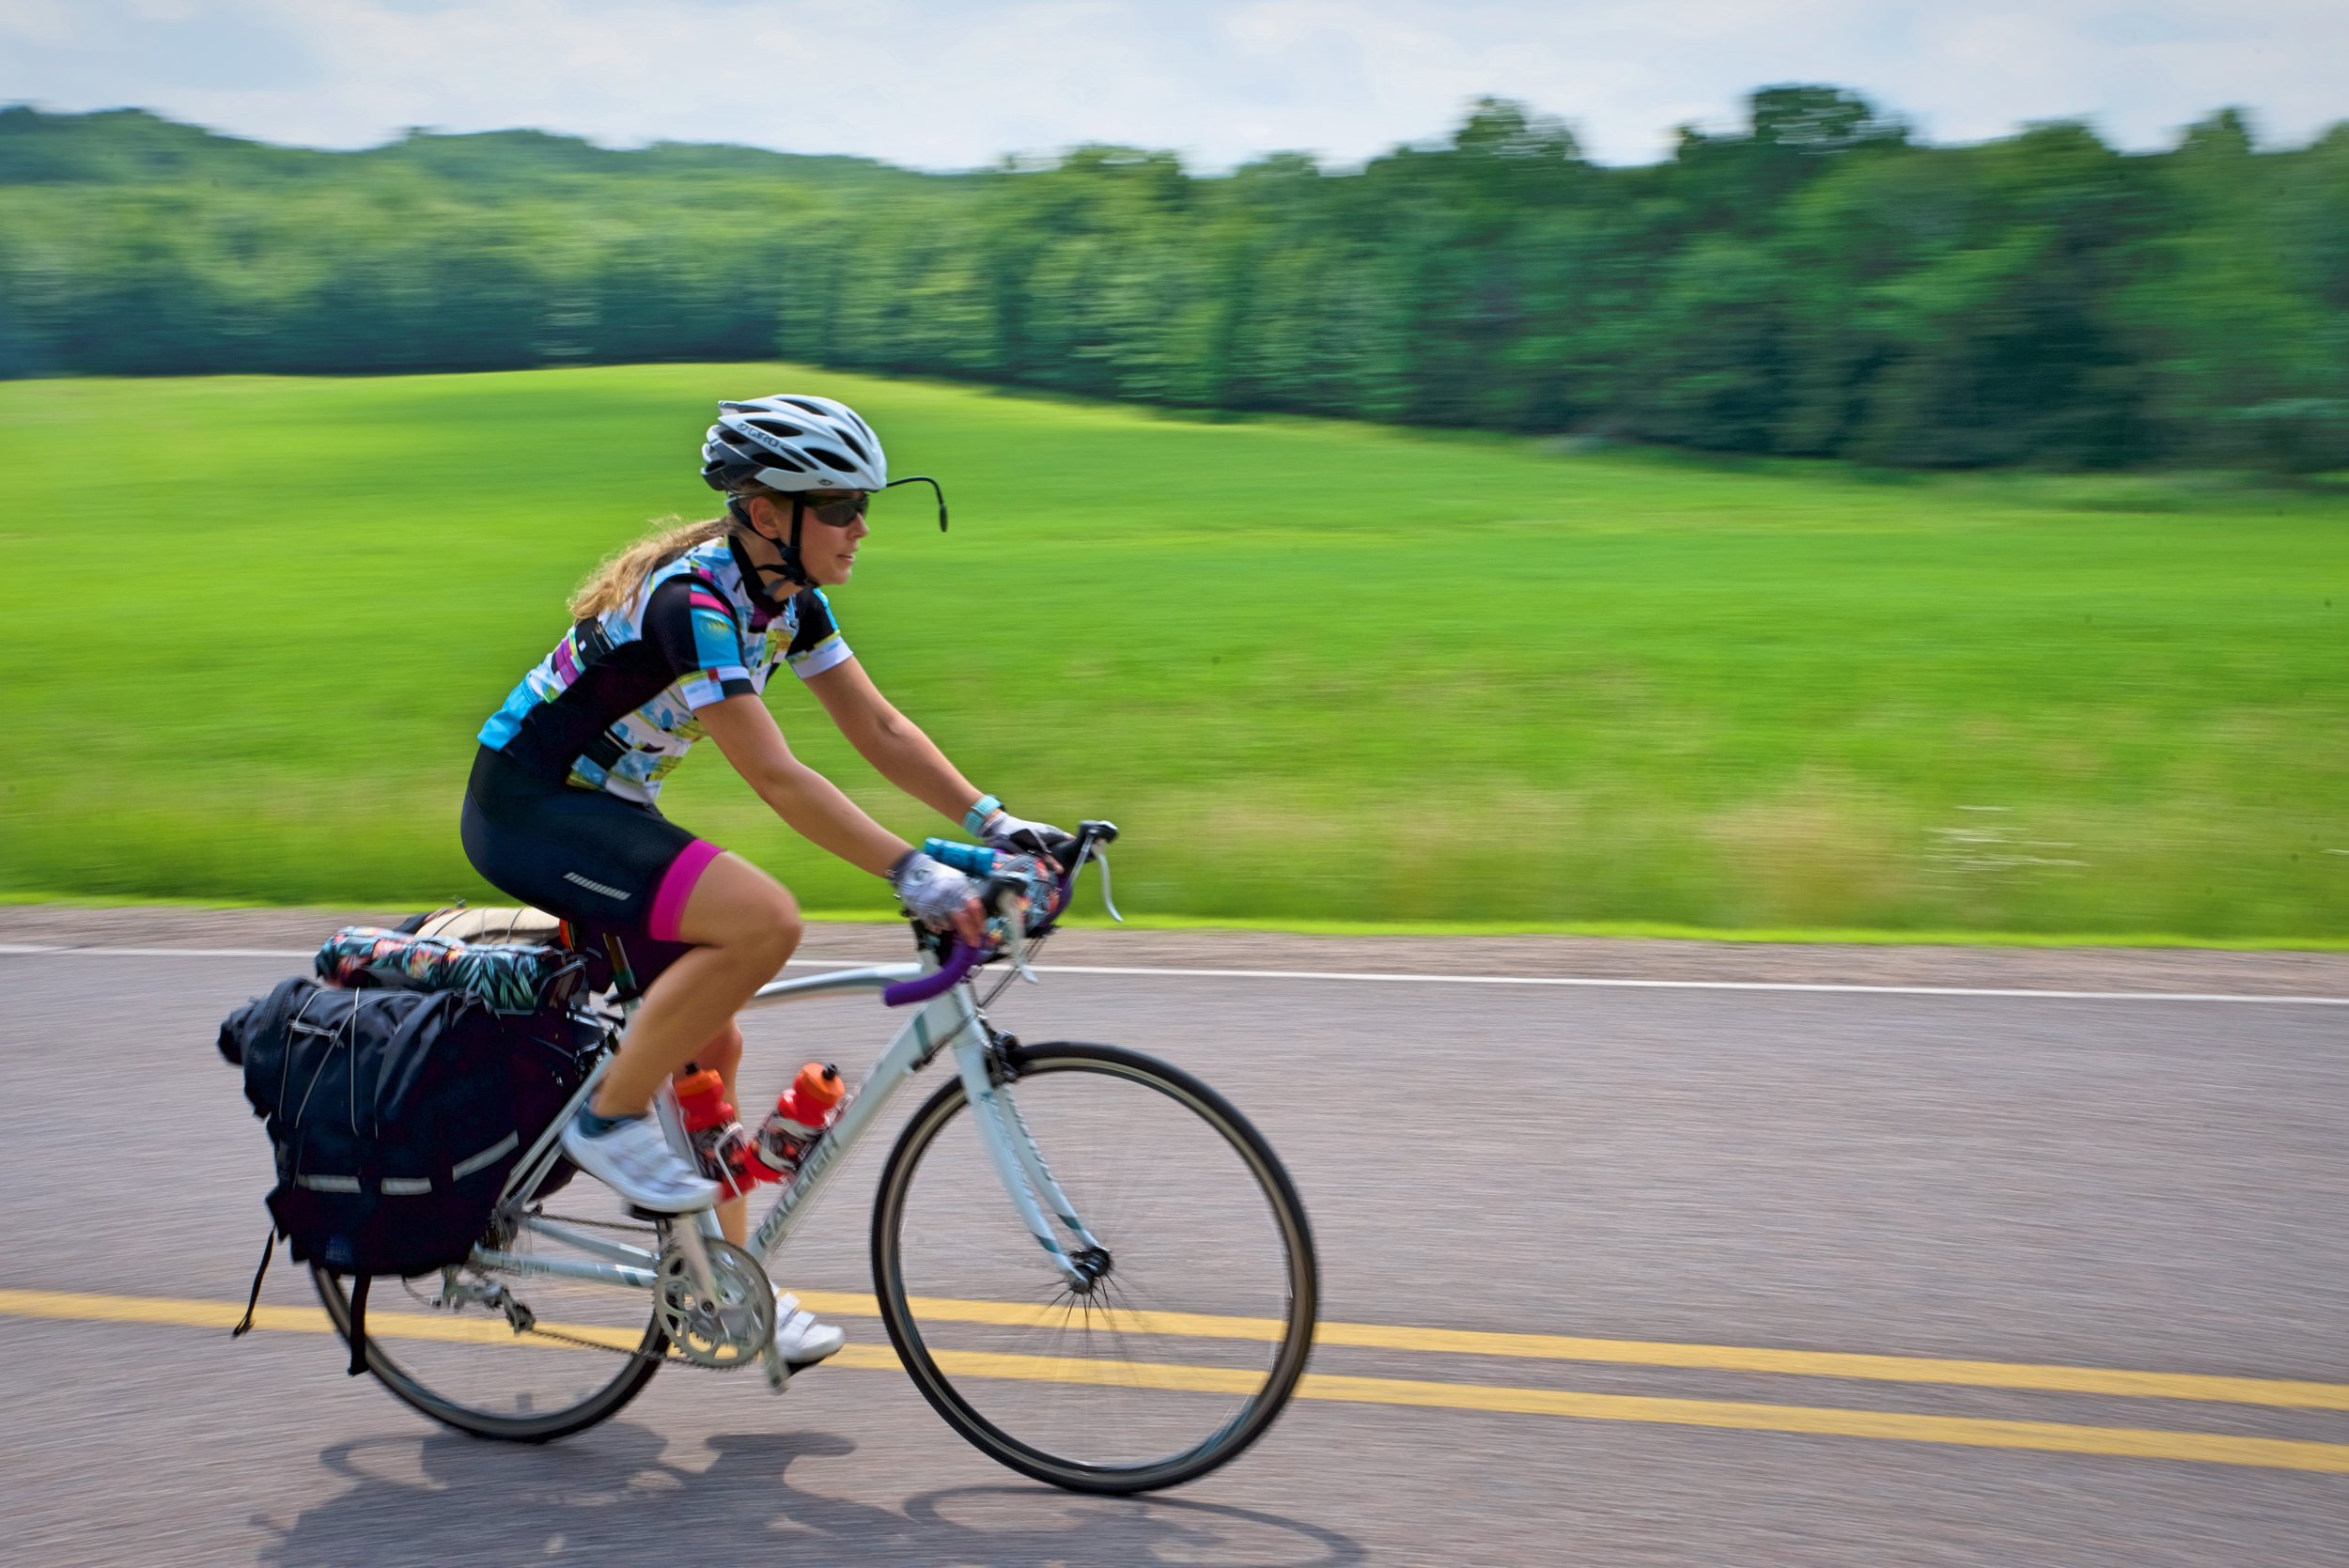
In addition to keeping your eye out for cars, you can help them spot you more easily. A fully loaded bike is pretty easy to see, but adding a bright color or a high-visibility, yellow or orange vest can help you be spotted more easily by drivers. The jury is still out on whether or not high-vis clothing actually reduces crashes (being spotted by drivers apparently doesn’t necessarily lead to them driving more carefully around you). However, it probably can’t hurt to have a more vibrant kit as long as it doesn’t give you a false sense of security, causing you to ride less safely.
We each have a high-vis vest from Aero Tech Designs. They have large neon yellow panels as well as a mesh panel so that they are very breathable. I also have a high-vis windbreaker that I use for running as well as cycling.

I have this lightweight high-vis jacket that rolls up to almost nothing. I use it for running and cycling.
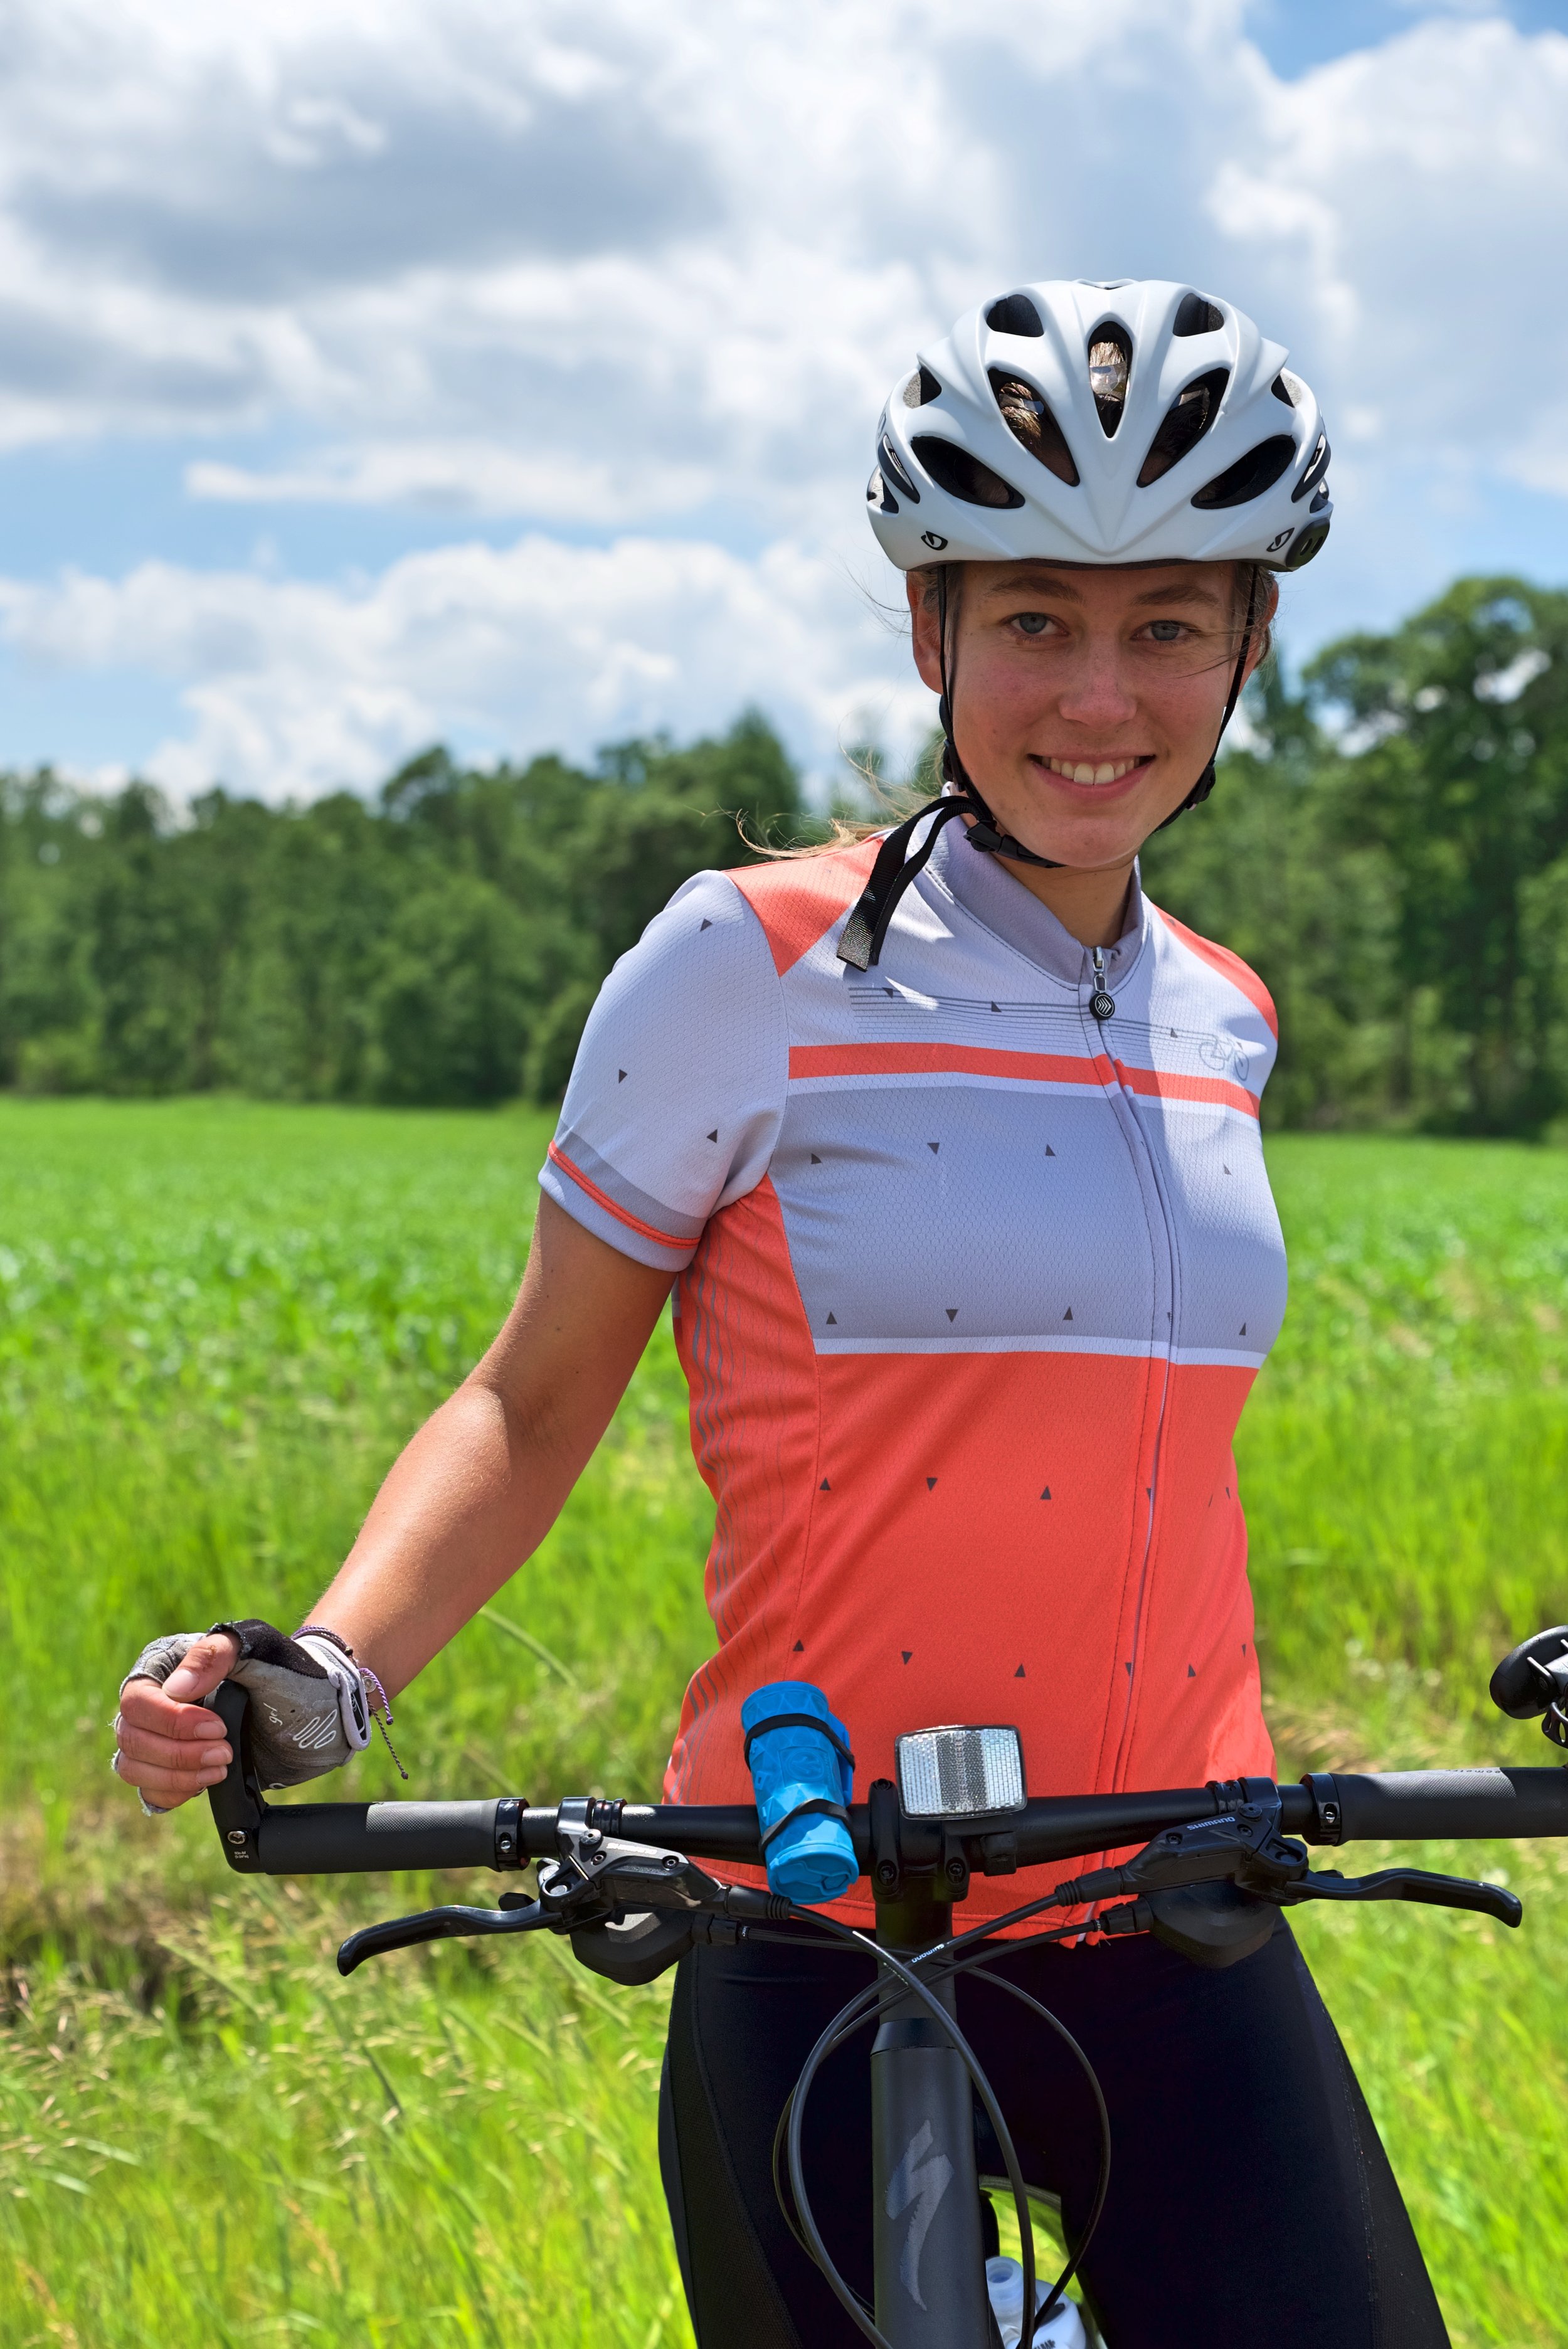
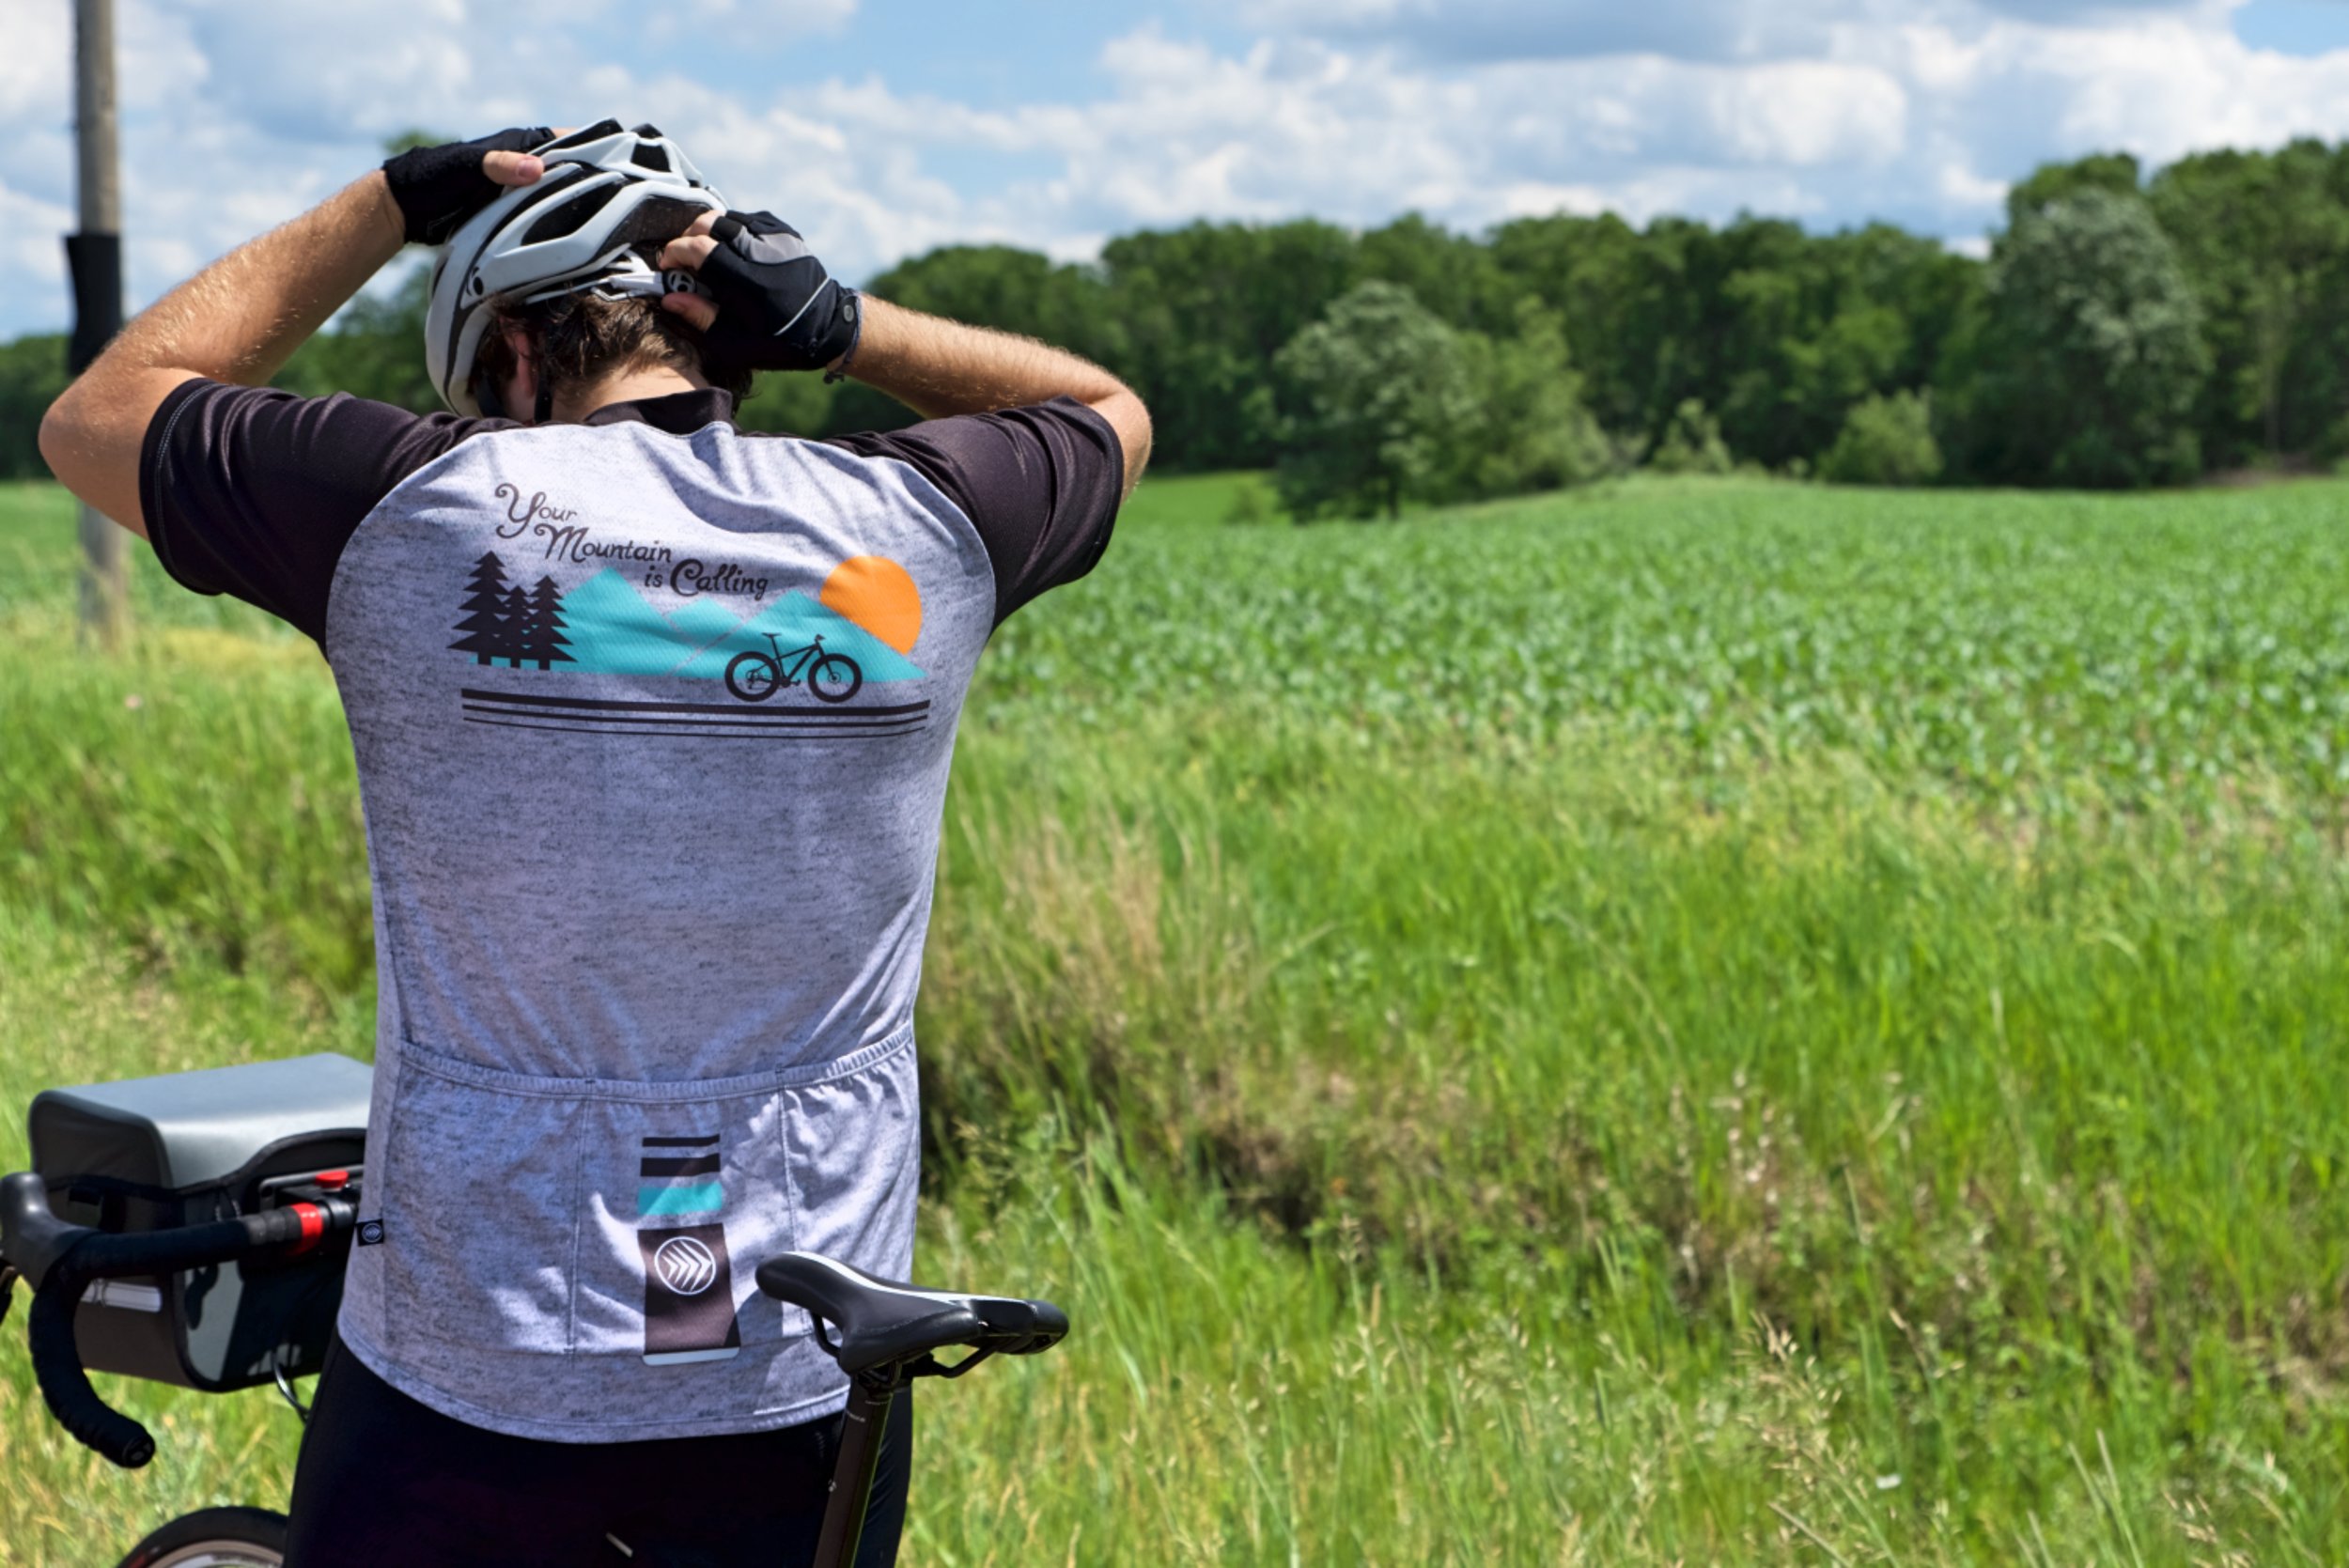
You don’t necessarily need to be wearing neons to be more visible. Even a brightly colored jersey, like this one from Aero Tech Designs, can go a long way toward making you more easily seen by motorists.
Add Reflective Items
High visibility colors only work in the daylight, so at night or in rain it’s important to have clothing and items with reflective accents. Most bike tourists don’t ride frequently at night, but in the case that you do, reflective items will make you visible to drivers. We have clothes from Aero Tech Designs with reflective details. For example my shoe covers have a lot of reflective accents, and Ian has some pretty sweet reflective gloves, which are perfect for the sometimes rainy and cold weather encountered around the lake.
We also have some small reflective buttons from CycleAware that we can attach to our bags, or really anywhere. Research indicates that highlighting “biomotion,” such as the movement of arms and legs while cycling even with small reflective markings can be more effective than reflective jackets or vests worn on the torso, which moves little when cycling. CycleAware’s reflective pins can be attached to your socks, shoes, or the ankles of your pants to increase the visibility of your biomotion without having to change your outfit.
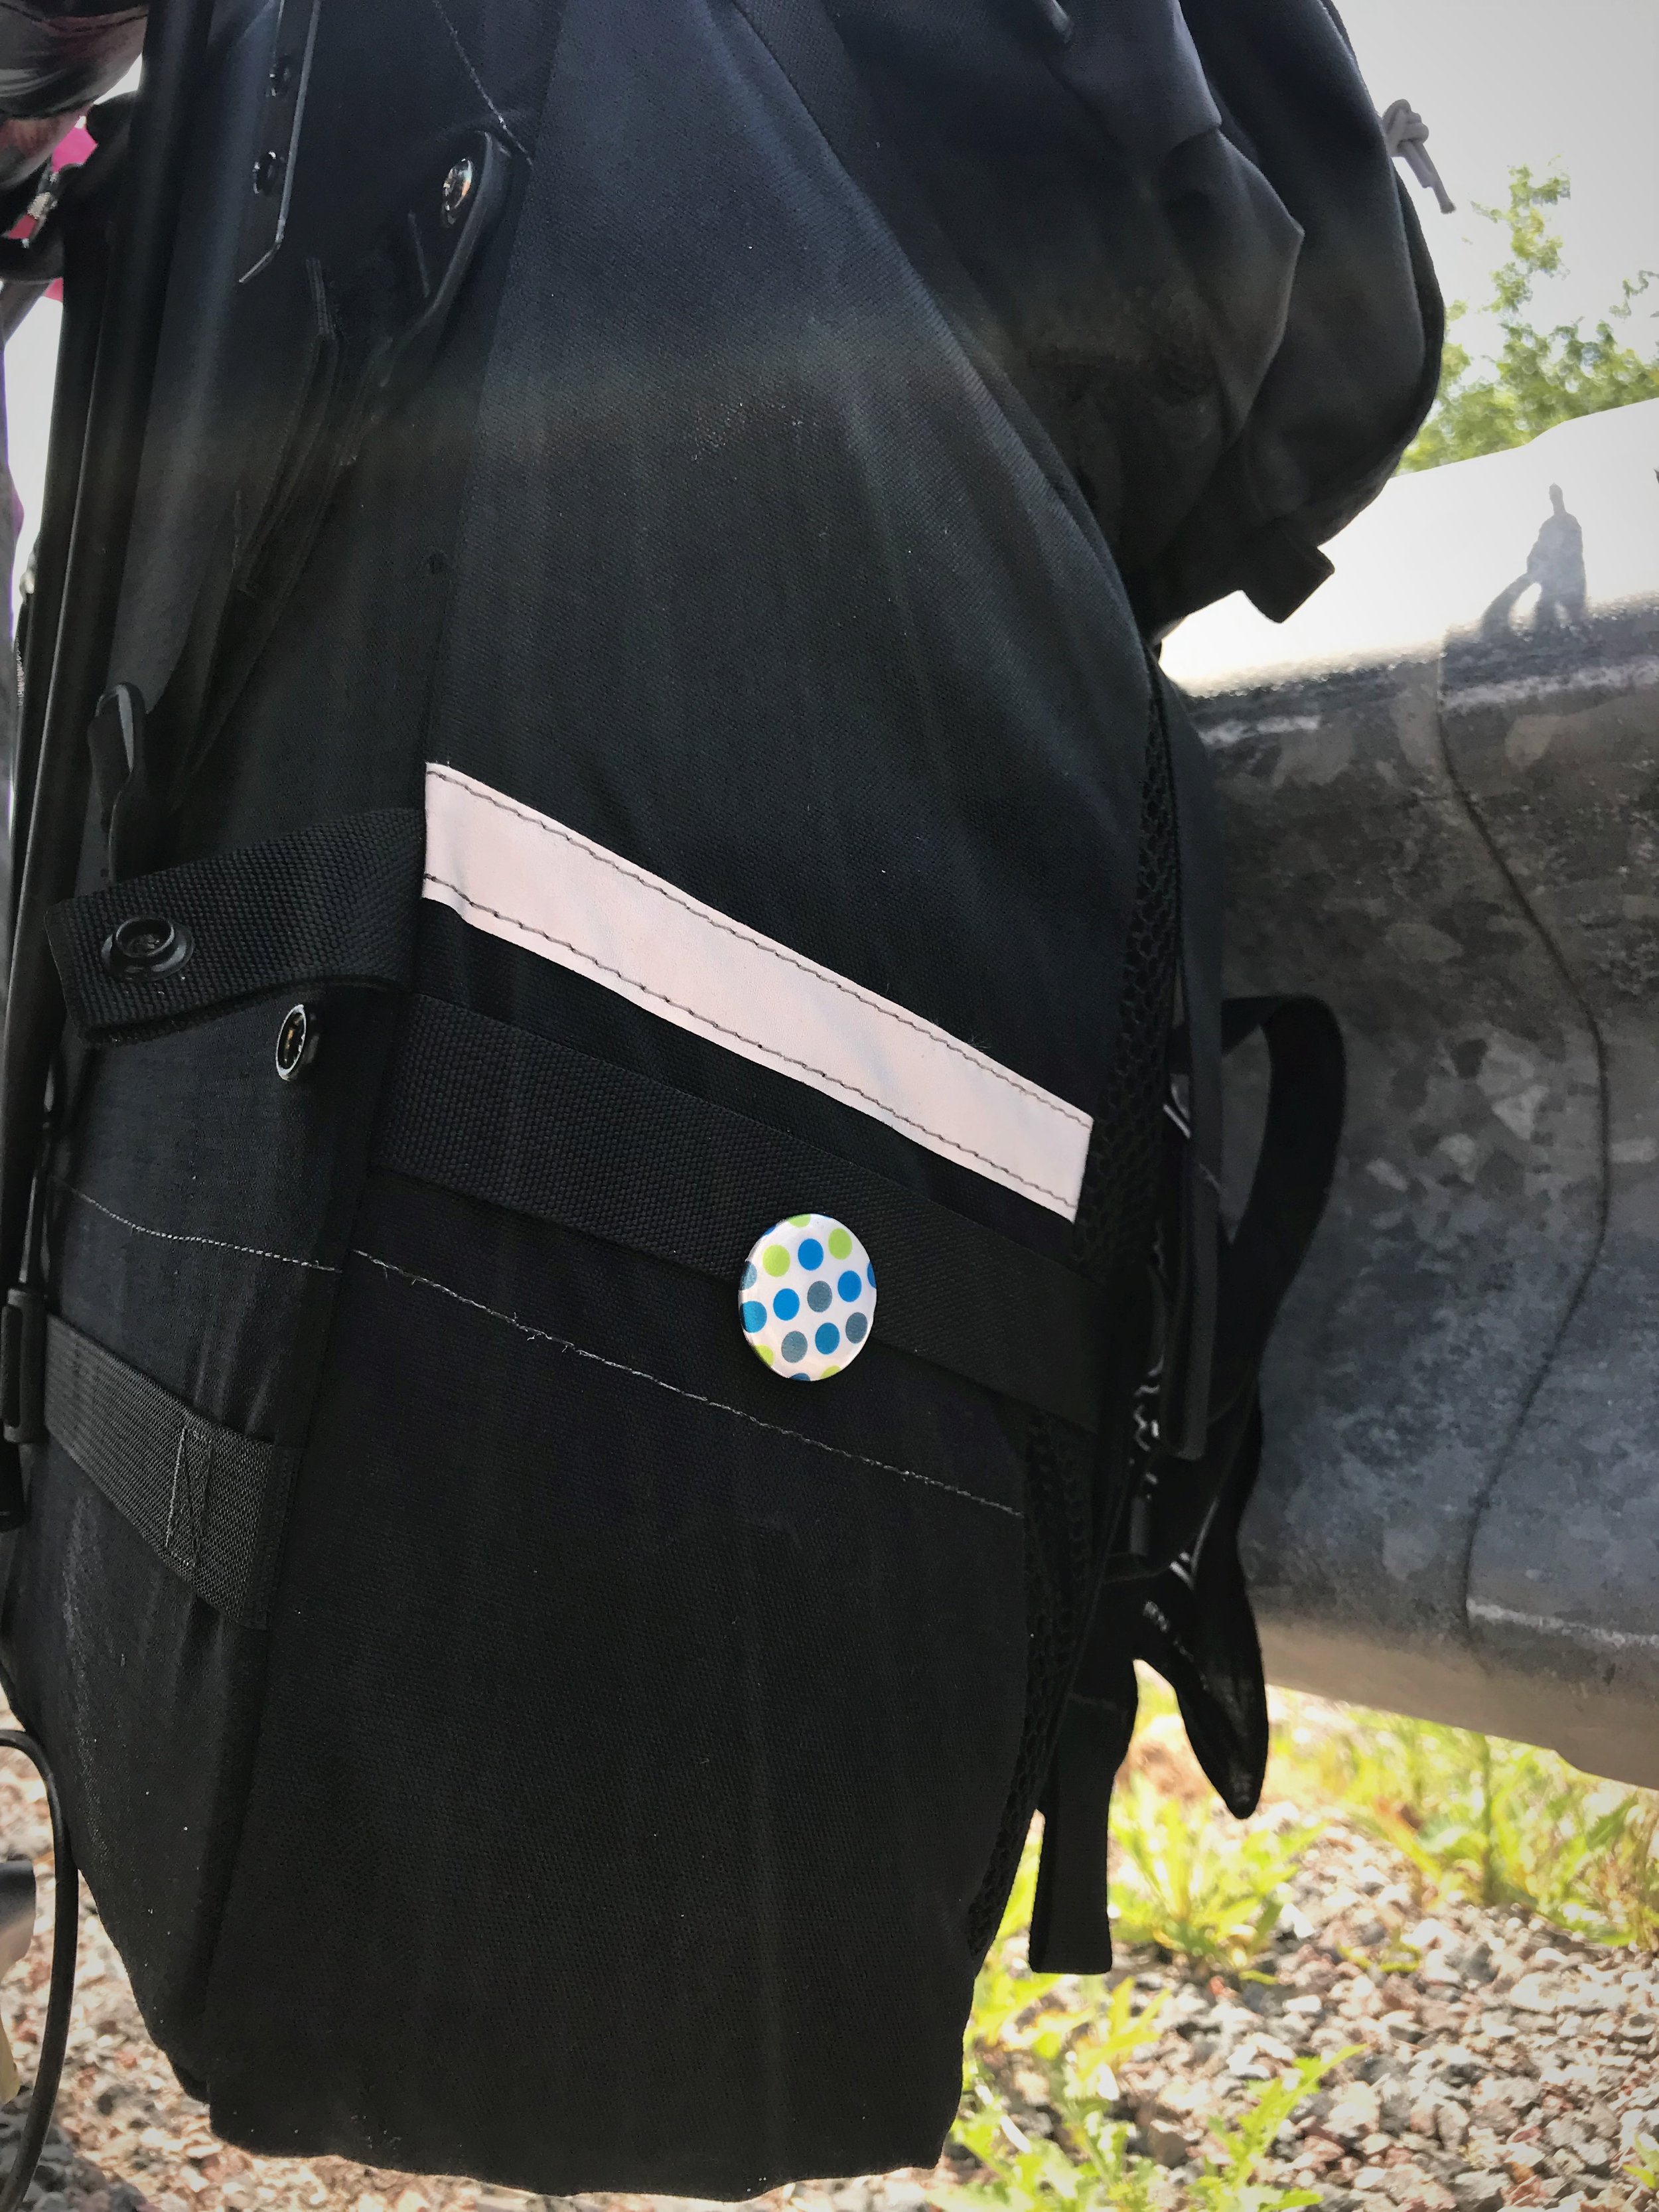
My panniers have reflective stripes and we added some additional reflective pins.

We clipped another reflective pin onto our STASHERS Insuslated Bike Bags.
Run a Front and Rear Red Light
While there is uncertainty around the added safety of high-vis clothes, having lights on your bike definitely makes you safer whether biking during the day or night. A 2013 Danish study found that cyclists who use flashing daytime running lights had 47 percent fewer collisions with other road users. On the tour we always ran a Niterider Cherry Bomb flashing red light on the back of our bikes. You may find brighter lights, but this one has a life of up to 100 hours so it’s more practical for touring. We recently converted to USB rechargeable rear lights, which is really helpful because we can charge them from our Outdoor Tech portable power banks. Typically on low light days or at night, we use a USB-rechargeable Niterider Lumia 900 headlight on the front of our bikes, but on the tour we never rode at night so we left the headlights at home. On rainy days, I used the flashing light feature on my Buckshot Pro Ultra Bike Speaker/Light/Power Bank just to give us a little extra visibility.

We didn’t spend any time riding at night, so the 100 lumen light on my Outdoor Tech Bluetooth Speaker was enough to make us more visible in rainy conditions.

Having a daytime running light on the rear of your bike will make you more noticeable to vehicles coming from behind.
Use your Noodle
No, we aren’t telling you to just outsmart the cars. About 7 days into the tour after our initial experience with the Trans-Canada Highway, we headed to Bargain Shop, bought a $2 pool noodle, and attached it to my bike rack to demonstrate the meter of space that motorists were legally obligated to give us in order to pass us safely. We attached it to the bike rack with reusable zip ties so that it could easily be removed if we needed to on a bike trail or lock our bikes up. You can buy a similar fold-down flag from Amazon, if you’re interested in a more permanent solution.

A cheap solution for a little peace of mind. Pick one up at your local Bargain Shop today.
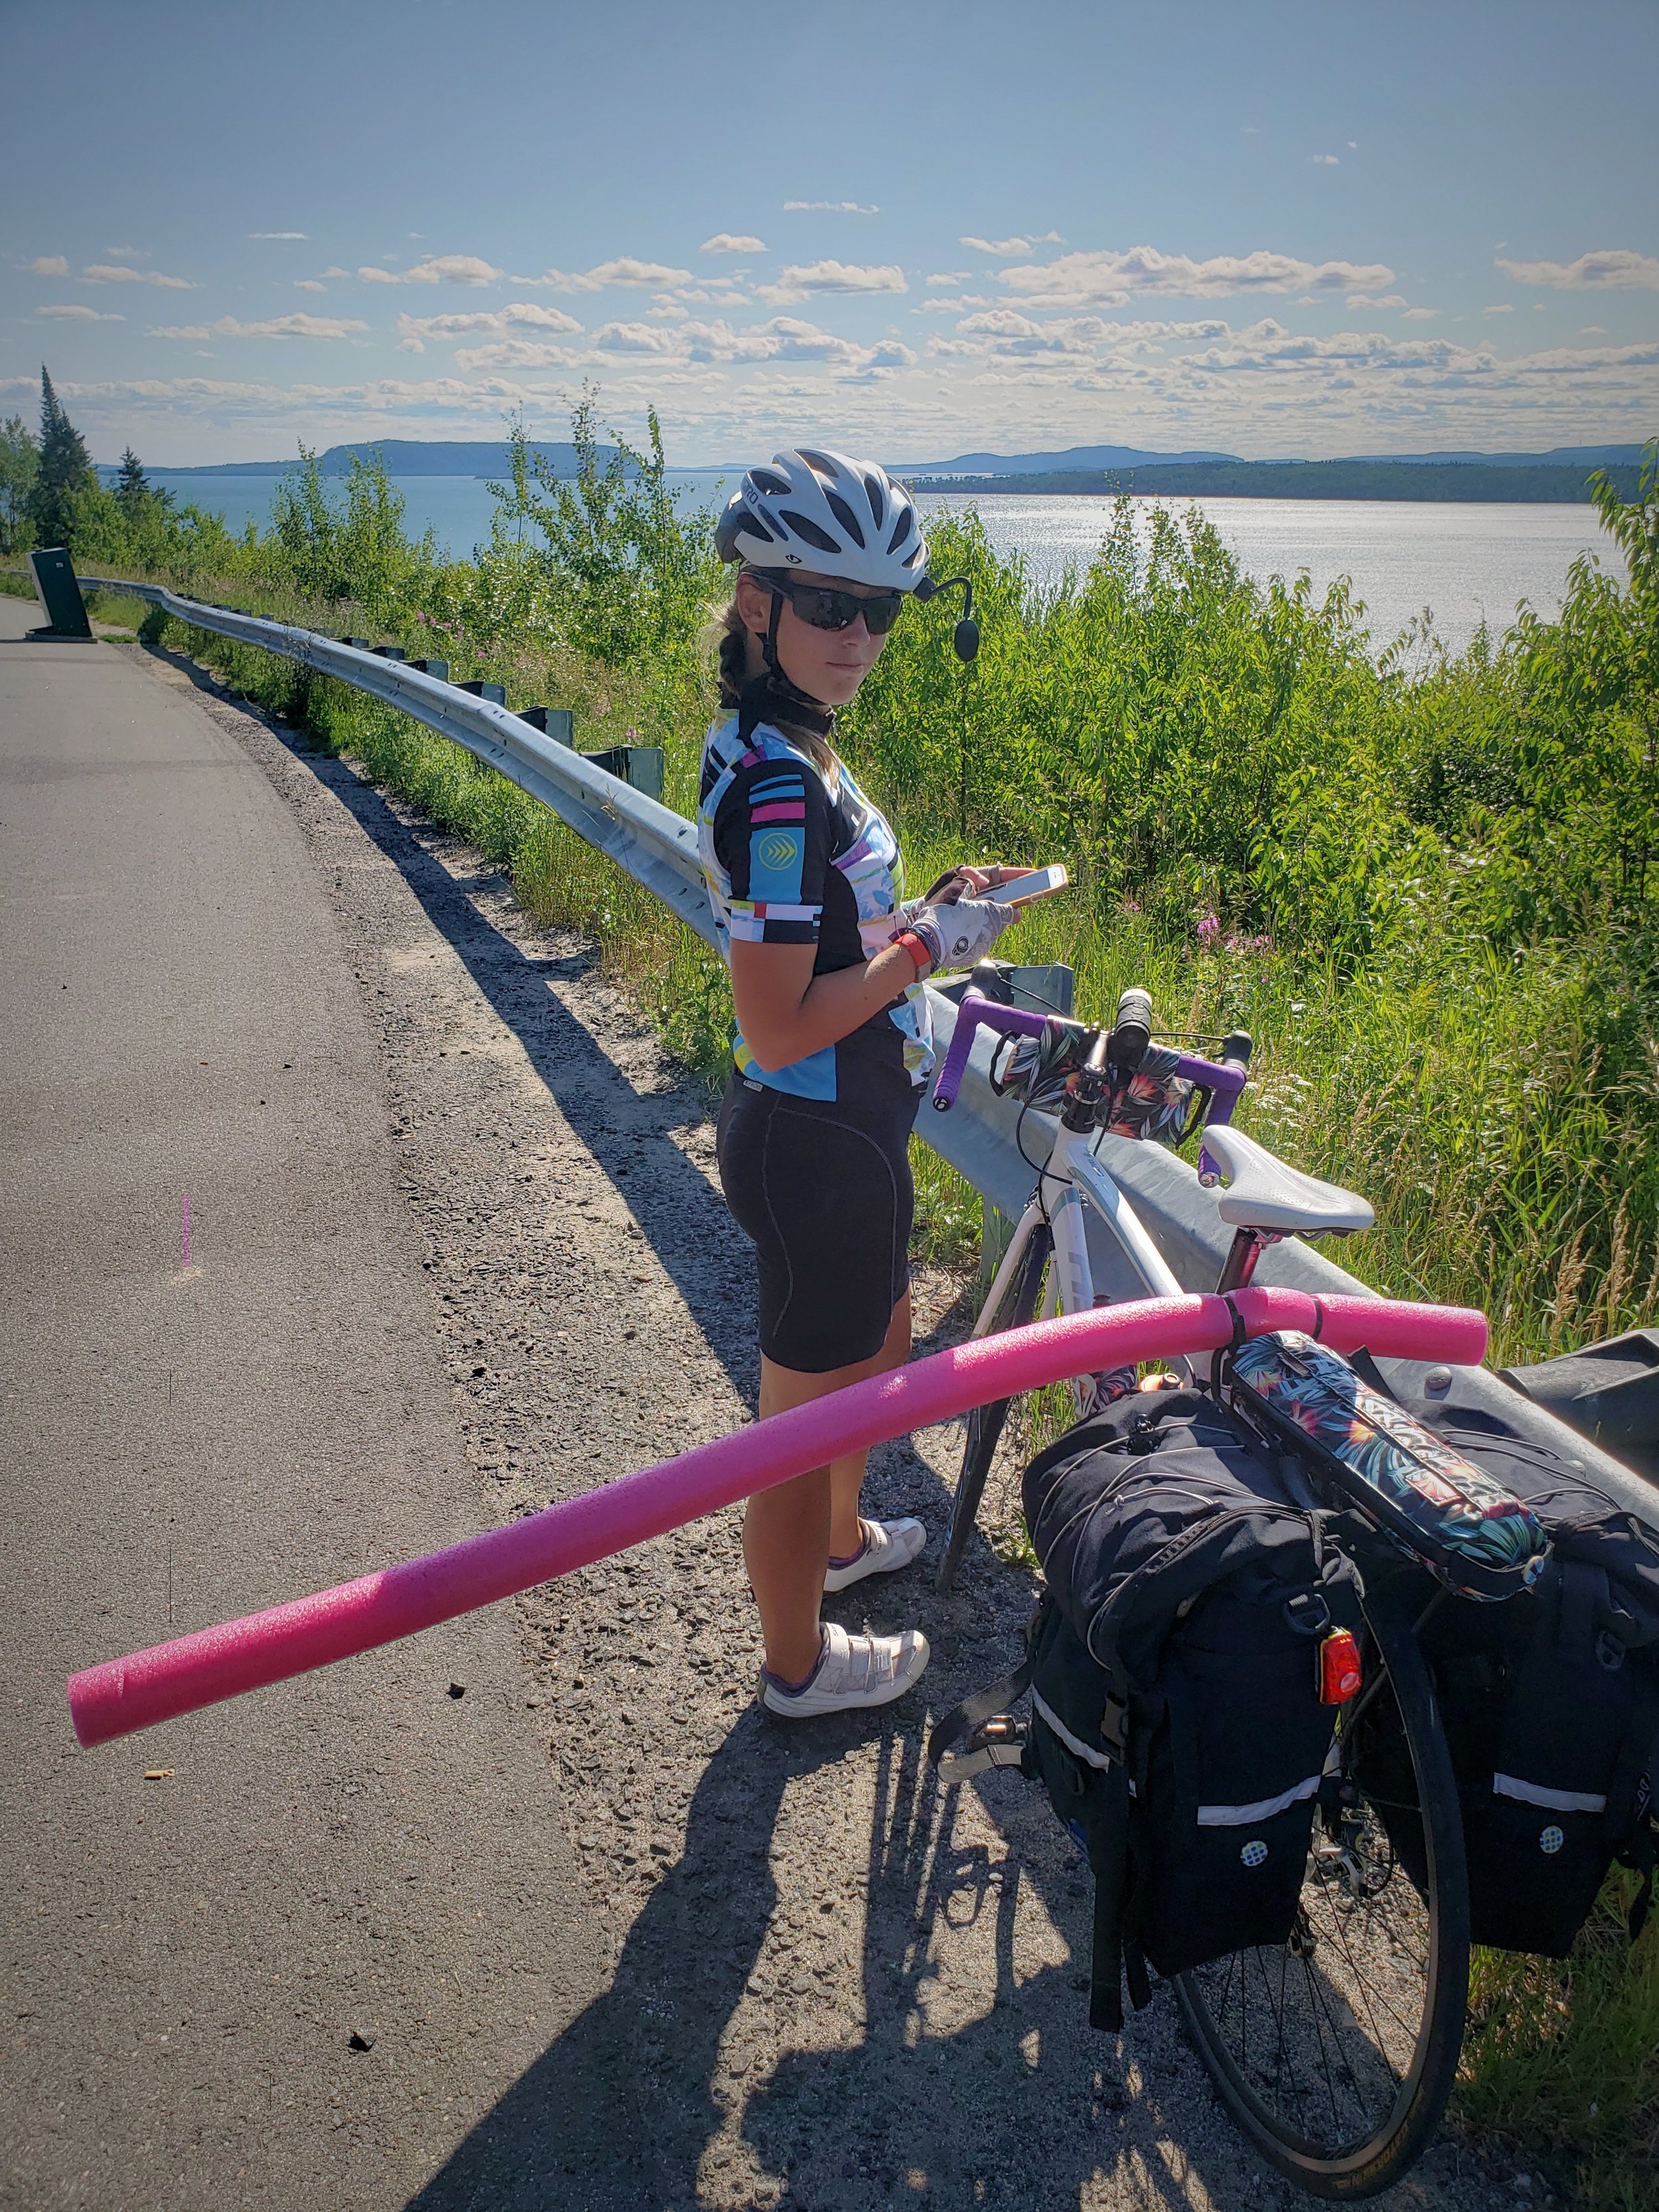
The noodle sticks out about three feet from the edge of my pannier to demonstrate the minimum amount of space needed for driver to pass us safely.
I was a bit skeptical that a pool noodle could make a difference, but people really did give us a wider berth after we added the noodle. Unfortunately, it didn’t seem to have much impact on the speed at which people passed us. Ever-tough Ian even eventually added a half noodle that he found in the ditch to his bike. Later he found the other half of the noodle about 150 miles further down the road! The one downside of the noodles was that it seemed like we had a million strangers ask us “what’s the pool noodle for?”
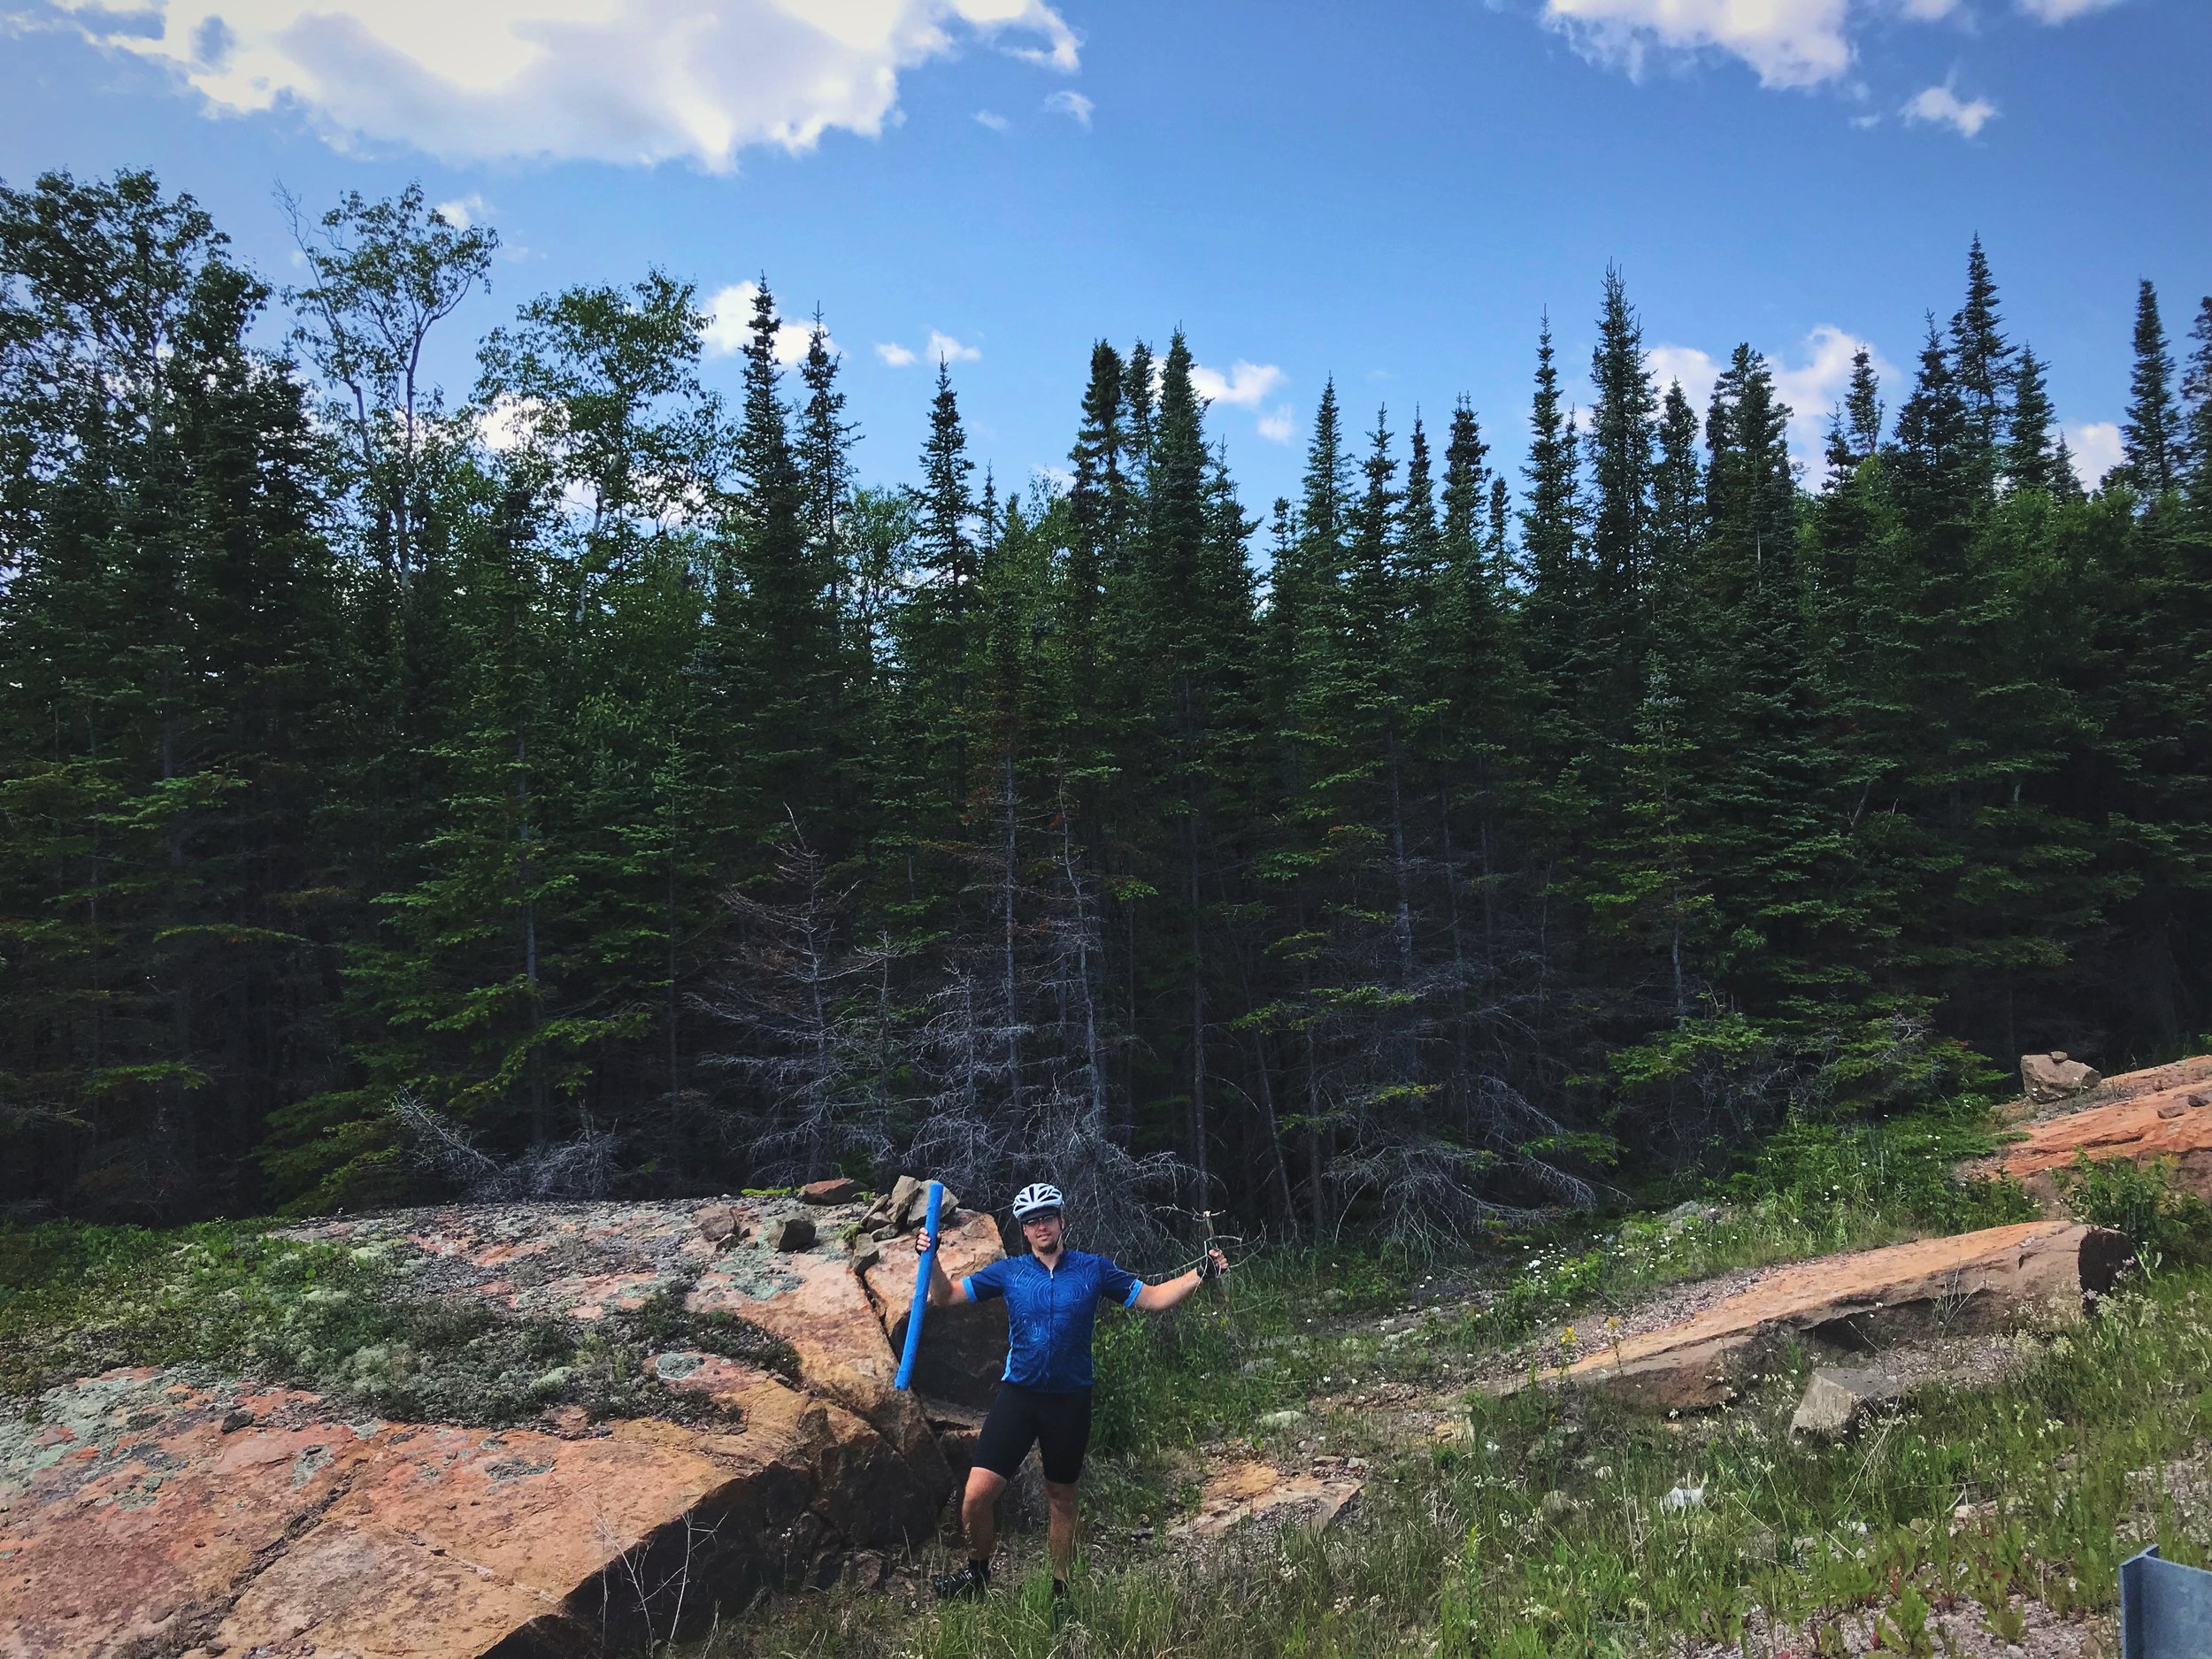
If you don’t want to splurge on that $2 pool noodle, you can scour the ditches of Canada until you found one that blew out of someone’s pickup.
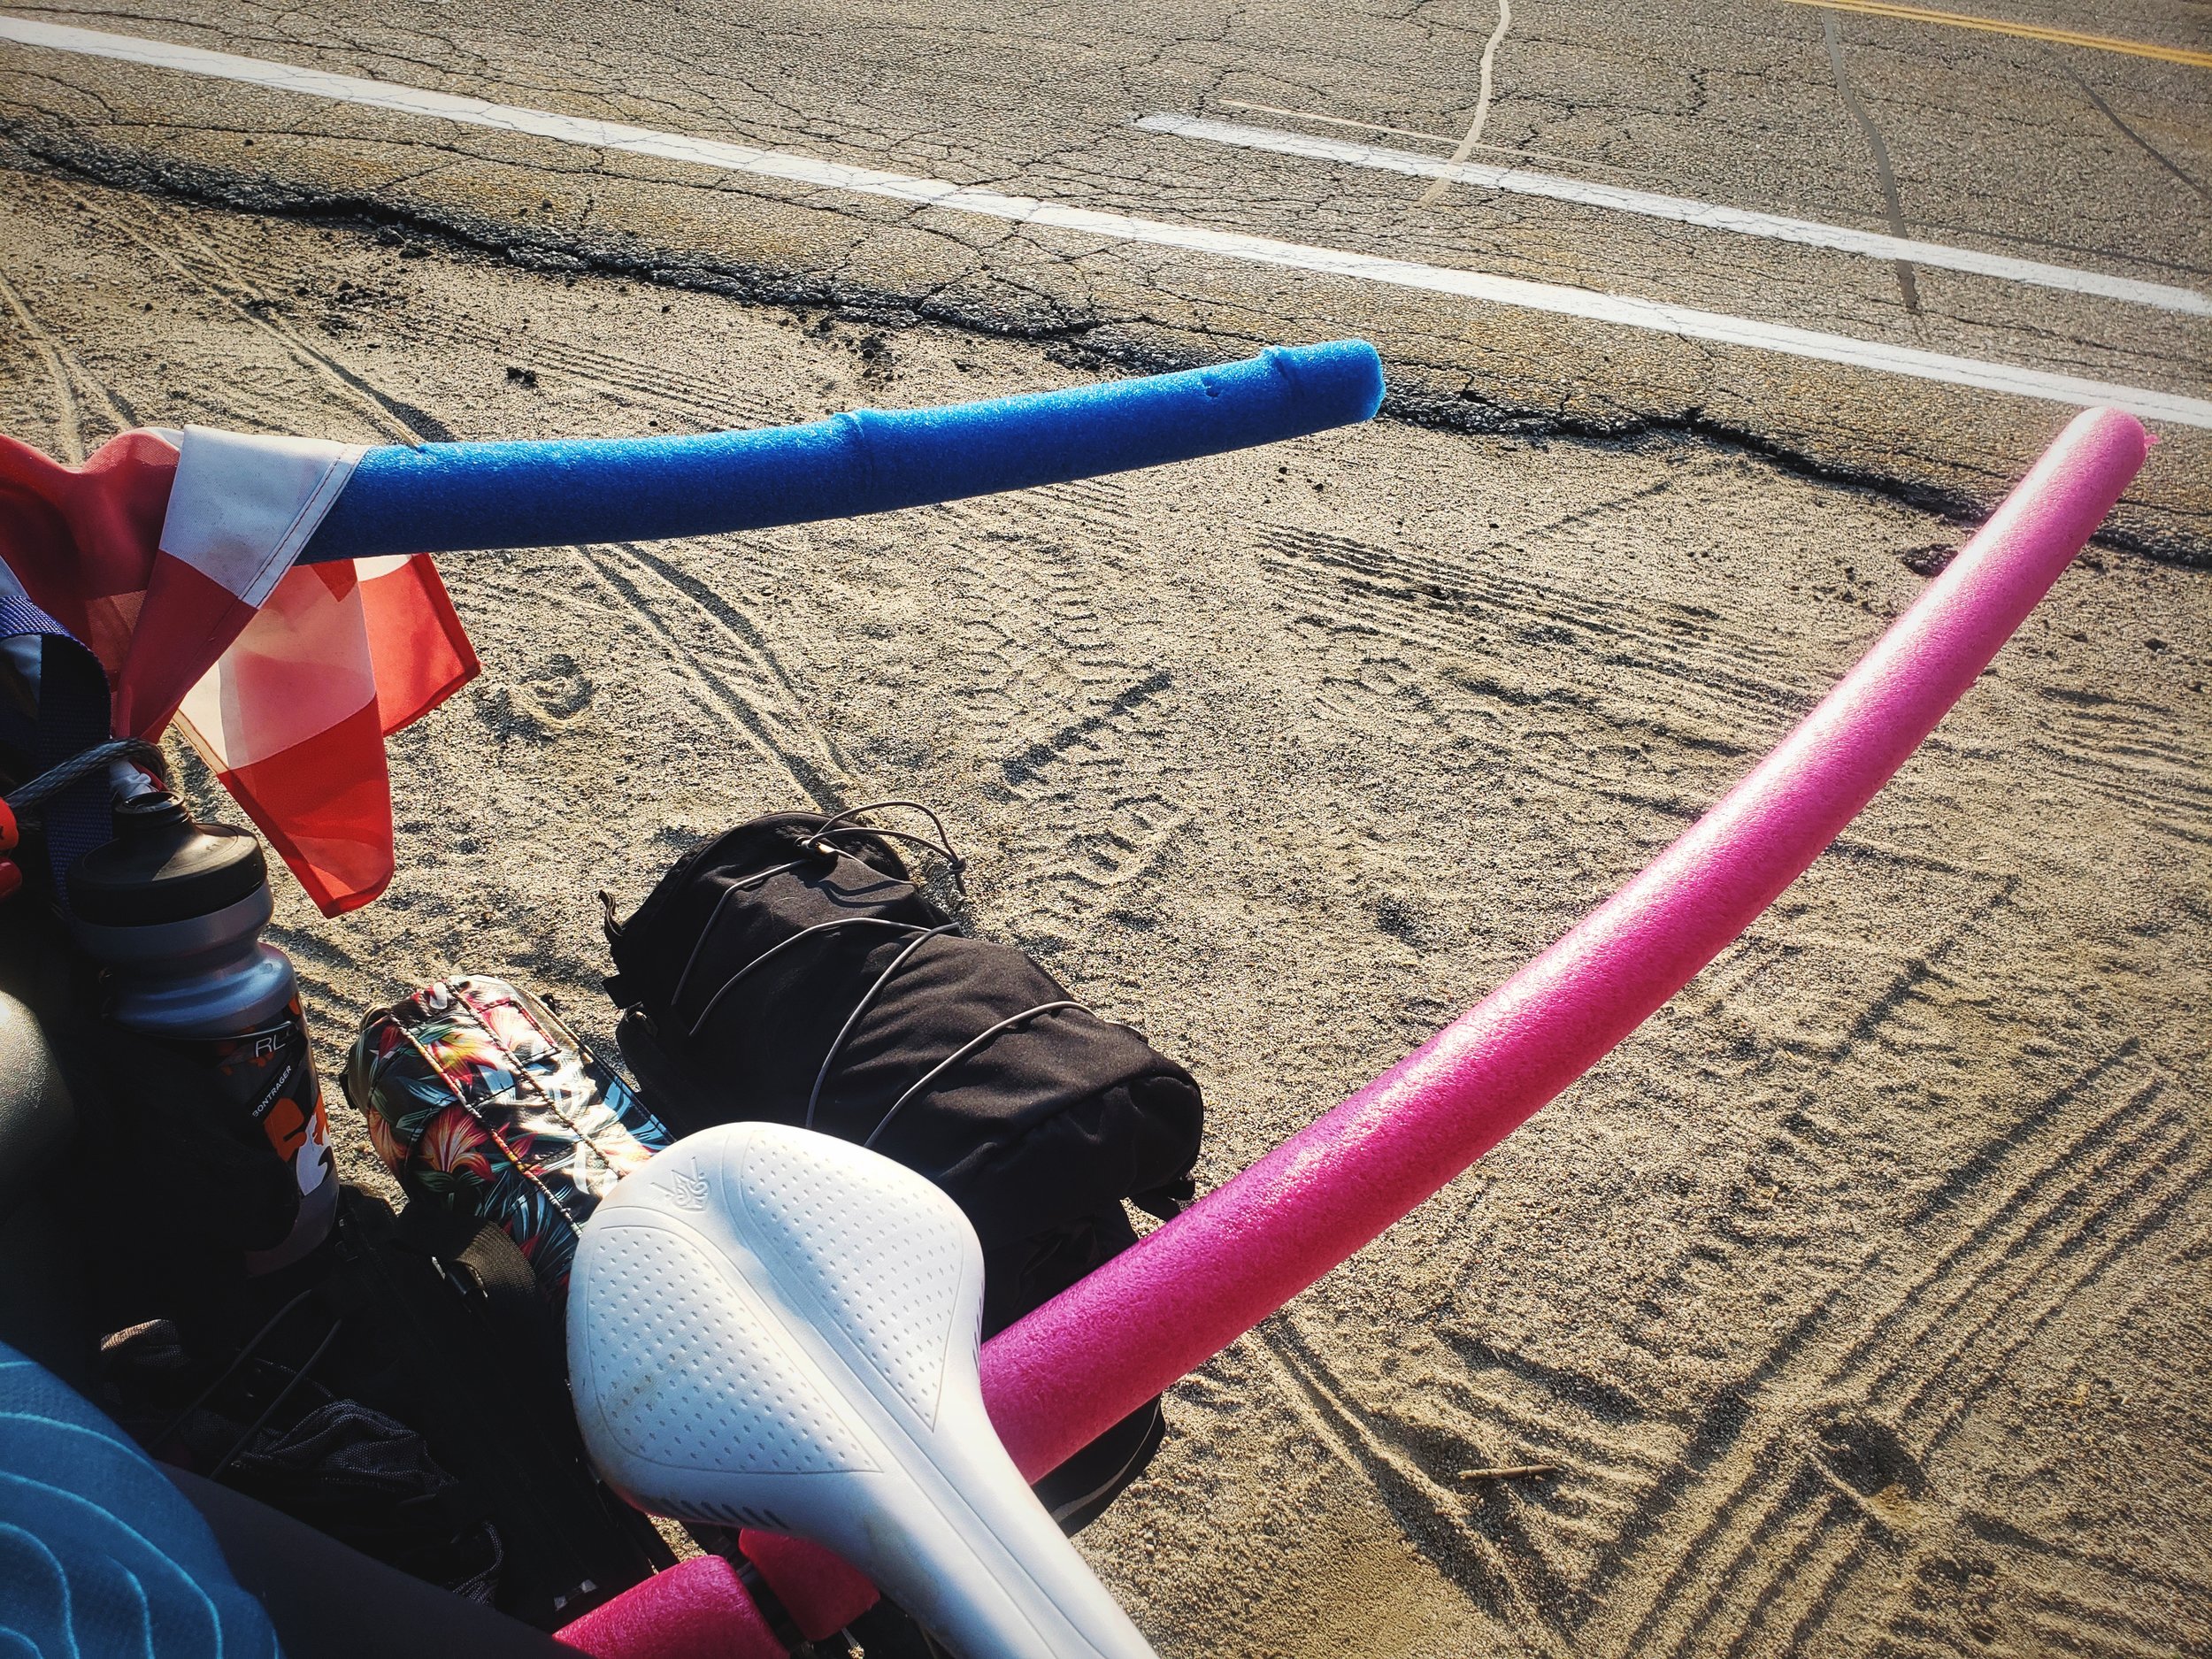
We also found two little Canadian flags in the ditch that we attached to our bikes.
Wear a High-Quality Bike Helmet
For some odd reason, bike helmets remain a contentious subject among cyclists. While I agree compulsory helmet laws are no substitute for better infrastructure for cyclists and may even make cycling more dangerous by discouraging new cyclists, at the individual level, helmets make sense. The Journal of Epidemiology reviewed 40 separate studies on helmet use and found that helmet use significantly reduces the risk of head injury and especially the risk of sustaining a fatal head injury.
Bike helmets aren’t just for kids. They can help keep big old adult brains safe too!
Helmets can’t protect against all types of injury, but newer helmets with MIPS can protect you from some types of torsional impacts. If you’re touring on roads in the US or Canada, a high quality bike helmet is a must have piece of gear, and until roads get better for cyclists here, helmets will continue to be a must. (If you’re touring around the bikeways of Holland, go ahead and ditch the lid.)
If you’re buying a new helmet, look for a yellow MIPS sticker for even greater protection from torsional impacts.

If you will be biking on the highways of the US or Canada on your bike tour, unfortunately we aren’t at a place yet were you can go helmet-less.
Wear an EPIC ID
In the unfortunate case that you are involved in a serious collision, it’s very helpful for emergency responders to have information about your medical history and emergency contacts. You may have seen Road IDs or small metal engraved bracelets with medical and contact information. With these you can only provide a very small amount of information. EPIC IDs are USB emergency bracelets that allow you to provide as much information as needed plus you can change it at anytime. (When I moved and changed my phone number, my old Road ID became essentially worthless.) Emergency responders can then plug the EPIC ID into their onboard computers to access your full information quickly.

Hopefully it never comes to this, but if I’m ever unable to communicate with first responders, they can use this USB bracelet to access my medical history.
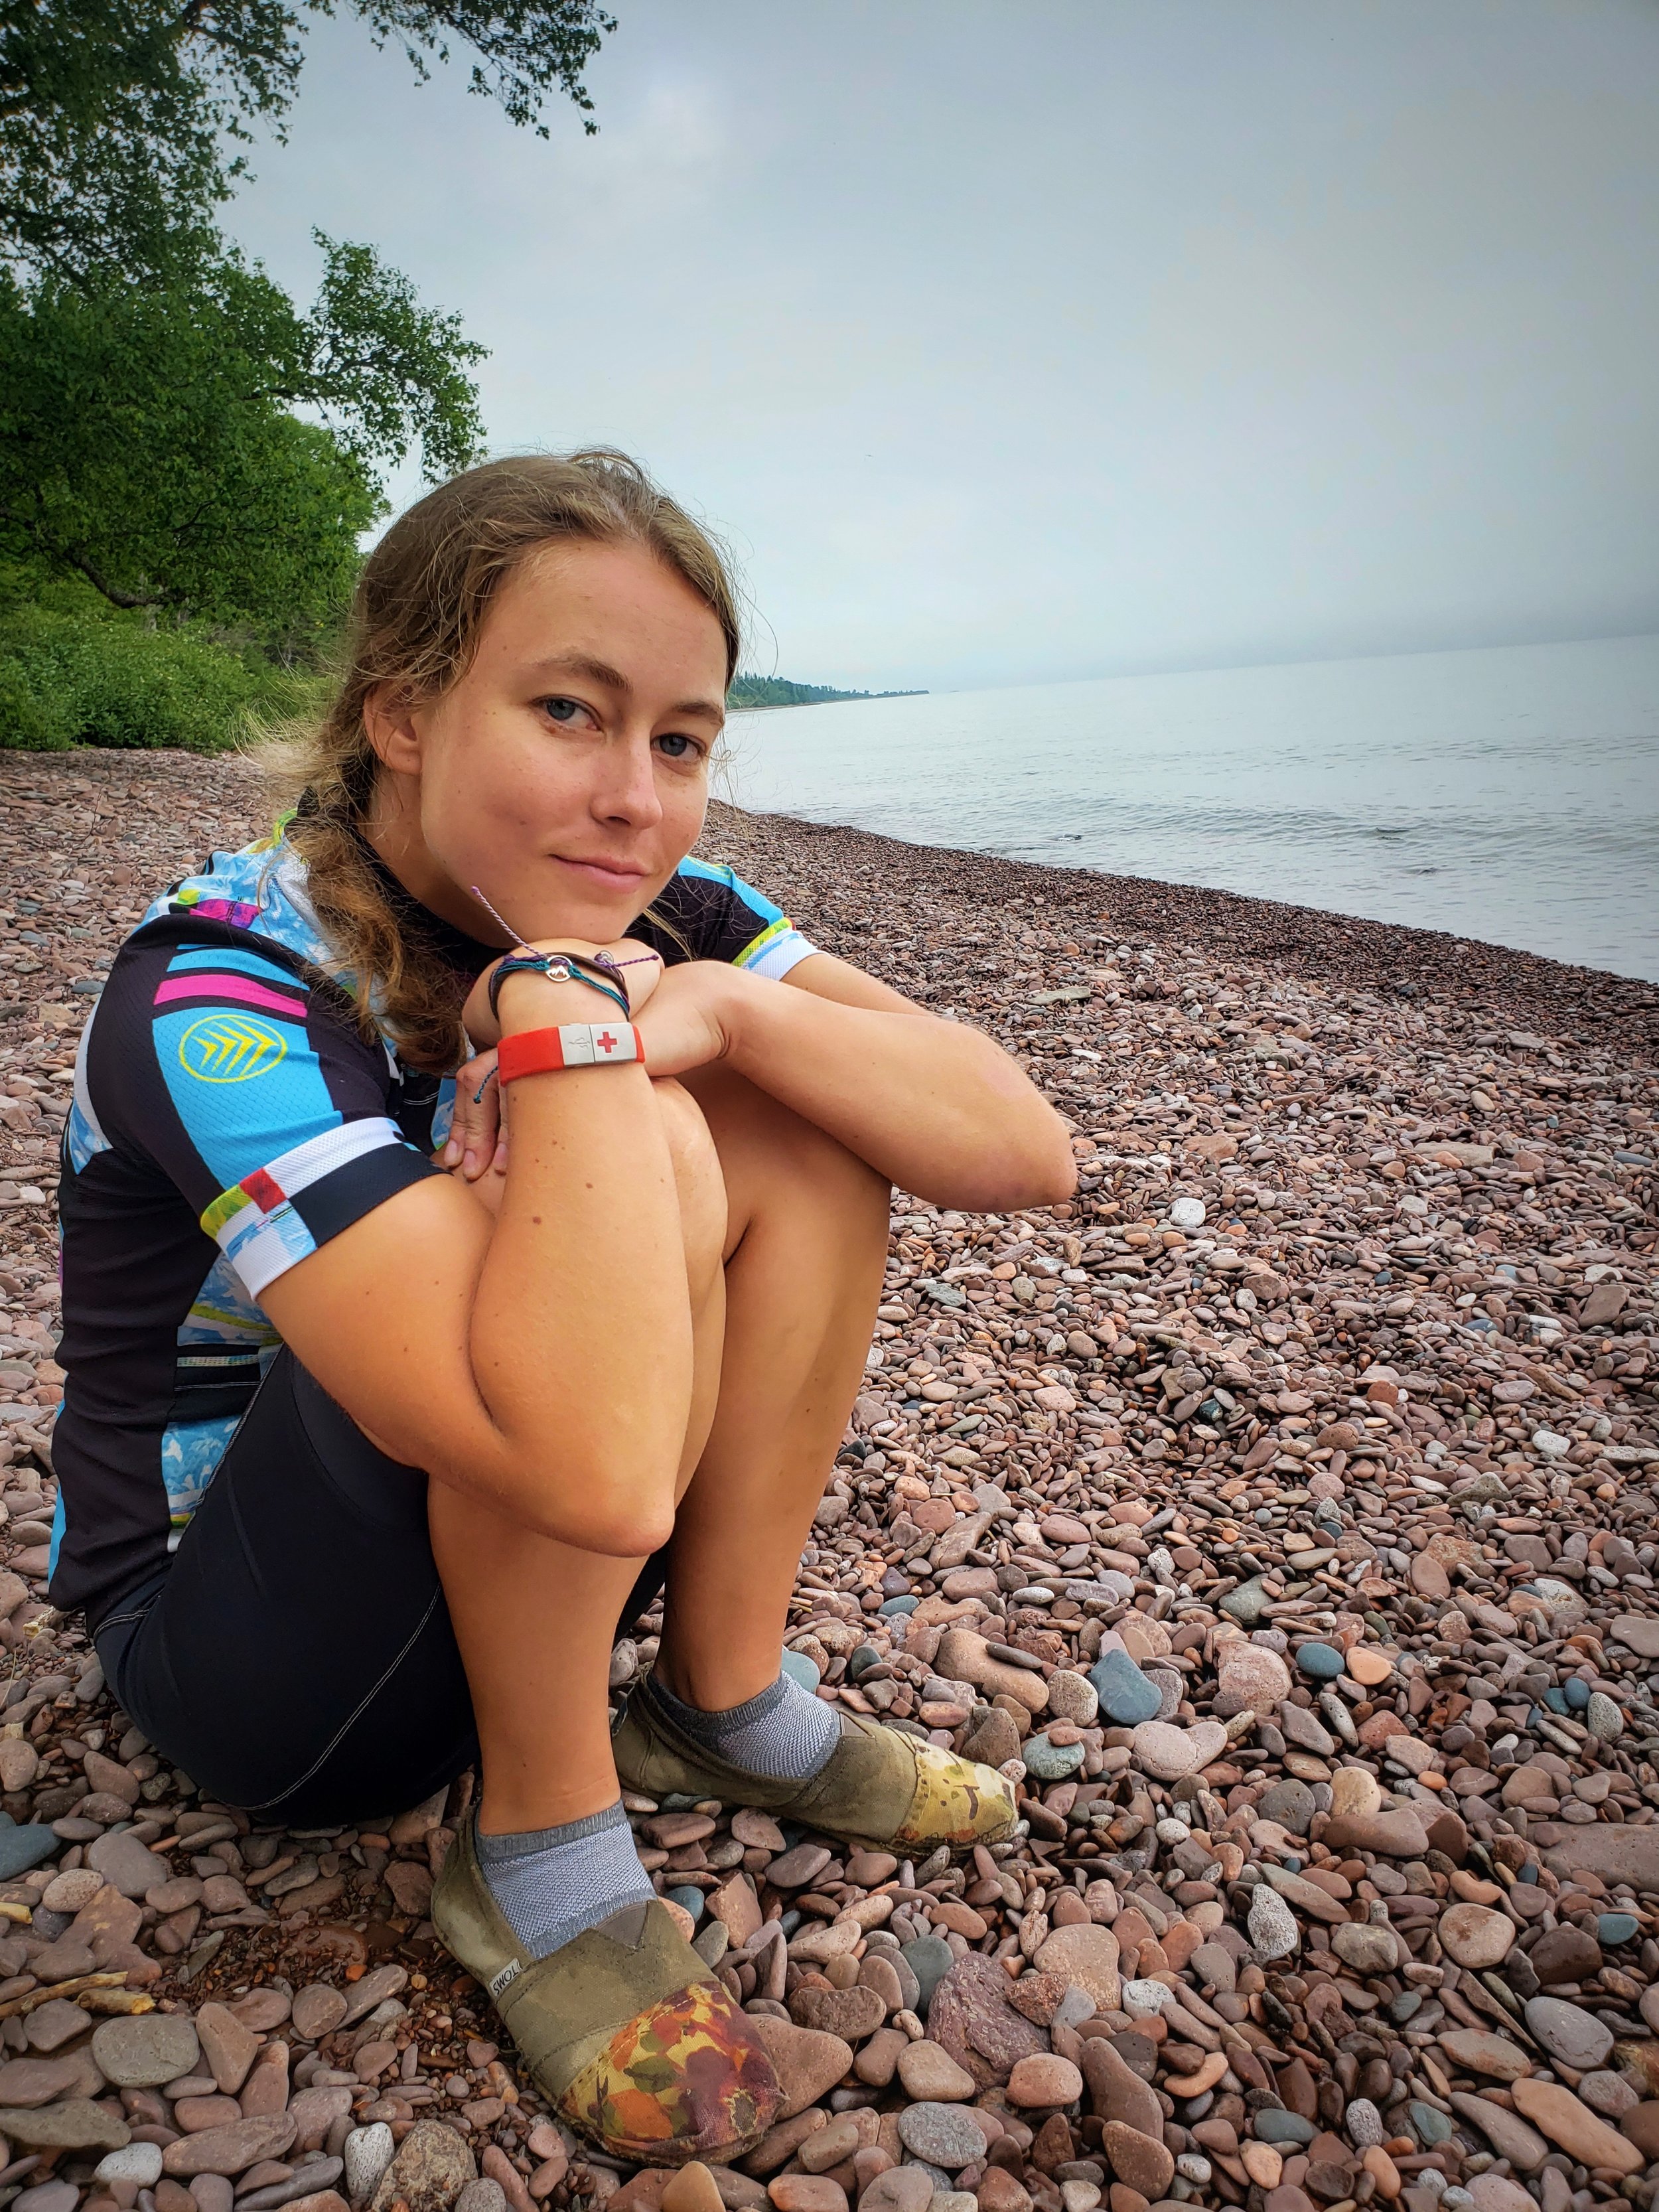
This simple, waterproof bracelet could help save your life when cycling.
When bike touring in locations far from home, you might want to include information about allergies, past injuries, chronic illnesses, emergency contacts, your home address, your primary physicians contact info, and an image of your insurance card. EPIC ID USB bracelets are even waterproof which means they could withstand our near daily swims in Lake Superior.
Posts also tagged:
Aero Tech Designs, Bike Clothing, Bike Commuting, Bike Helmets, Bike Lights, Bike Mirrors, BIKEPACKING, Bike Safety, BIKE TOURING, BIKE TOUR PLANNING, BIKING, BlueTooth Speakers, Border Crossings, Canada, CycleAware, CYCLING GEAR, Duluth, Frugal Travel, High-Visibility Gear, LAKE SUPERIOR, LAKE SUPERIOR CIRCLE TOUR, Michigan, Minnesota, Ontario, outdoor Tech, PANNIERS, Power Banks, Reflective Gear, Stashers, Thunder Bay, Trans-Canada Highway, TRAVEL, TRAVEL PLANNING, Wisconsin
How do you stay safe while cycling and bike touring? Share your tips and recommendations in the comments below!